
How to Progress a Lead Through the Lead Pipeline Stages
In your Lead Inbox, you will notice that every lead provides a visual representation of the Lead Pipeline Stage on the relevant entry. This provides from context for your team as to how far along the lead is in their sales process.
All of these steps in the Lead Pipeline Stage are completely customizable to fit the needs of your organization—a process explained in another tutorial.
Let's see what these look like on a lead entry.
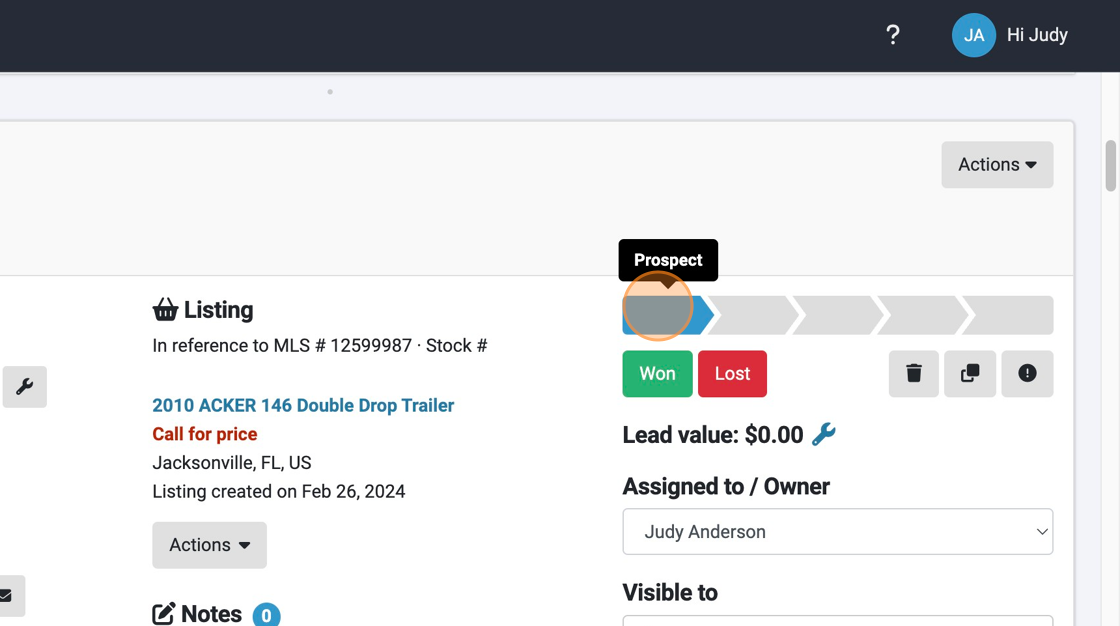
1. Looking at a lead entry, you will notice a series of pointed squares moving from left to right. Hovering over these squares on a desktop browser which stage is represented. Selecting that square will change the stage of the Lead. In this one, we see that the lead is considered a prospect.
2. Hovering over stages, we see that next signifies that contact has been made.

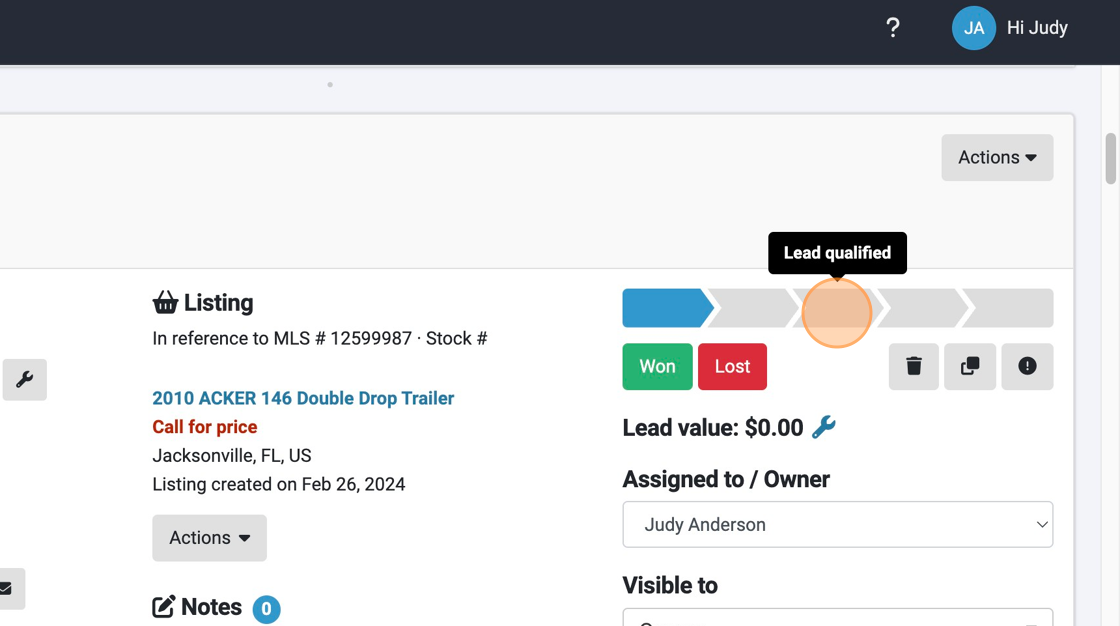
3. The next signifies that lead has been qualified.
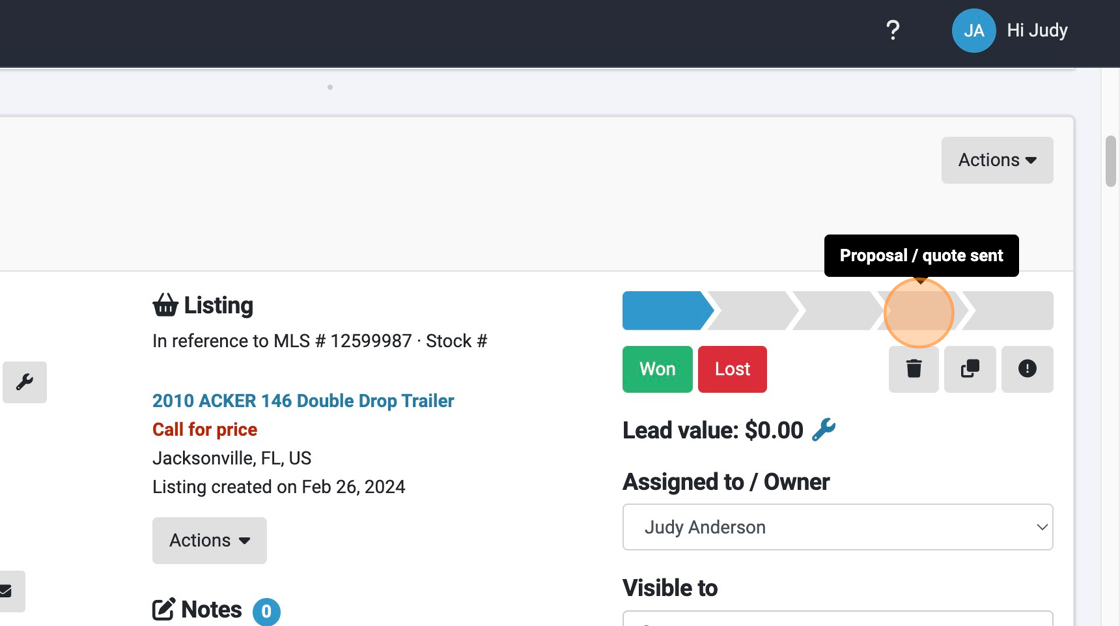
4. The next steps signifies that a proposal or quote has been submitted to the lead.
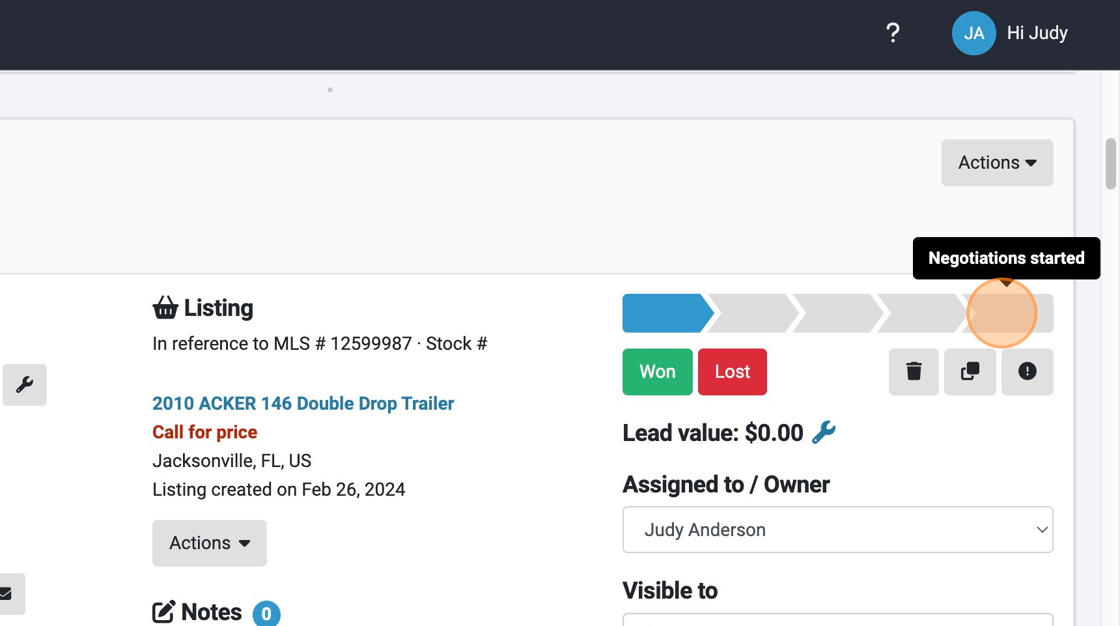
5. And this last stage icon signifies that negotiations have begun.
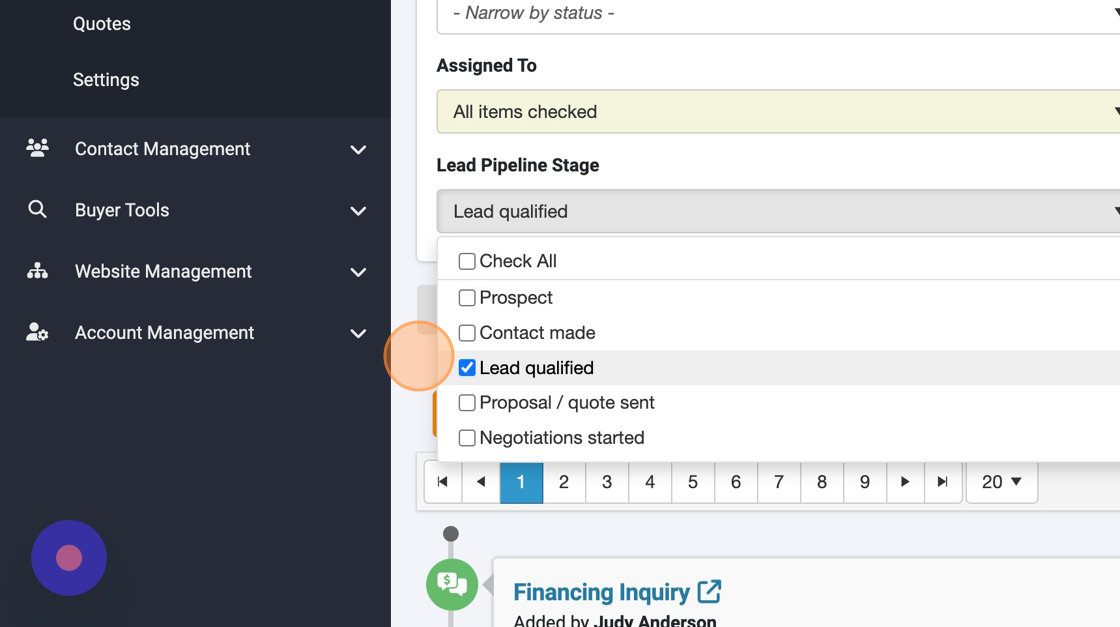
6. There are two ways to filter leads according to their Lead Pipeline Stage. The first is by using a dropdown that is among the other filters at the top of your lead inbox.
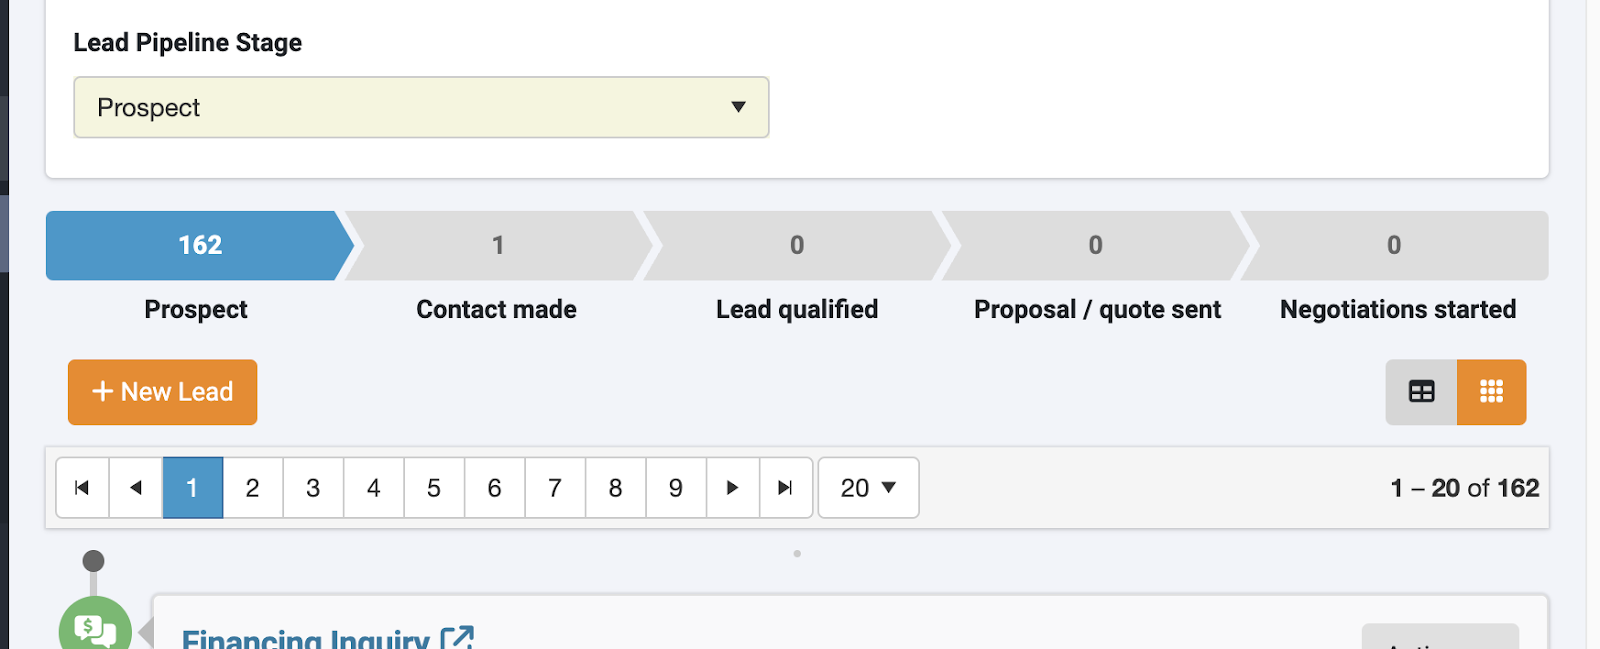
7. Another way to filter lead entries by Lead Pipeline is to select similar progressing icons at the bottom of the filters.
Questions and Suggestions?
Contact your Dealership Drive sales representative.