
How to Customize Your Lead Pipeline Stages
Every Dealership Drive dealer system comes with default Lead Pipeline Stages that represent the most common stages of a lead.
However, your team may not need all of these stages, may need different stages, may need to combine a few stages, or rearrange the order in which these stages appear. Let's take a look at how to do this.
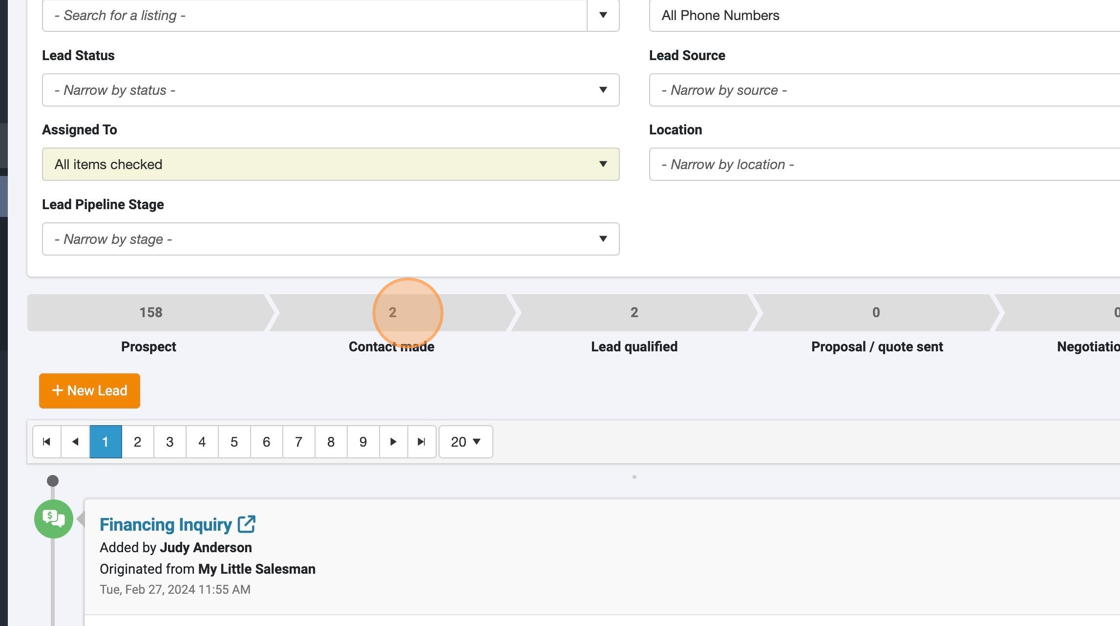
1. First, just to remind you of these stages, these are those stages that are reflected in every lead record.
Here, in the filters, they are Prospect, Contact made, Lead qualified, Proposal sent, and Negotiations started.
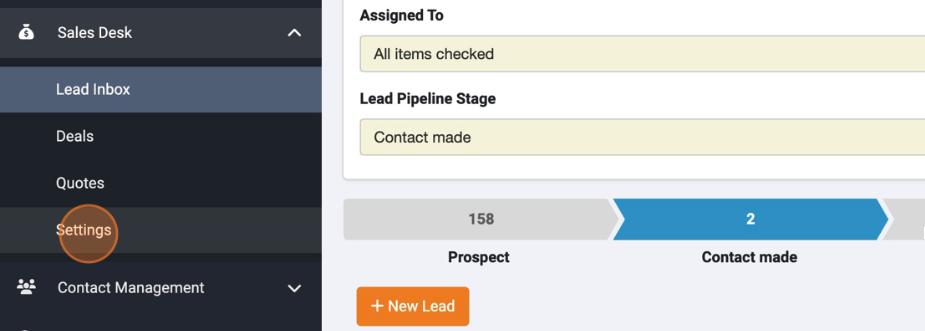
2. To change or edit these Lead Pipeline Stages, in the menu panel in your Sales Desk options, select "Settings."
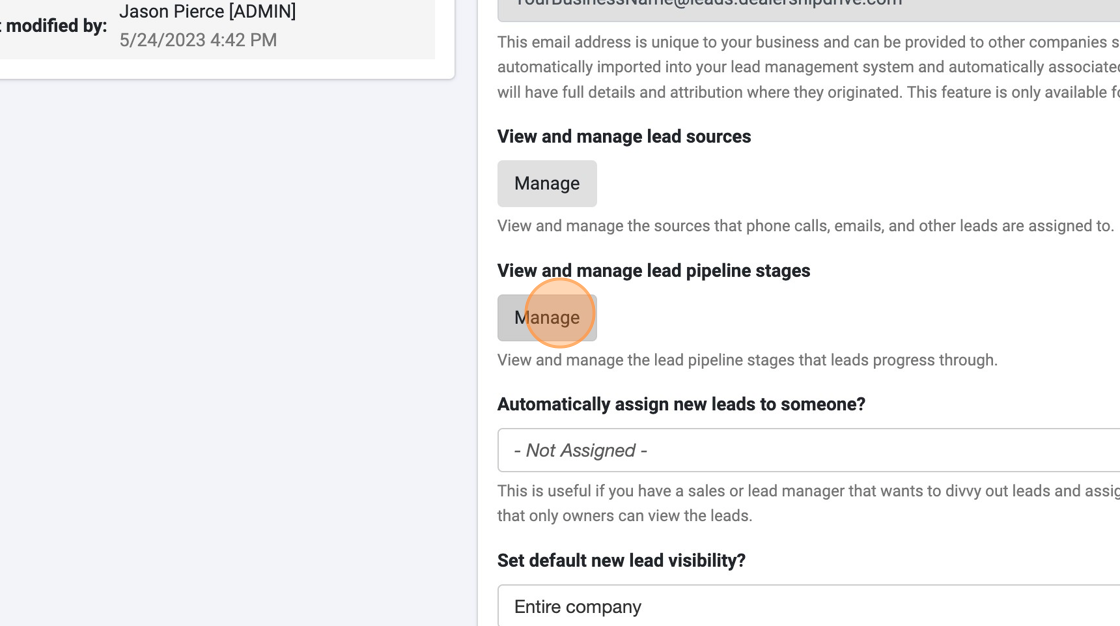
3. Within the Sales Desk Settings, below "View and manage lead pipeline stages," select the Manage button.
4. From the next panel you can do various actions, including adding a stage, removing existing stages, or editing a stage.
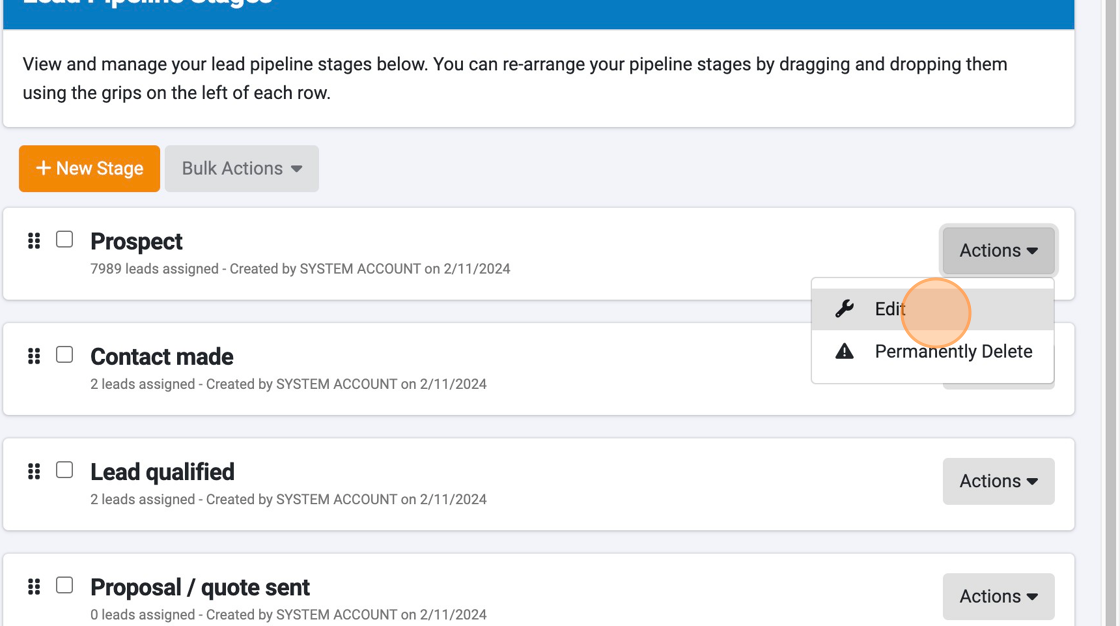
5. If you select "Edit Stage" you can rename a stage and enter a brief description of what this Lead Pipeline Stage entails.
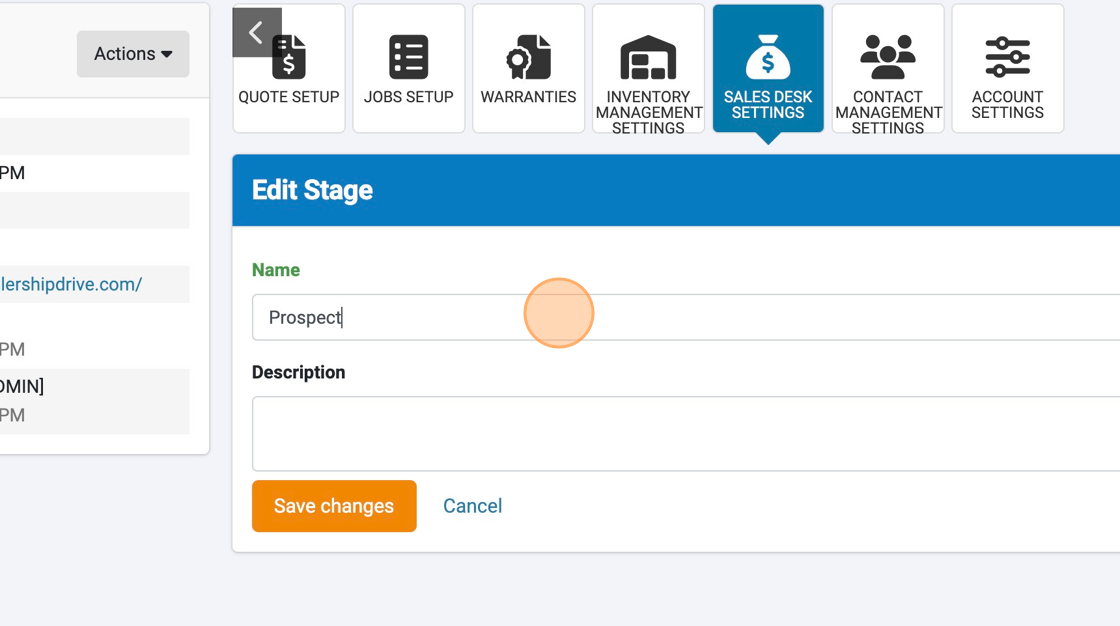
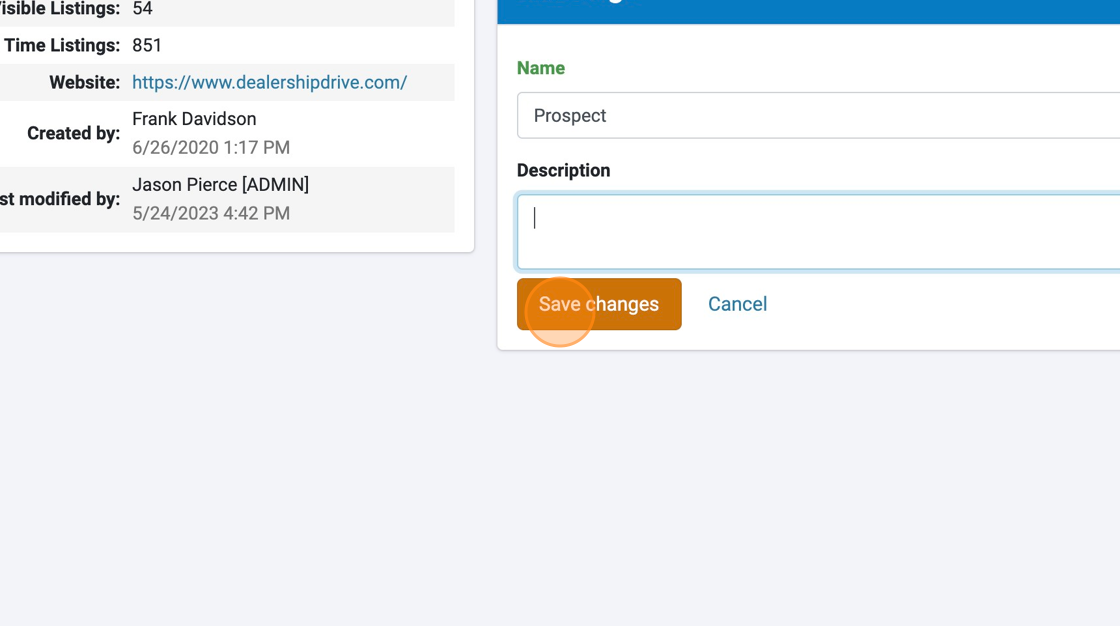
6. No changes are saved until the "Save changes" button is selected.
7. You can rearrange stages by selecting dragging stages up and down by the 6-square icons.
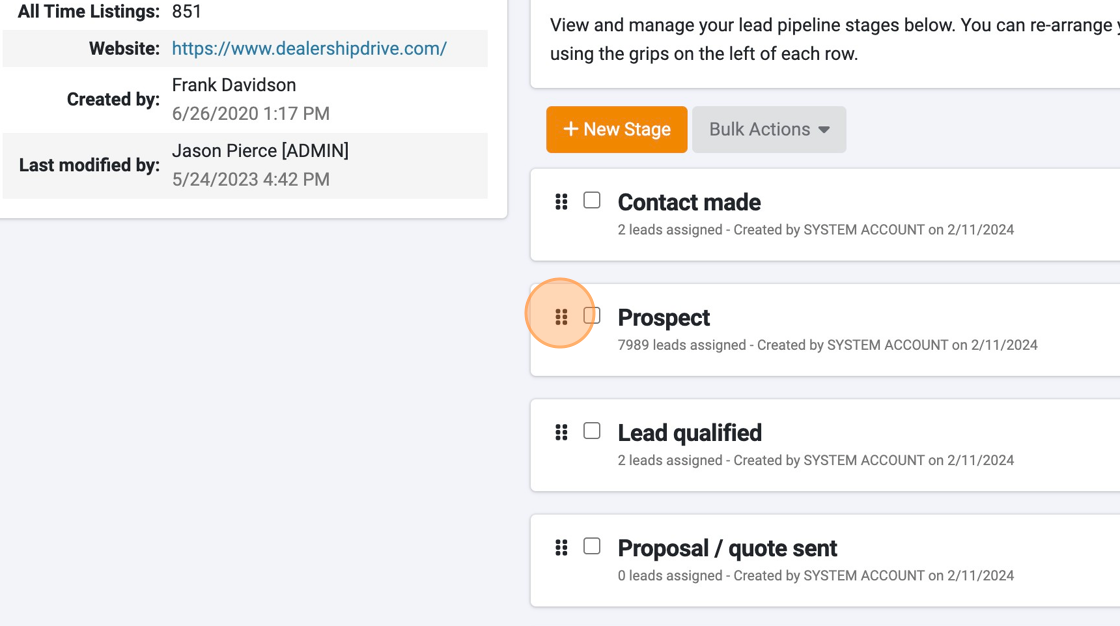
8. If you would like to combine a few stages together into a single stage, select the checkbox associated with the stage, then select Bulk Actions and then Merge.

Questions and Suggestions?
Contact your Dealership Drive sales representative.