
How to Create & Edit Work Orders in Your DMS System
Not every inventory item is ready to be sent off or picked up by customers. Whether inventory needs cleaning, inspecting, maintenance, or any other work, you can easily assign it, manage the work, and document every step along the way using Work Orders in your DMS system. Here's how!
1. Navigate to https://www.dealershipdrive.com/
2. Sign into your Dealership Drive account if you aren't already.

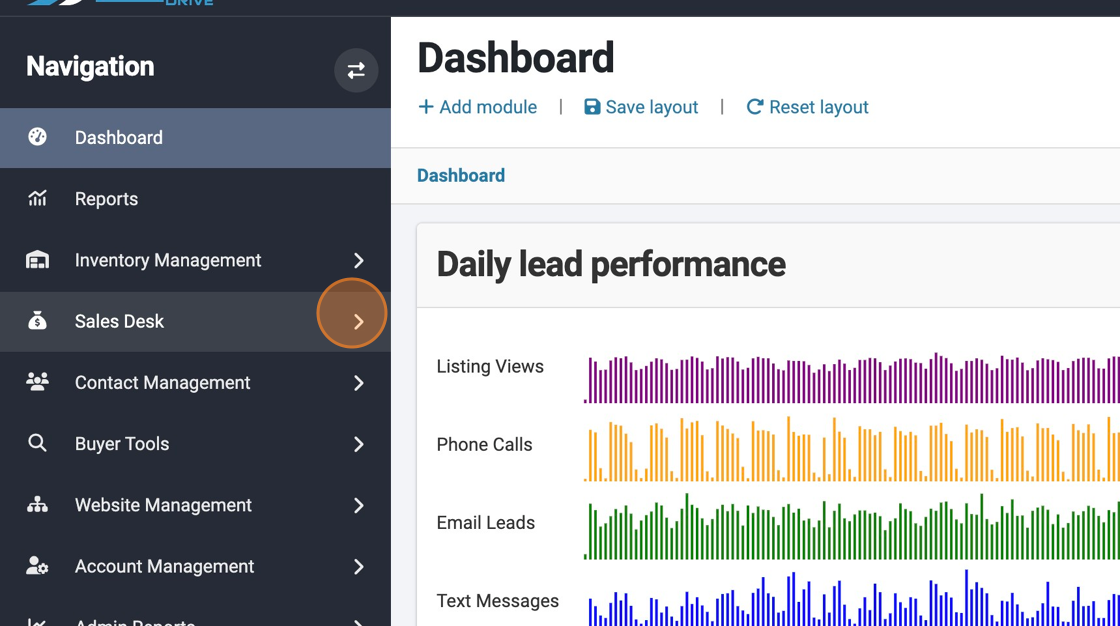
3. Though you will see a selection entitled "Work Orders," the easiest way to create a work order associated with a particular existing Deal is to do so from within that Deal.
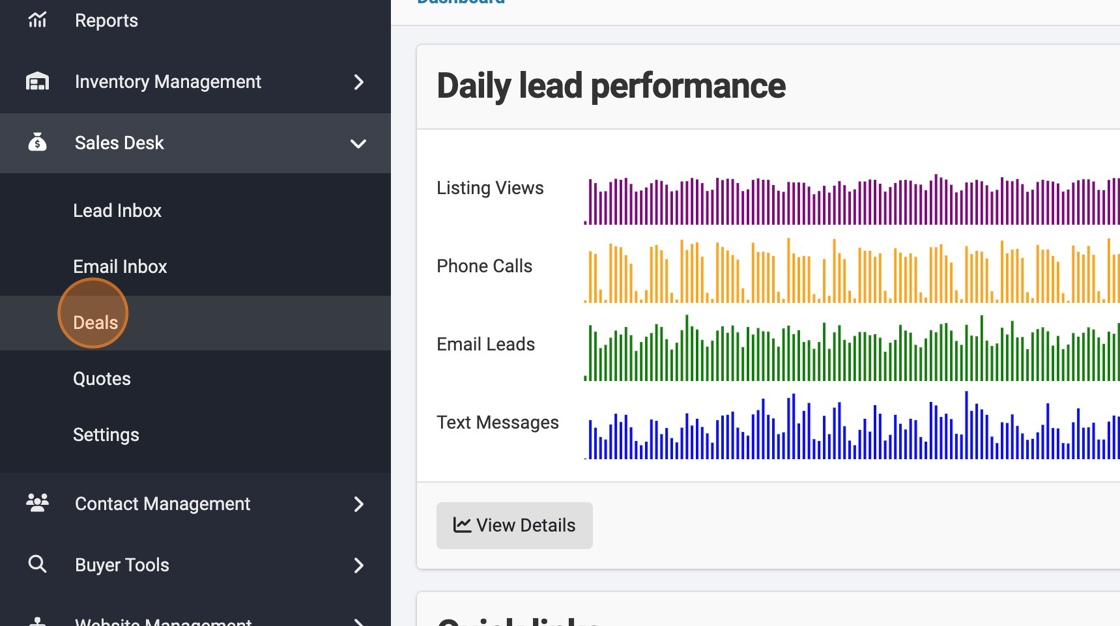
To do so, select "Deals" just below the "SALES DESK" heading on the options panel that appears.
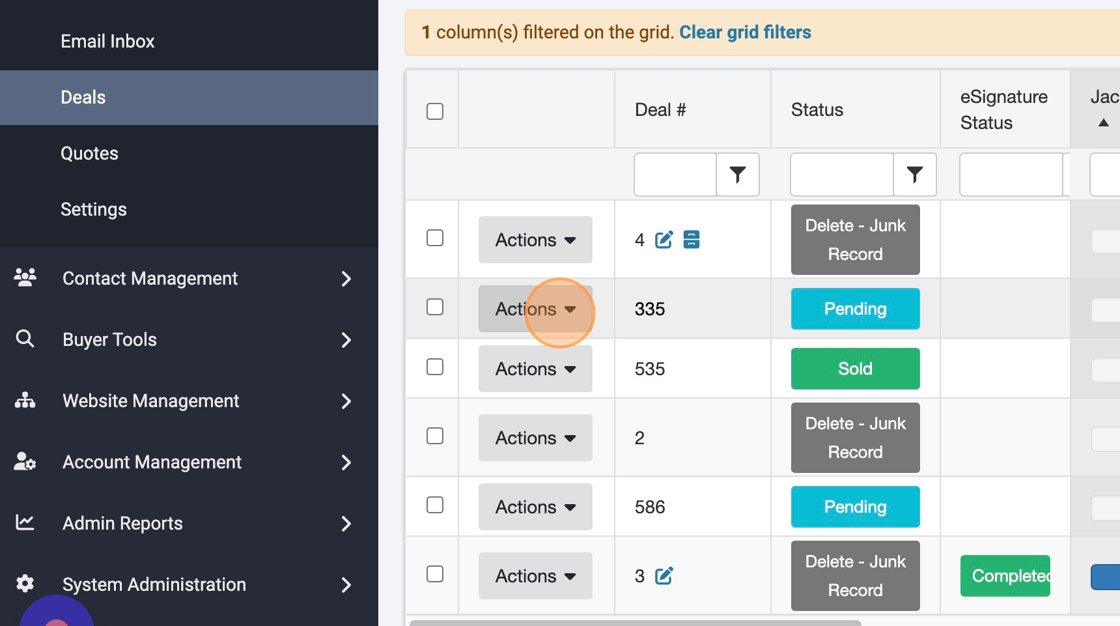
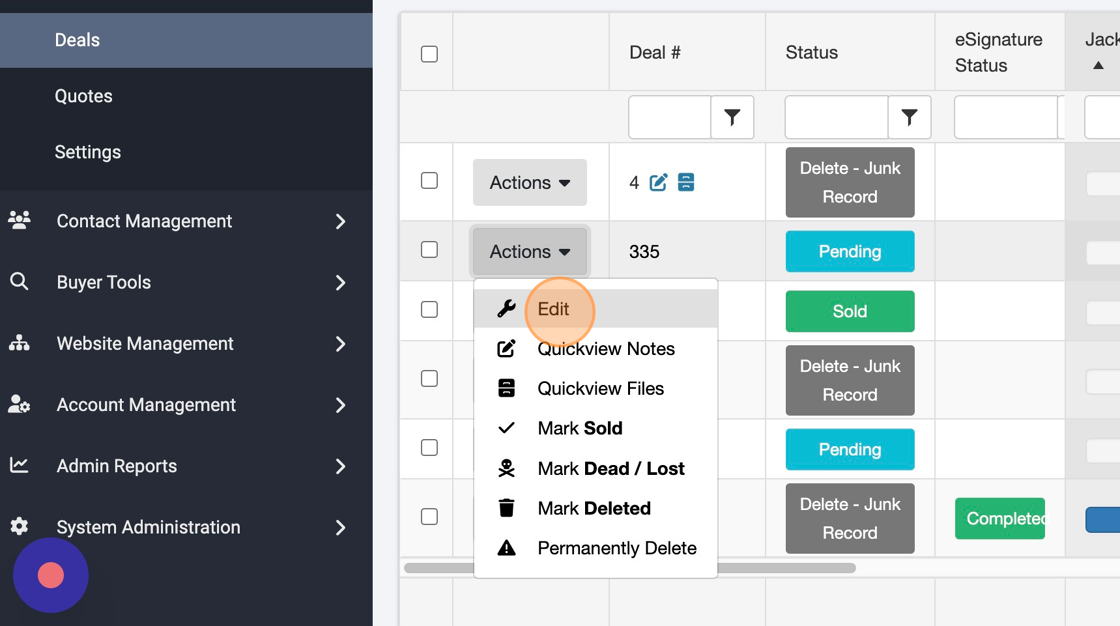
4. Locate the Deal that you wish to create an associated Work Order within and select its corresponding "Actions" button and select "Edit" from the drop-down options.
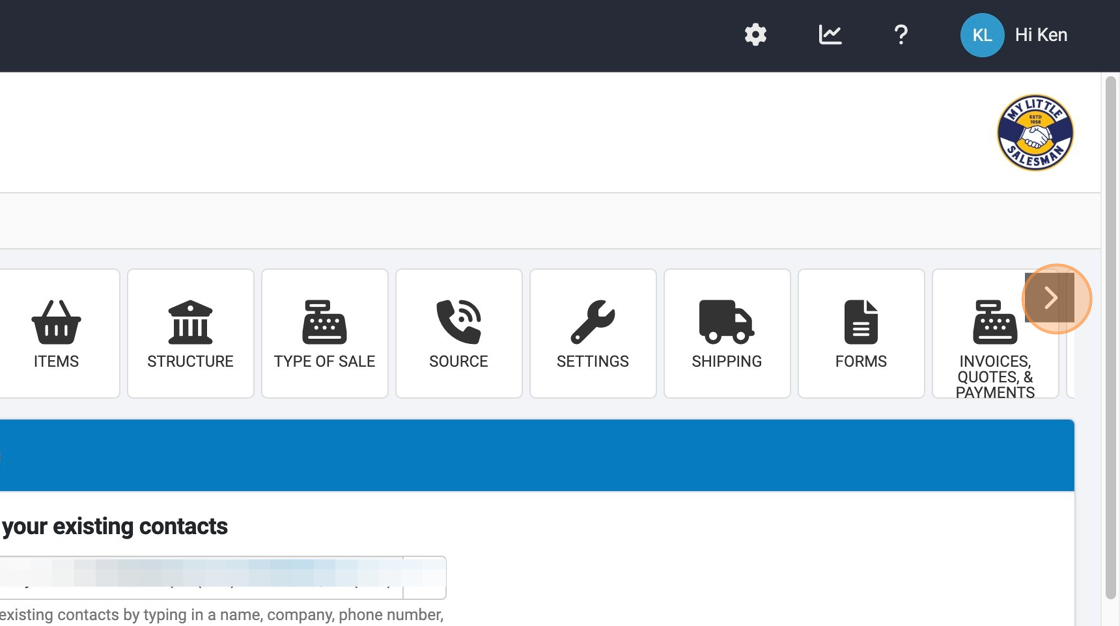
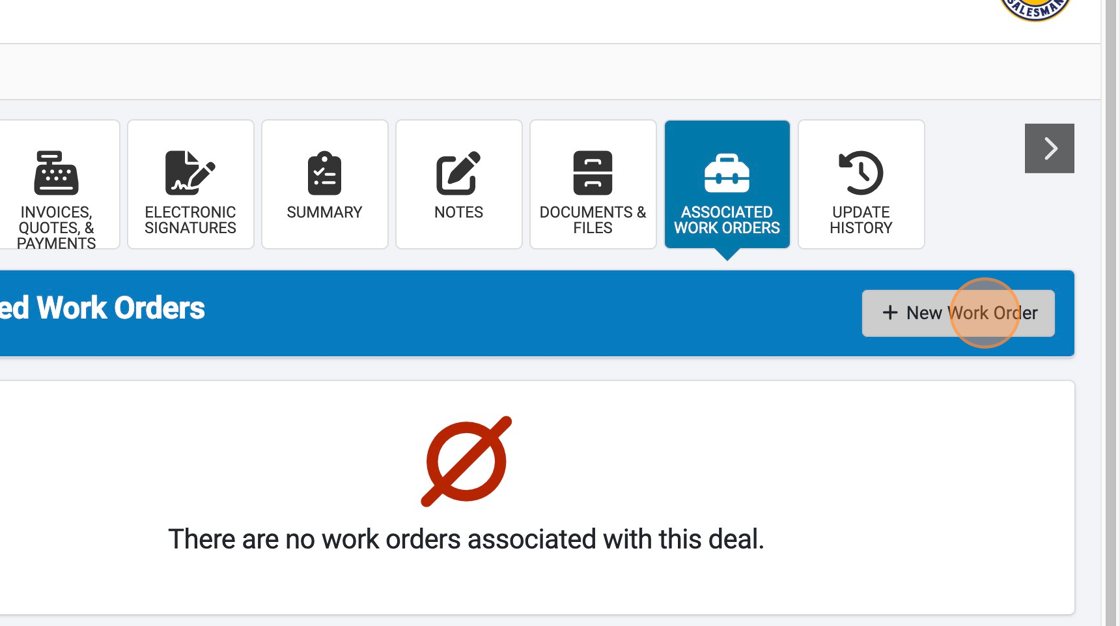
5. Use the horizontal arrow buttons to scroll sideways through the various panels of the Deal until you see "ASSOCIATED WORK ORDERS."

6. In the Associated Work Orders panel, select "+ New Work Order."
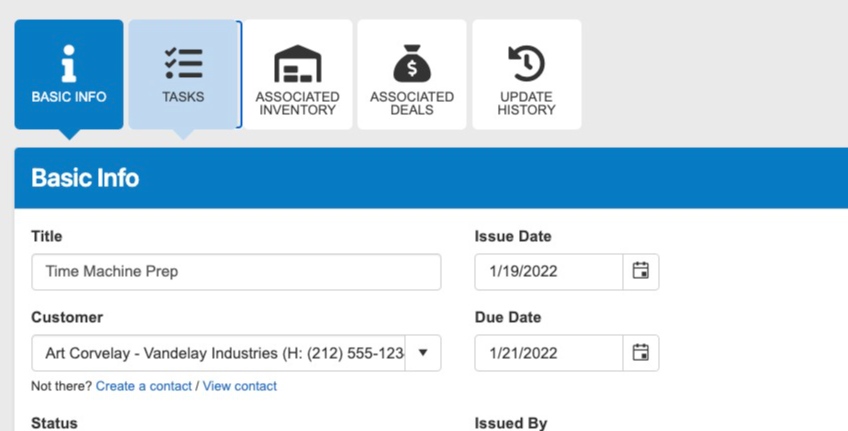
7. Feel free to title your work order.
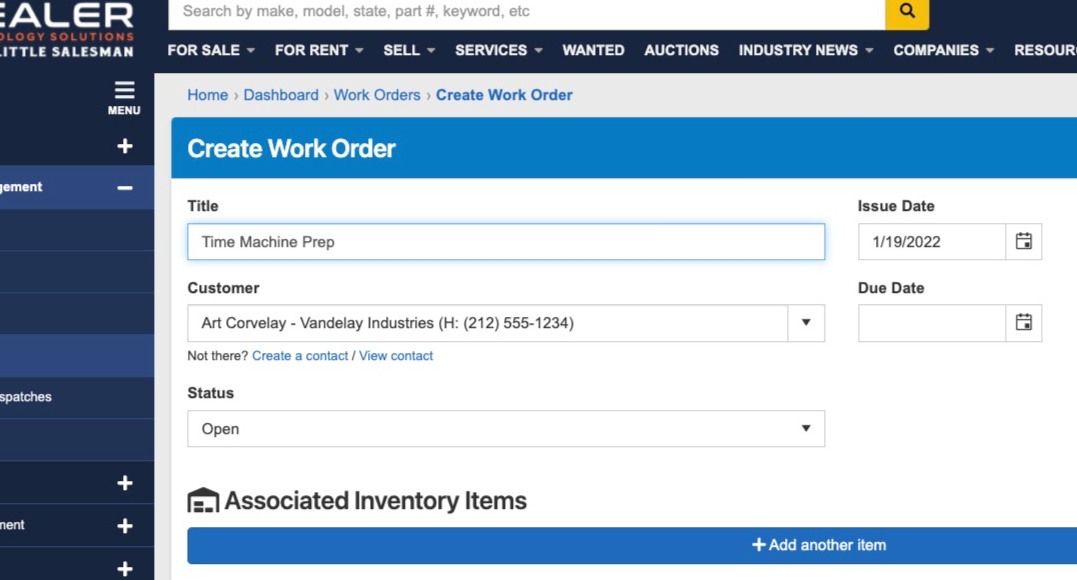
8. You'll likely want to set a Due date for the sake of task management.

9. You can have multiple tasks associated with this particular work order. Begin by using the Task Type toggle dropdown to select the category of work being performed.
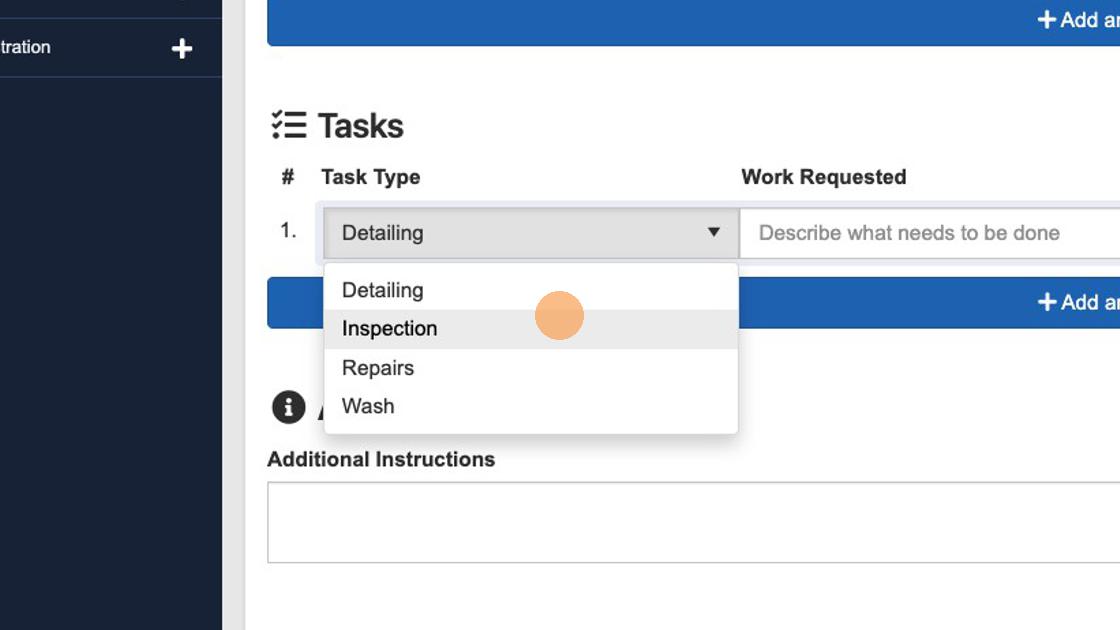
10. Feel free to detail the work that needs to be performed per task in the "Work Requested" cell.
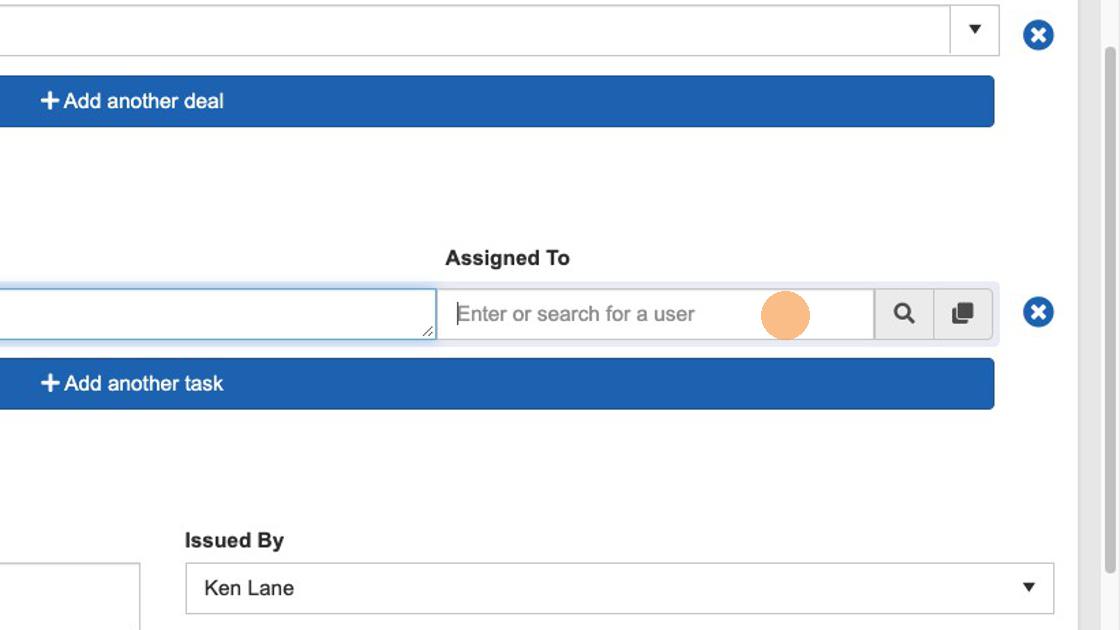
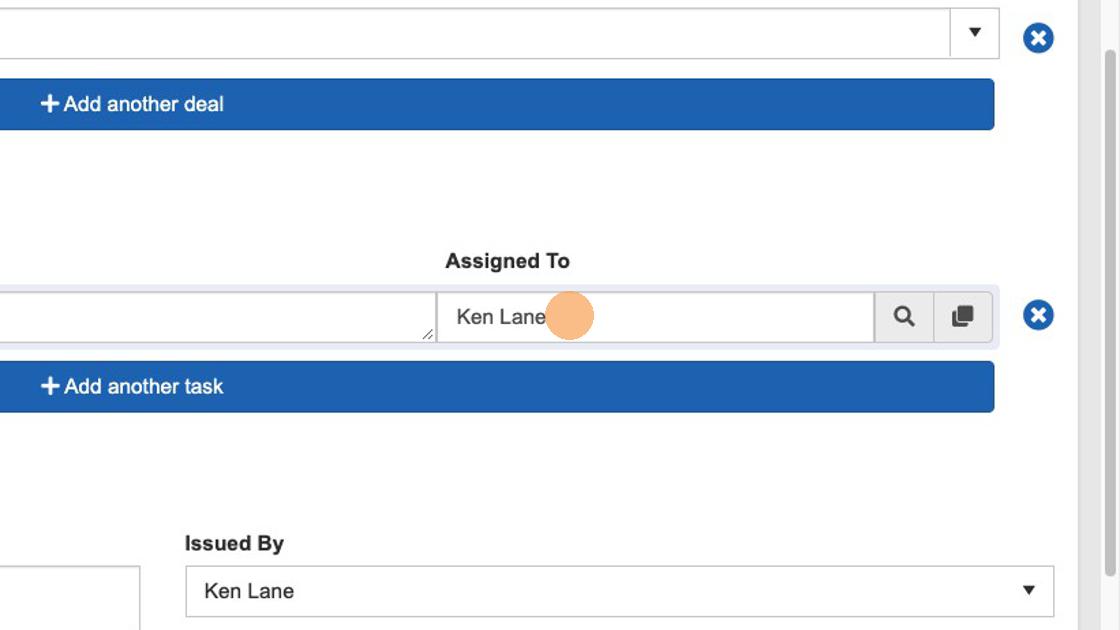
11. You can assign this task to a particular person by simply entering their name into the field, or...
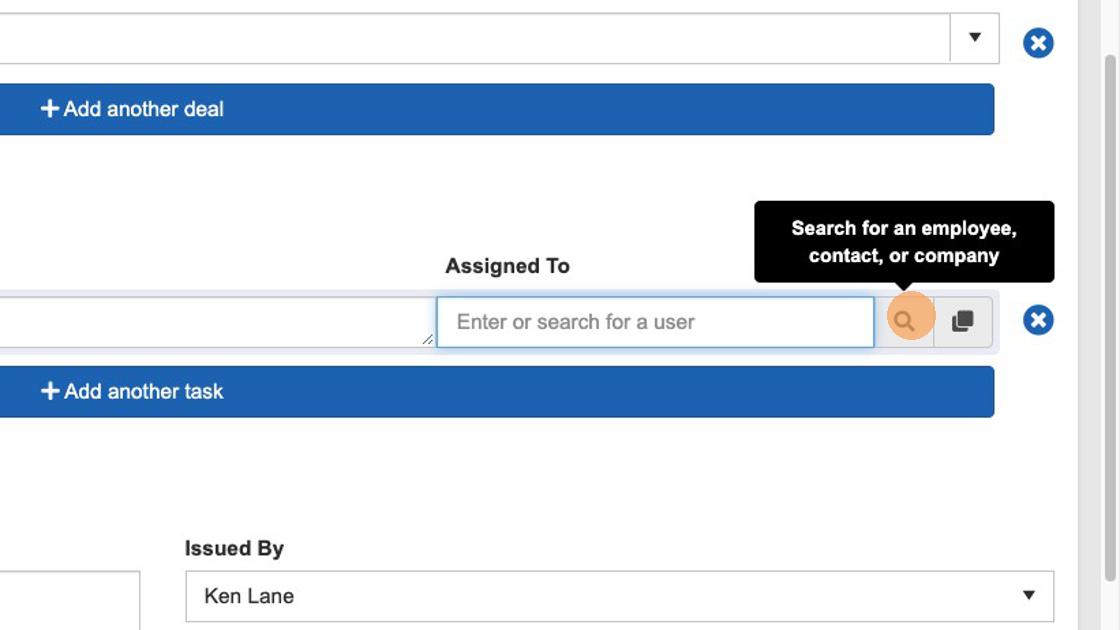
12. ...you can search for existing team members, contacts, or even companies to perform this task by selecting the magnifying glass search icon.
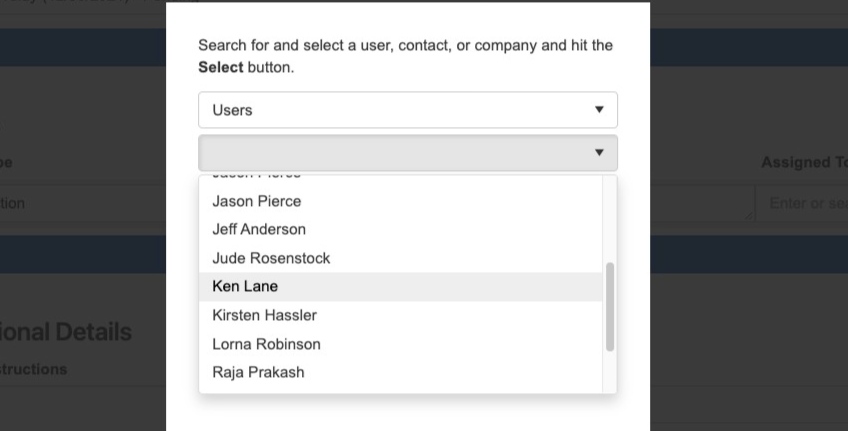
13. In the field that appears upon selecting the search icon, use the dropdown carrot arrow to select from Users (team members), Contacts (individuals in your system) or Companies to assign to perform these additional work tasks.
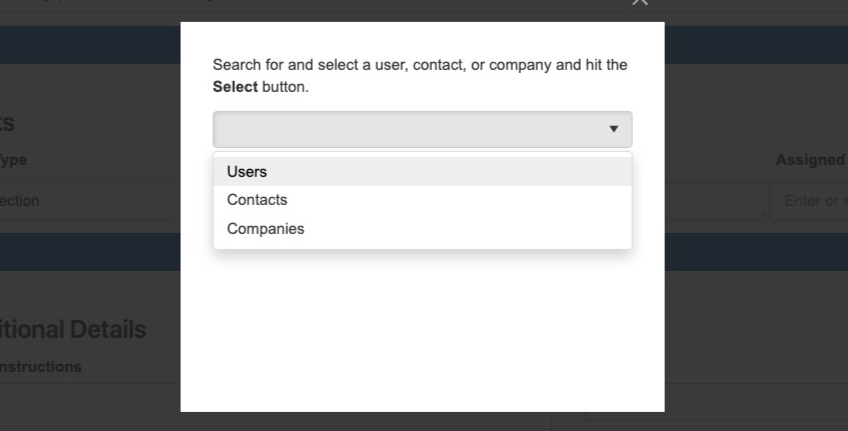
14. For this example, we're going to assign this task to an existing team member. So, we're going to select "Users," which will then present us with an array of team members from which to choose.
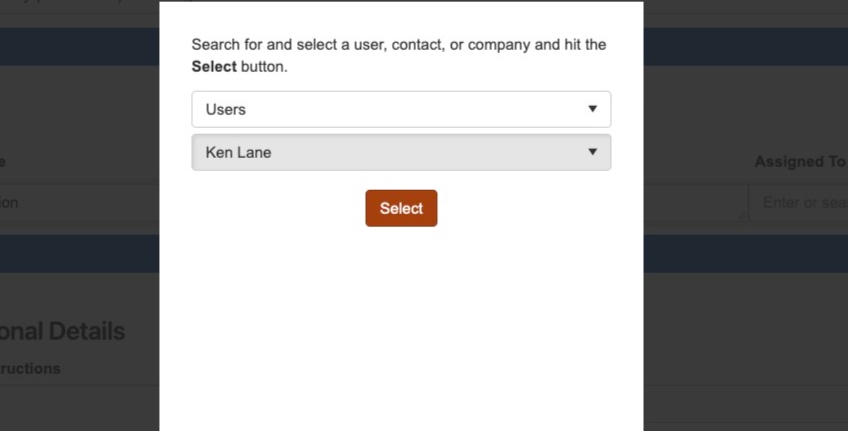
15. Once you have located the team member or other contact you wish to assign to this task, select the "Select" button.
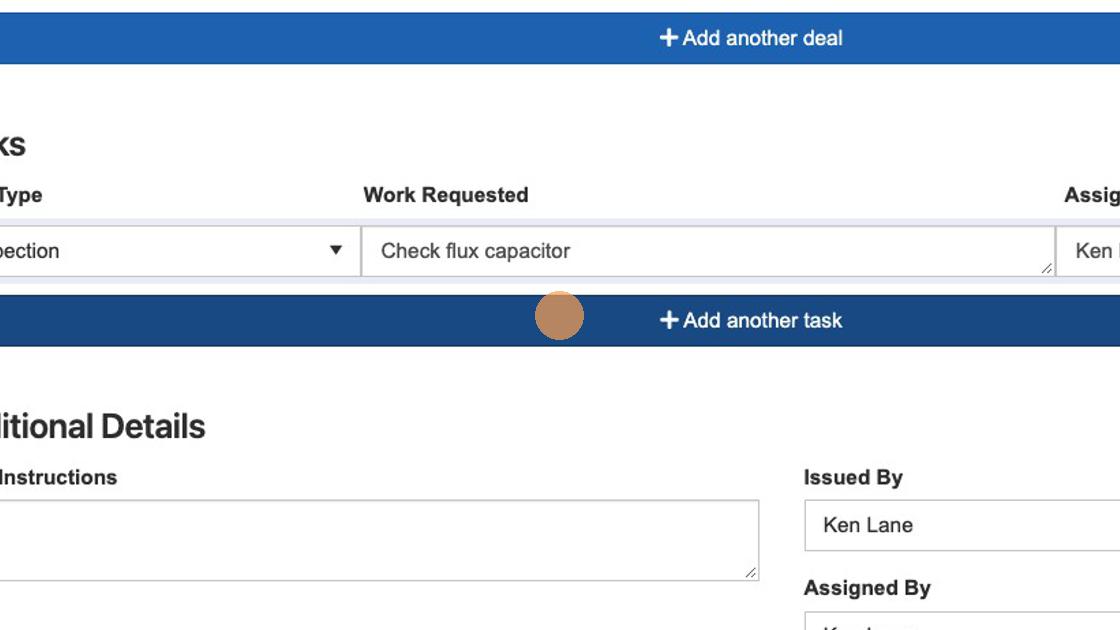
16. If you wish to add another task or sub-task to this particular work order, select the "+ Add another task button."
17. After you have filled out information about the nature of the task, you can assign this task to a different person or the same individual. If you wish to assign this task to the same individual as the other task before it, simply select the copy icon and their corresponding information will be added to the "Assigned To" panel.
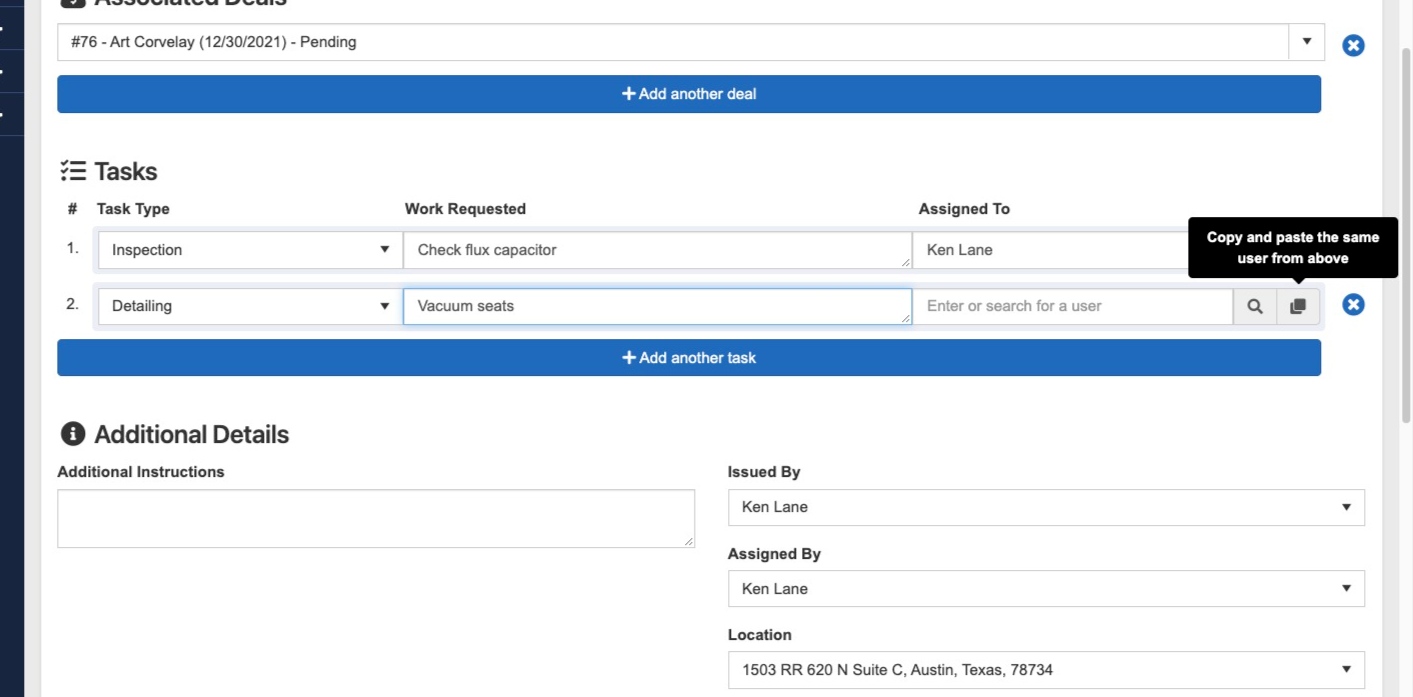
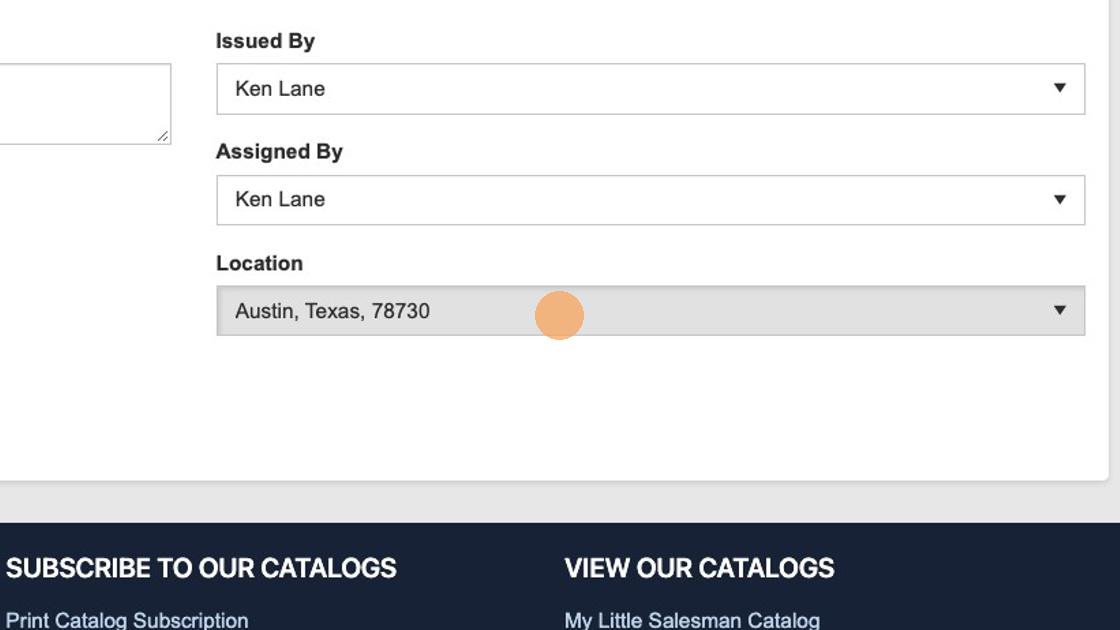
18. Fill out all other relevant details on the work order—including the location of where the work should take place.
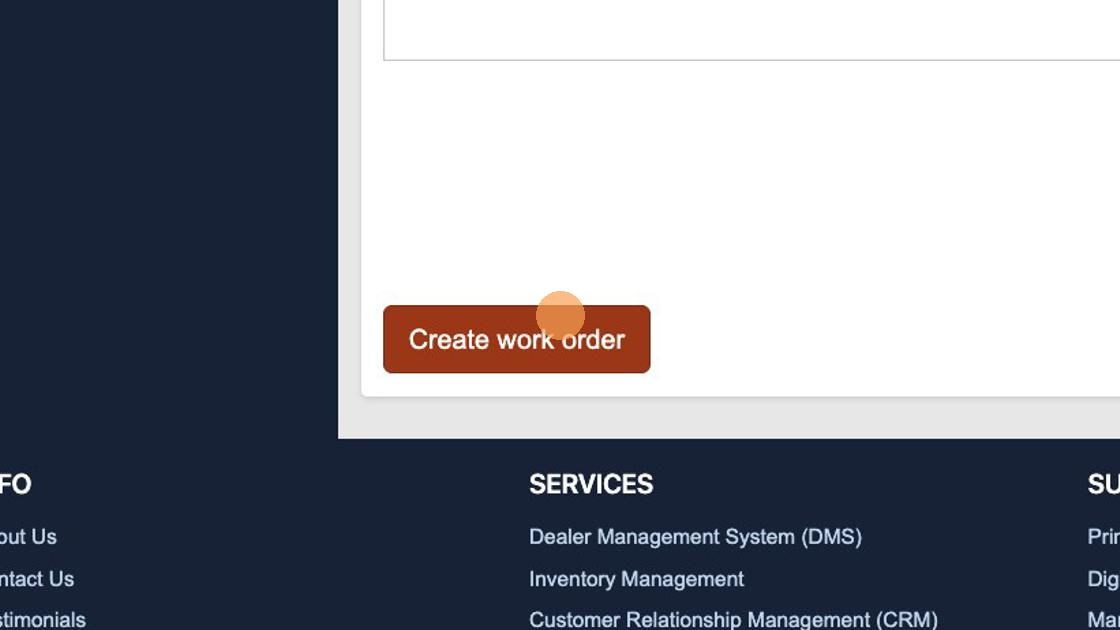
19. Make sure to select "Create work order" to save the details of your work order.
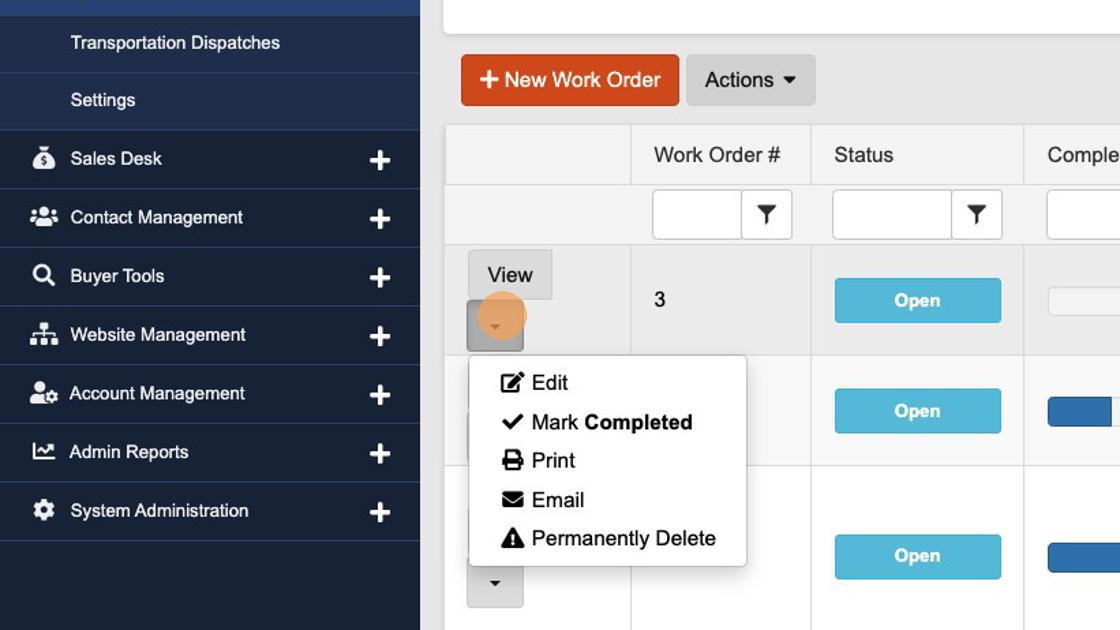
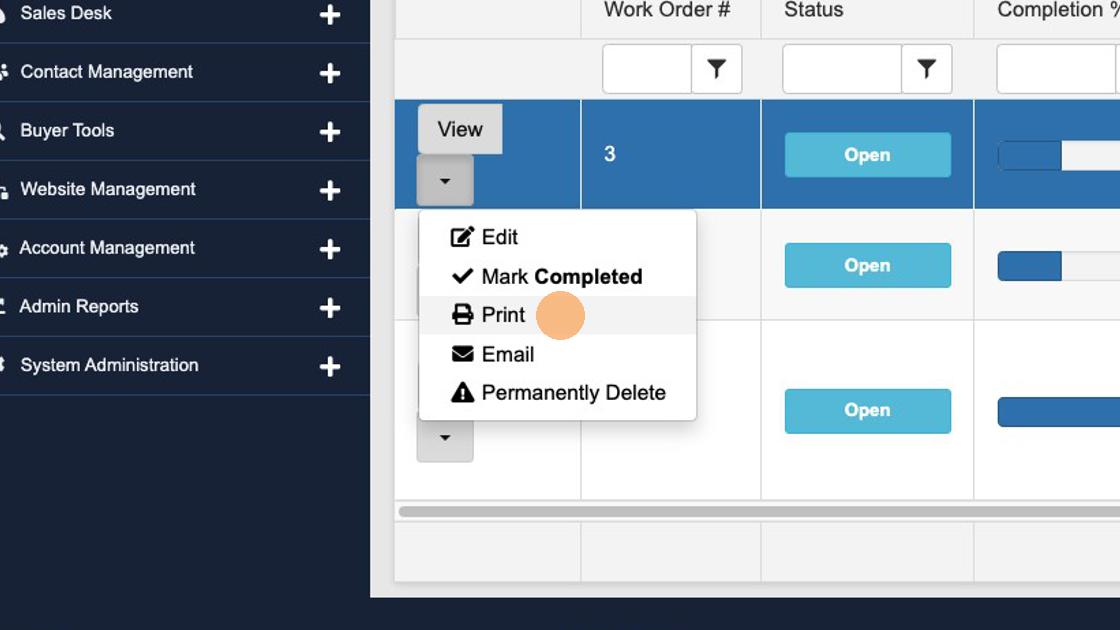
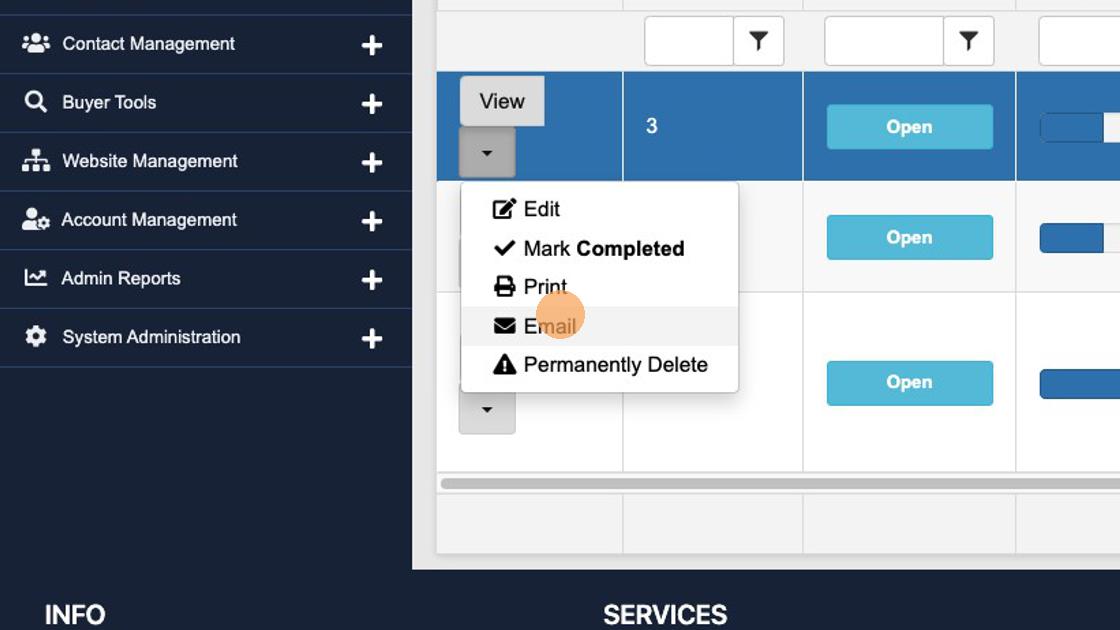
20. From the Work Order panel, you can select the arrow corresponding to any work order to Edit the details of the order, mark as Completed, print, email, or permanently delete any order.
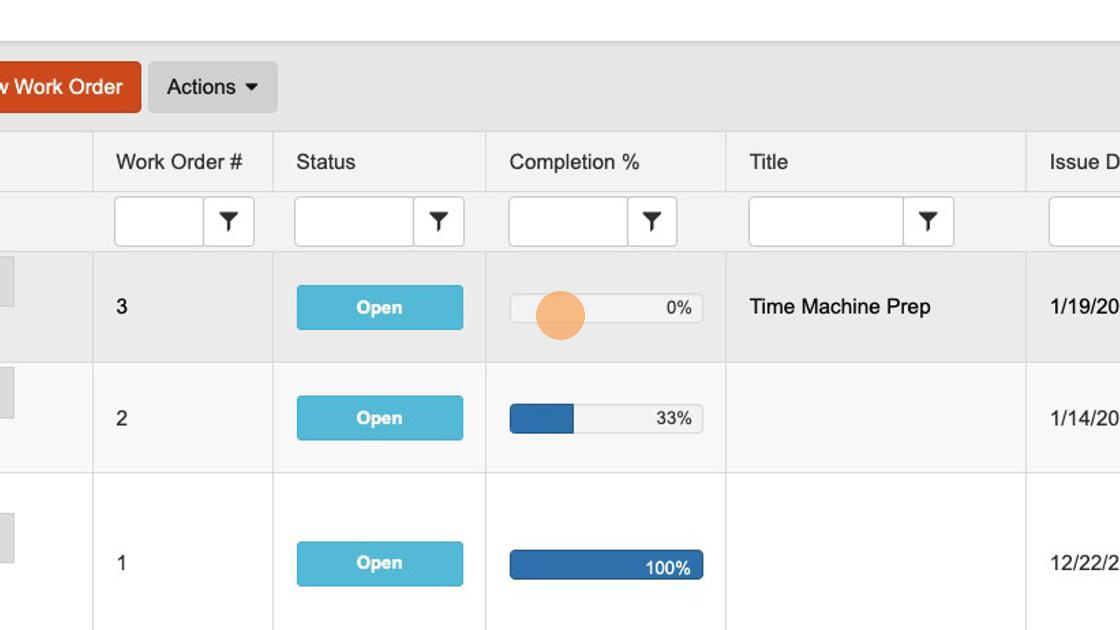
21. The "Completion %" rating for any work order reflects the percentage of tasks completed per work order.
22. To update the status or details of any work order, select the corresponding downward carrot arrow and select "Edit."

23. This edit screen will allow you to edit various details of any work order. To document the completion levels of any task, select the "TASKS" panel button.
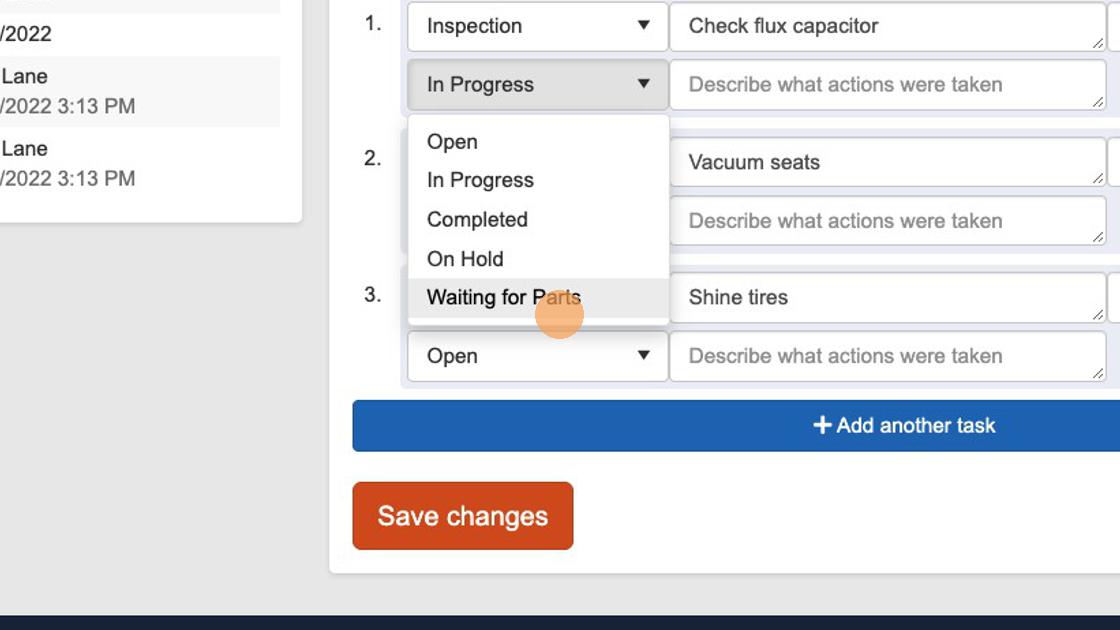
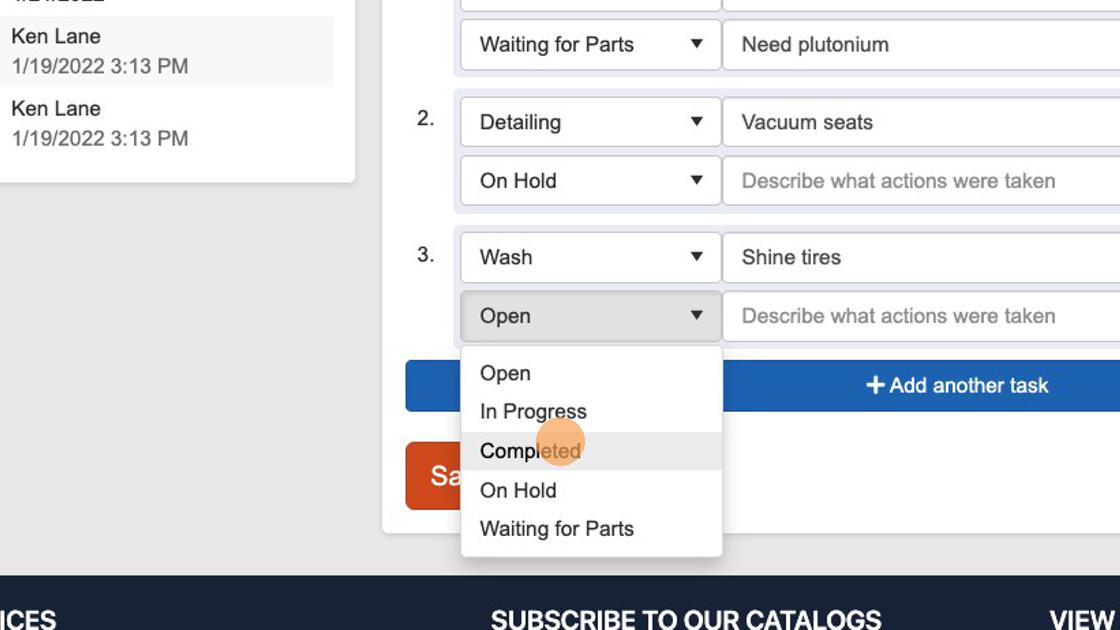
24. To adjust the status of any tasks, select the corresponding status dropdown toggle and make the more appropriate selection that reflects the present state of the task.
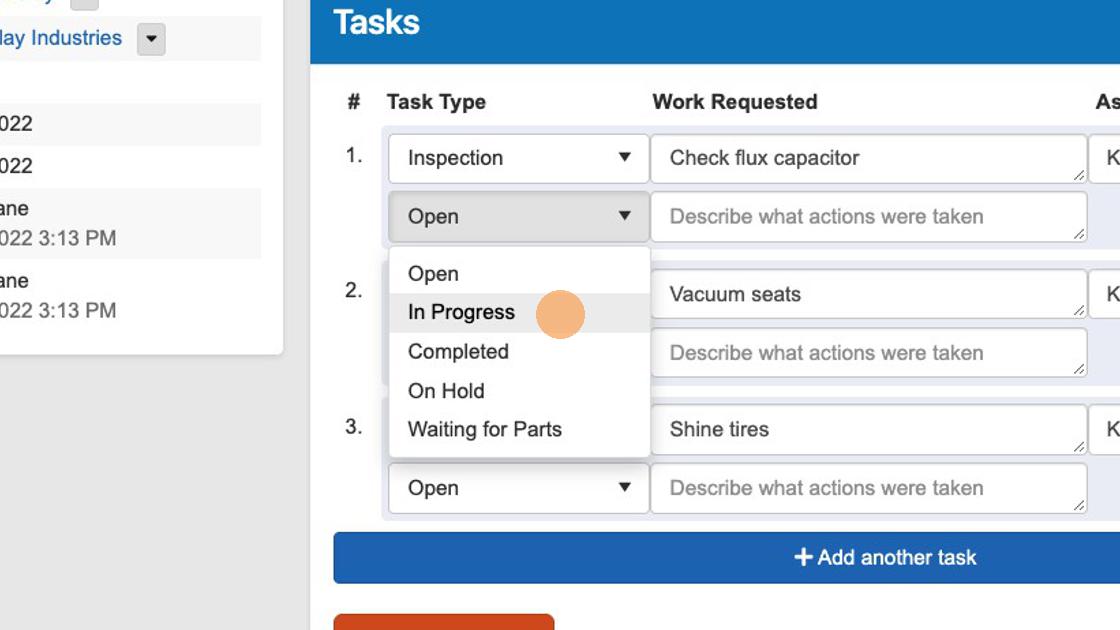
25. To adjust the status of any tasks, select the corresponding status dropdown toggle and make the more appropriate selection.
26. Further document the tasks performed or enter what items are still needed for the completion of said tasks. List these details in the "Describe what actions were taken" field.
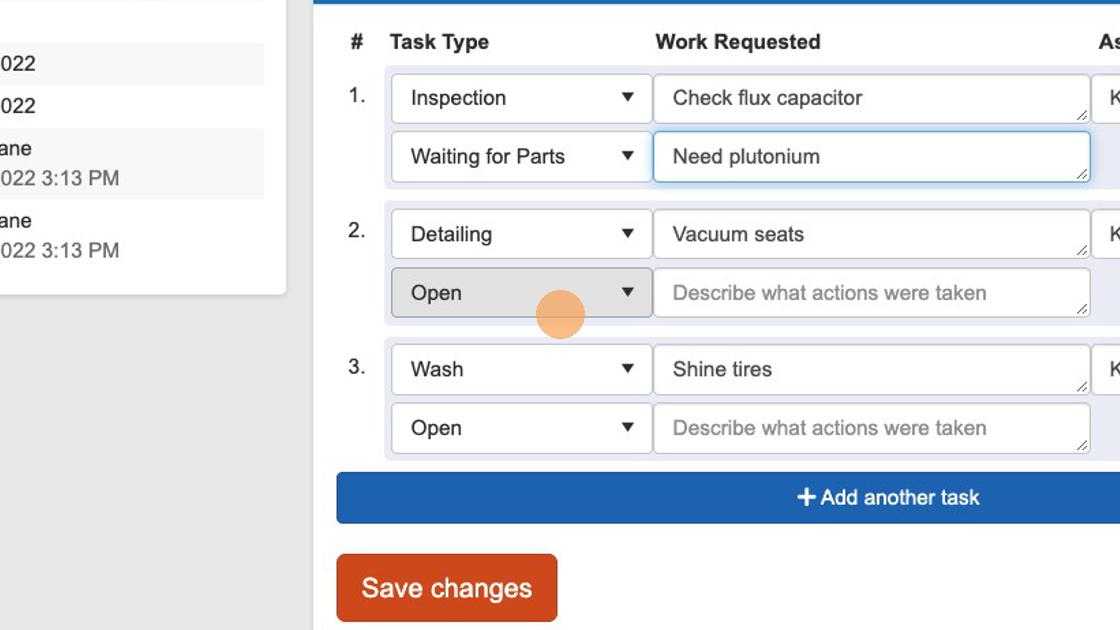
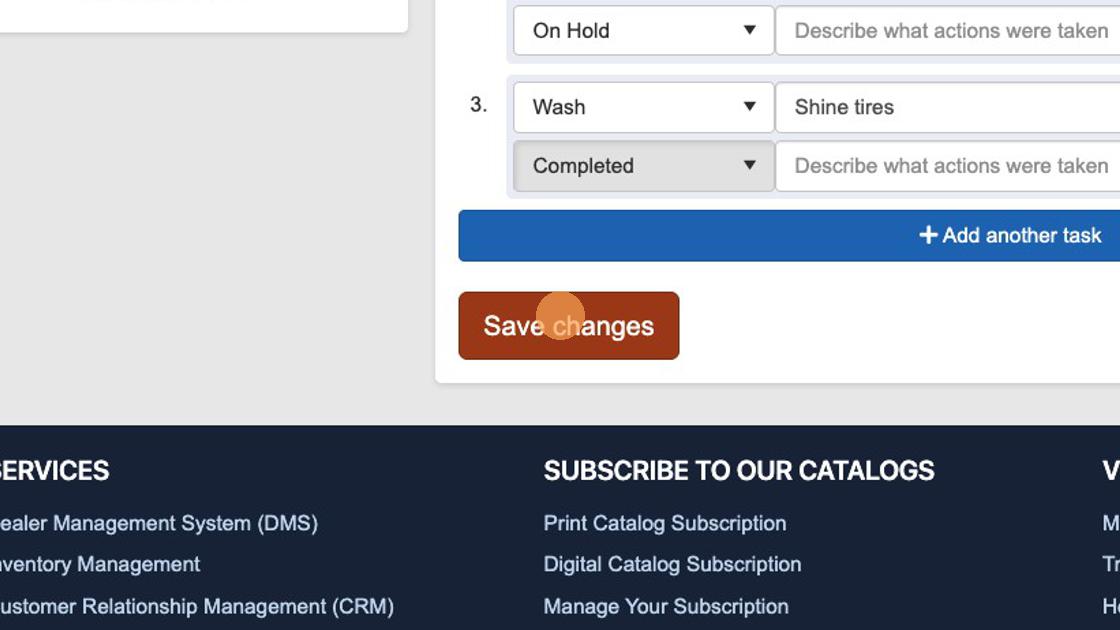
27. Mark any finished tasks as "Completed" to ensure they will be accurately reflected in the Work Order completion status.
28. Select "Save changes" to save any edits or task updates to this work order.
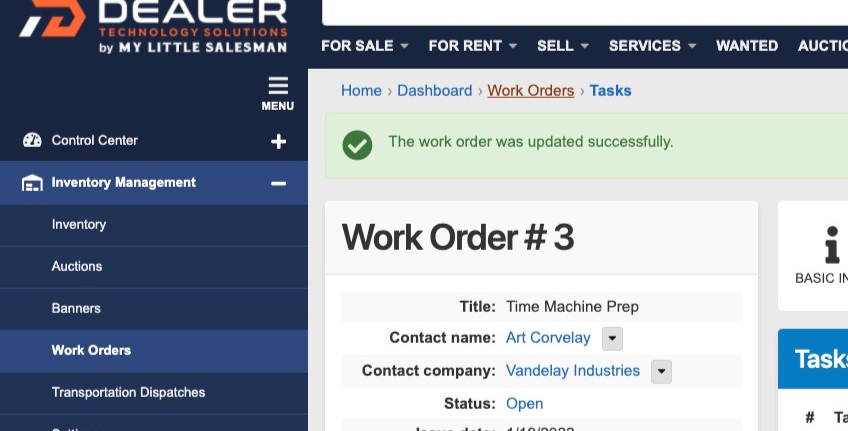
29. To return to your Work Orders panel, select the "Work Orders" breadcrumb navigation link at the top section or select the heading from the Inventory Management navigation.
30. To print or save a work order as a PDF, select the downward arrow toggle followed by the "Print" selection.
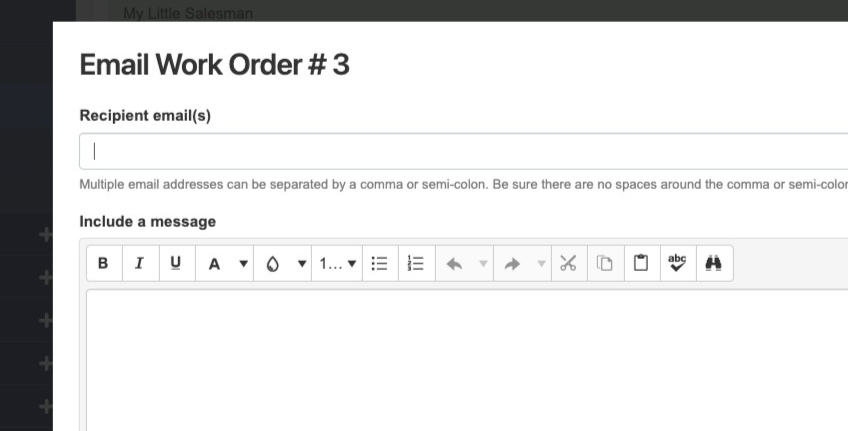
31. To email any work order to its assigned team member, contact, company, or otherwise, select the "Email" option for the work order in the toggle dropdown from the Work Orders panel.
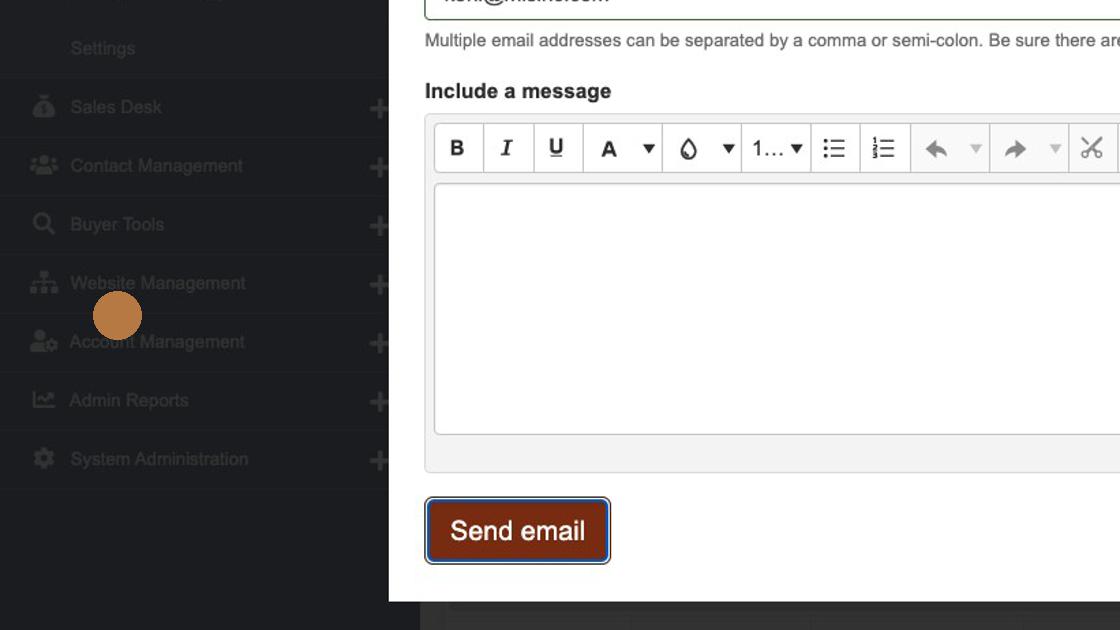
32. Insert the email address or email addresses of the intended work order recipients as well as any helpful details in the "Include a message" section.
33. Insert any additional details and select the "Send email" to email the work order.
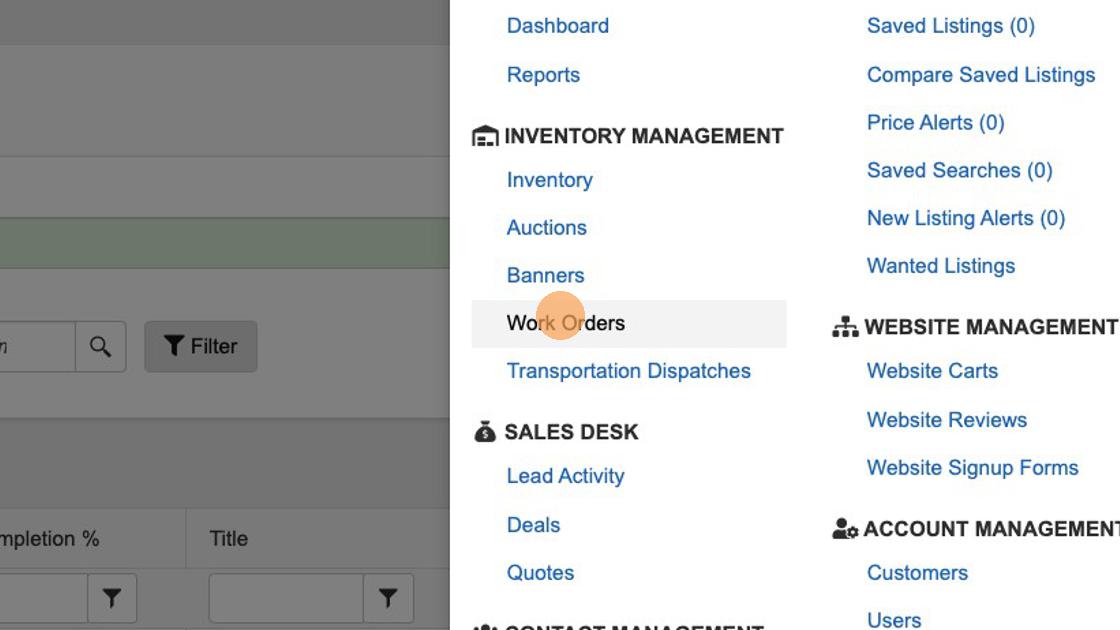
34. You can also access a full listing of Work Orders by using the main navigation—MY ACCOUNT by selecting the "Work Orders" option within the "INVENTORY MANAGEMENT" heading section.
35. For a more manageable view of Work Orders on a tablet or mobile device, select the Gallery view option using the grid-like button to the right.
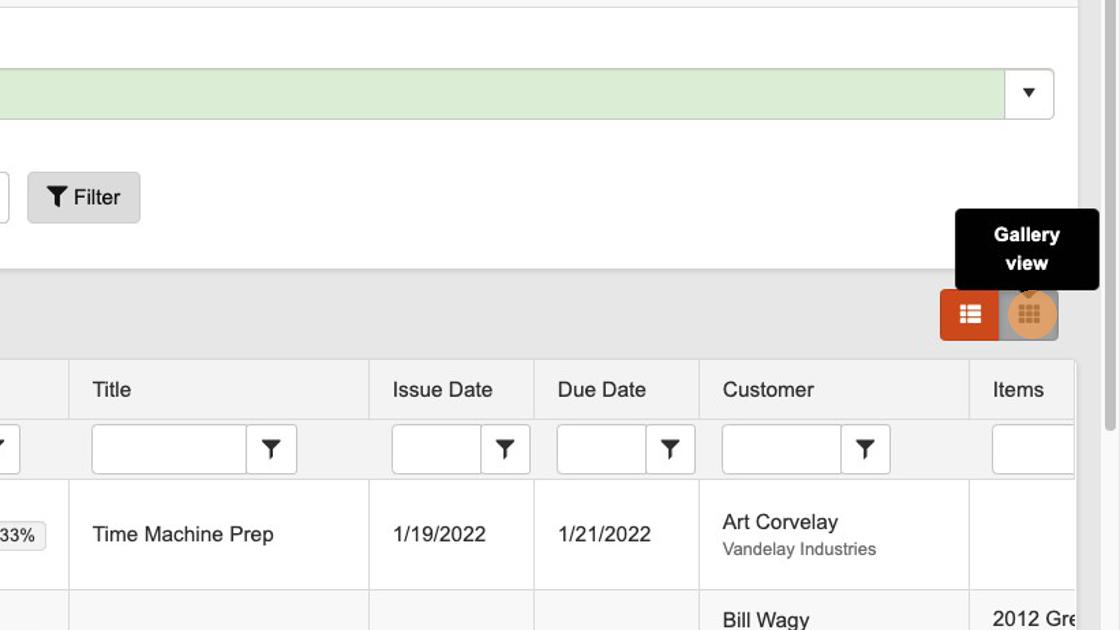
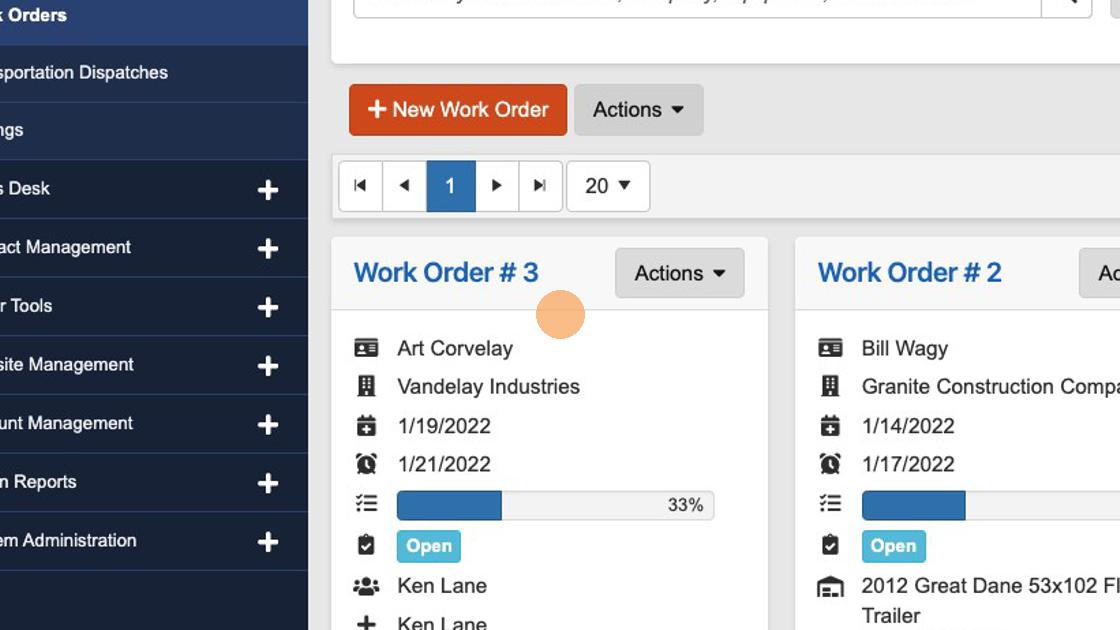
36. The Gallery view allows for block-like listings that may be easier to view and utilize on mobile devices.
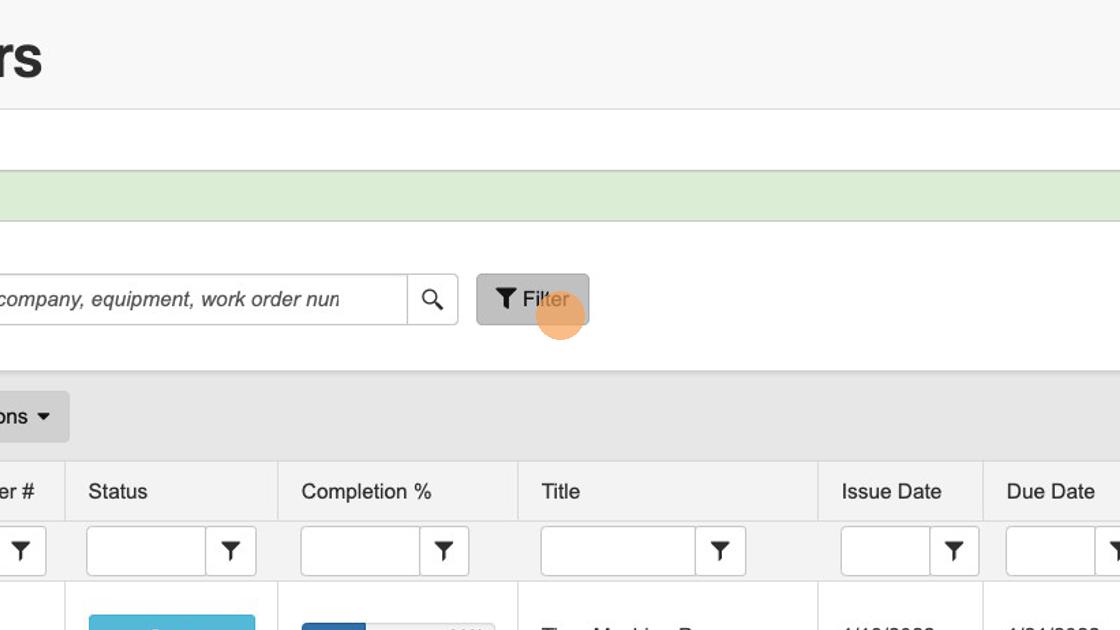
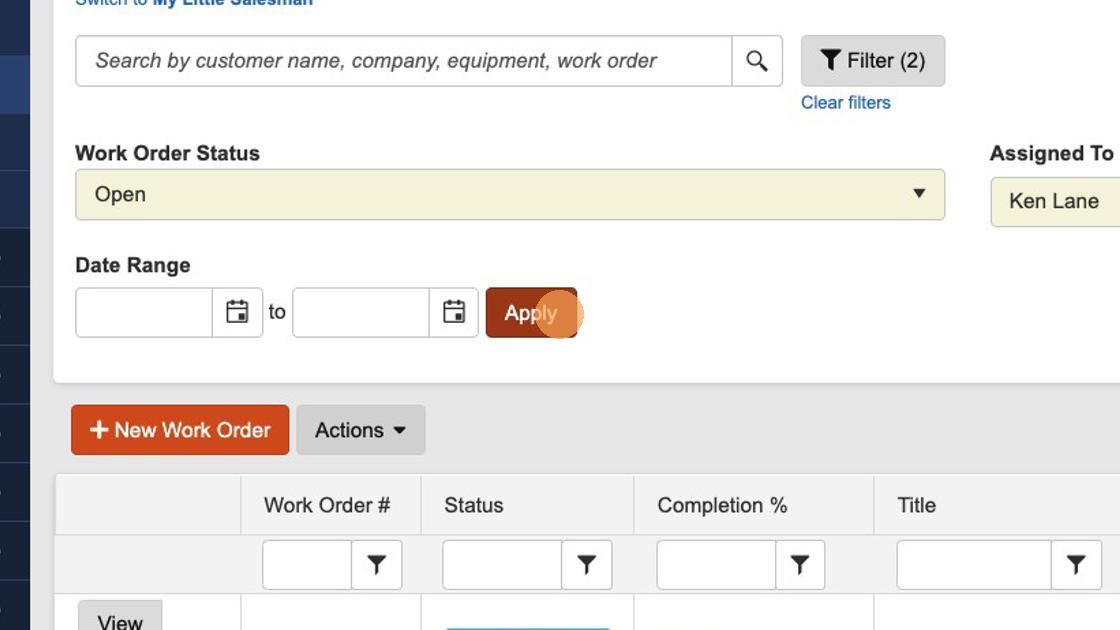
37. Let's say that you only want to see work orders with relevant details—such as work orders that are assigned to you or that have a specific status. Begin filtering by selecting the Work Orders panel and select the "Filter" button.
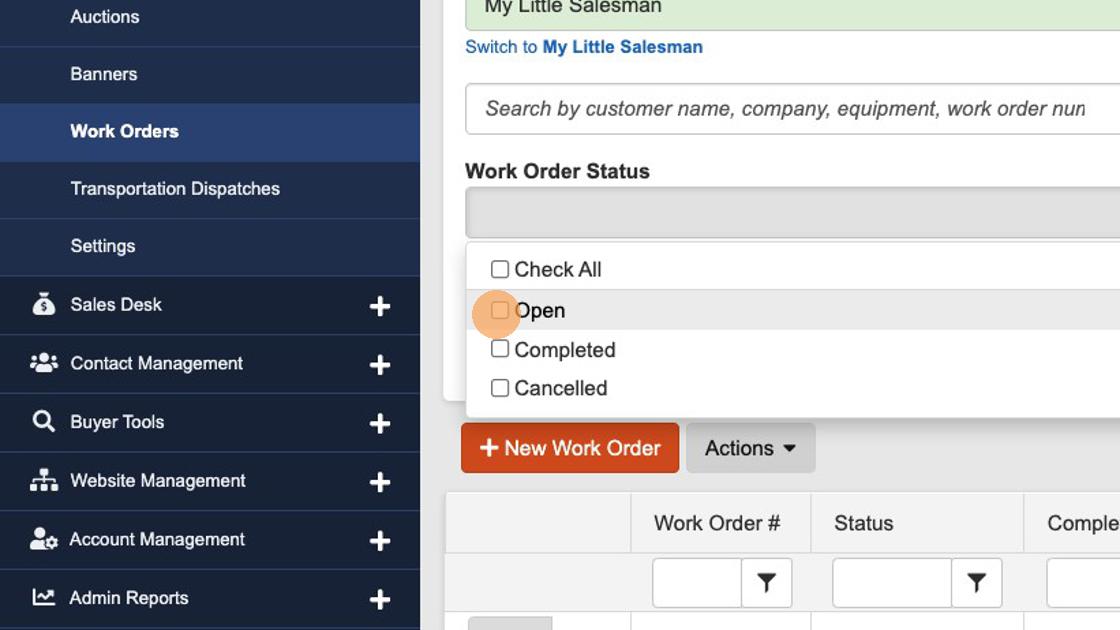
38. From this view, you can adjust which work orders you see by status.
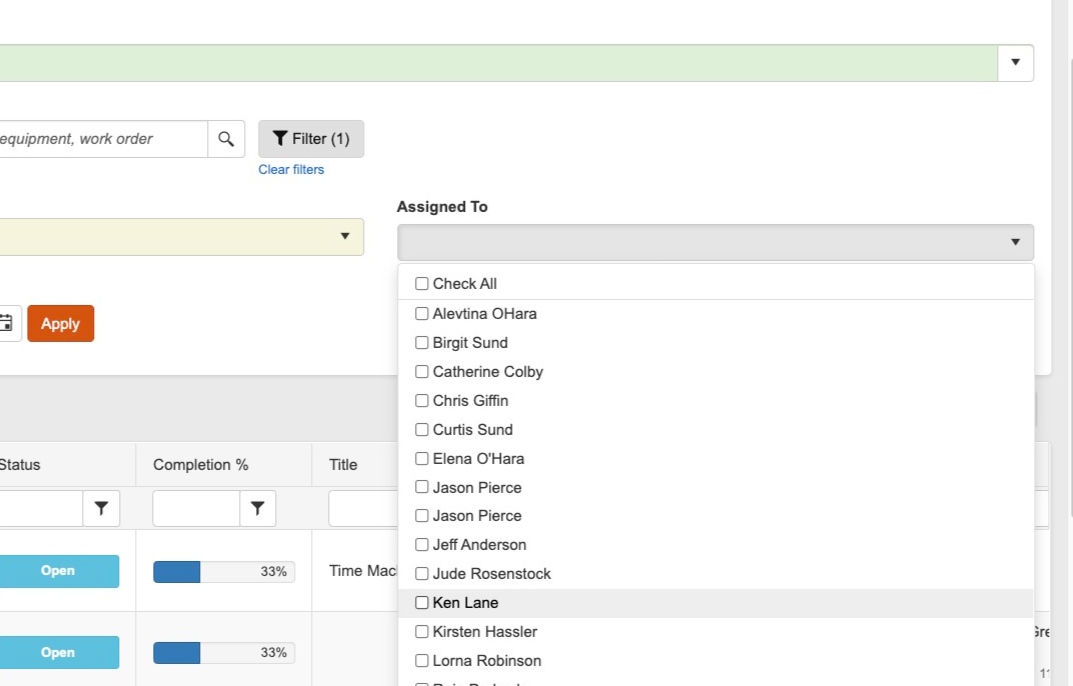
39. You can also filter down work orders by assigned team members.
40. You may also filter work order views by the Date Range.
Bonus Items to Consider
Multiple Items Per Work Order
If you would like to create a single work order that applies to multiple items—for instance, you get in ten commercial trailers that all need to be inspected—you can add multiple inventory items to a single work order. From the main view of that particular work order, select the "ASSOCIATED INVENTORY" button along the top and you will be able to "Add another item" with a convenient toggle dropdown.
Questions and Suggestions?
Contact your Dealership Drive sales representative.