
Availability Settings: How to Create and Customize your Inventory Availability Options and Establish Default Preferences for Deals
Changing the Availability settings, creating your own options, as well setting up default availability settings can be accomplished in just a few clicks.
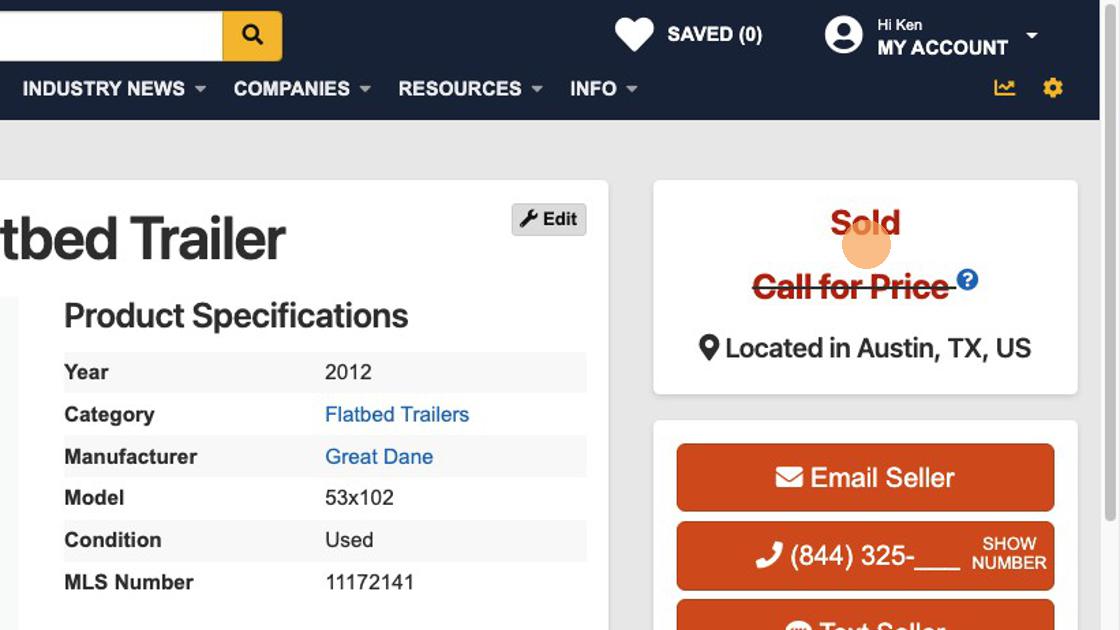
1. This item's availability setting (highlighted by the dot) shows the item as available with the option to call for price.
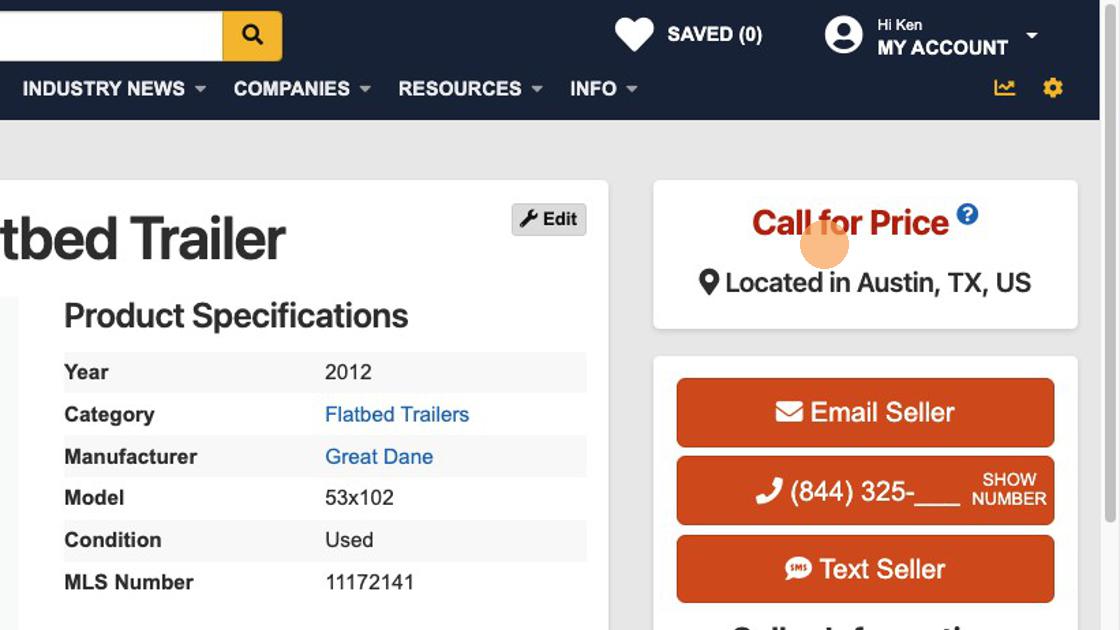
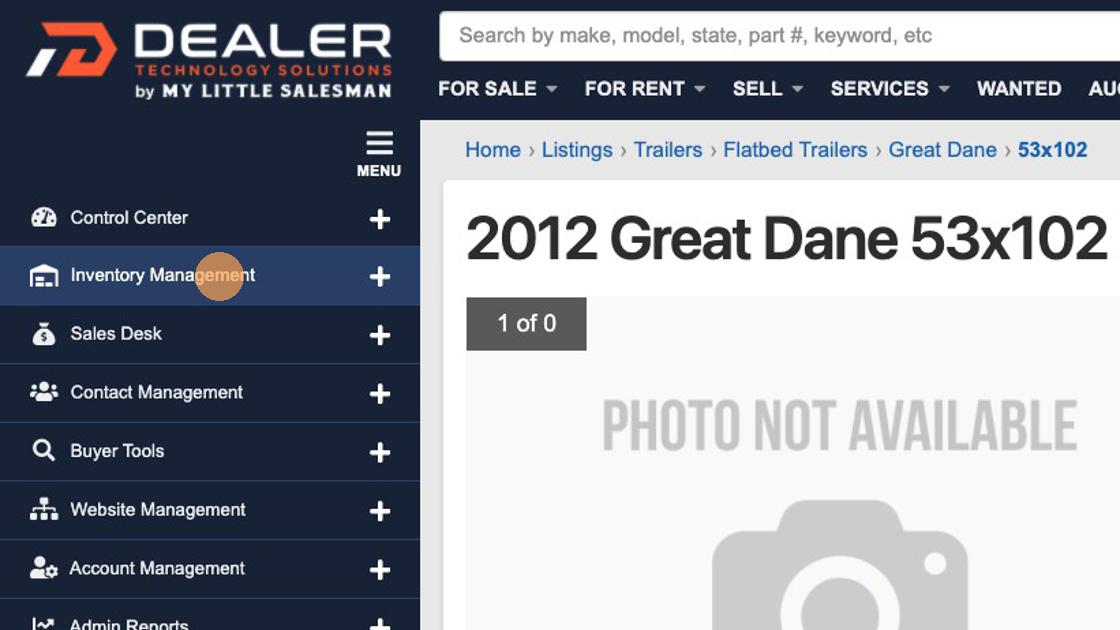
2. To change this listing to another availability status, such as Sold, make sure you are logged into your account and select "Inventory Management" from the navigation menu.
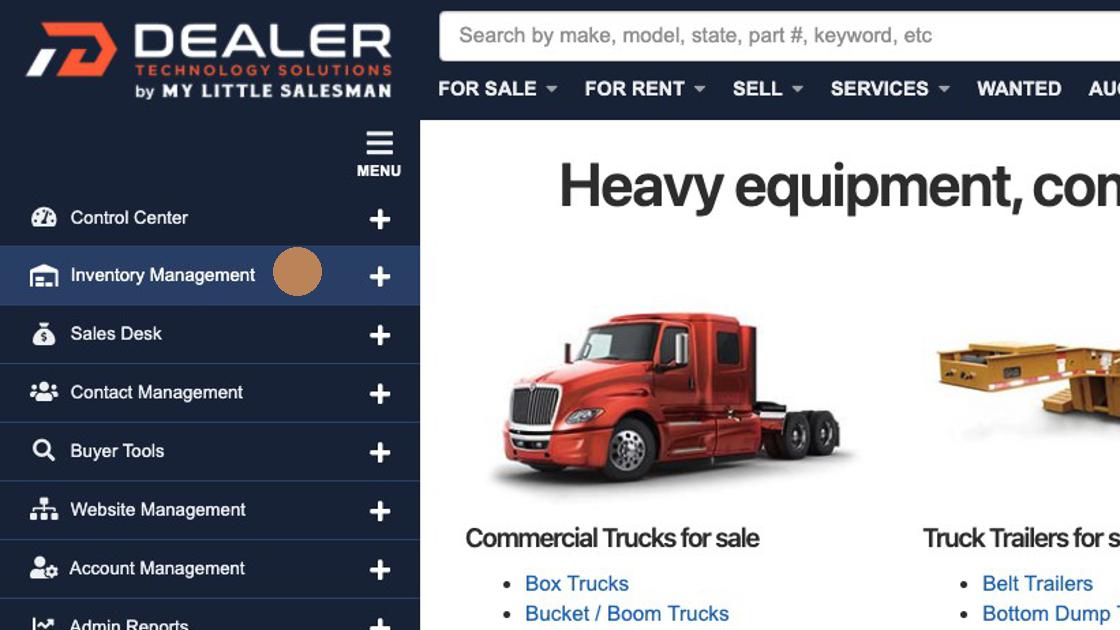
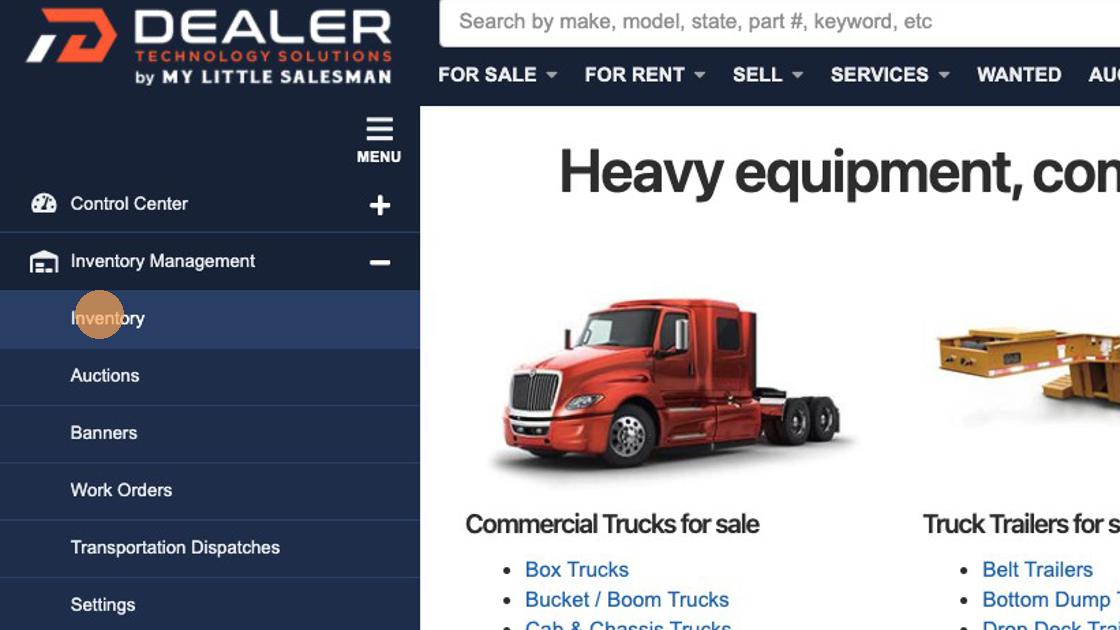
3. From the toggle dropdown options, select "Inventory" to access your full inventory panel.
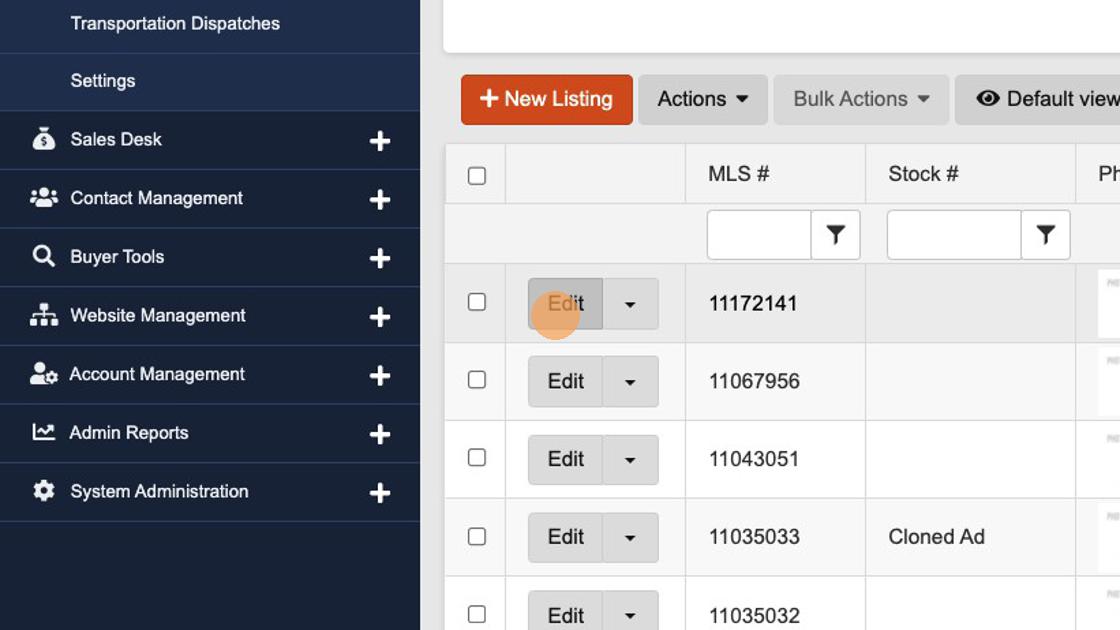
4. Use filtering or search tools to locate the item whose availability status you wish to change. Once you have found the item in question, select the "Edit" button.
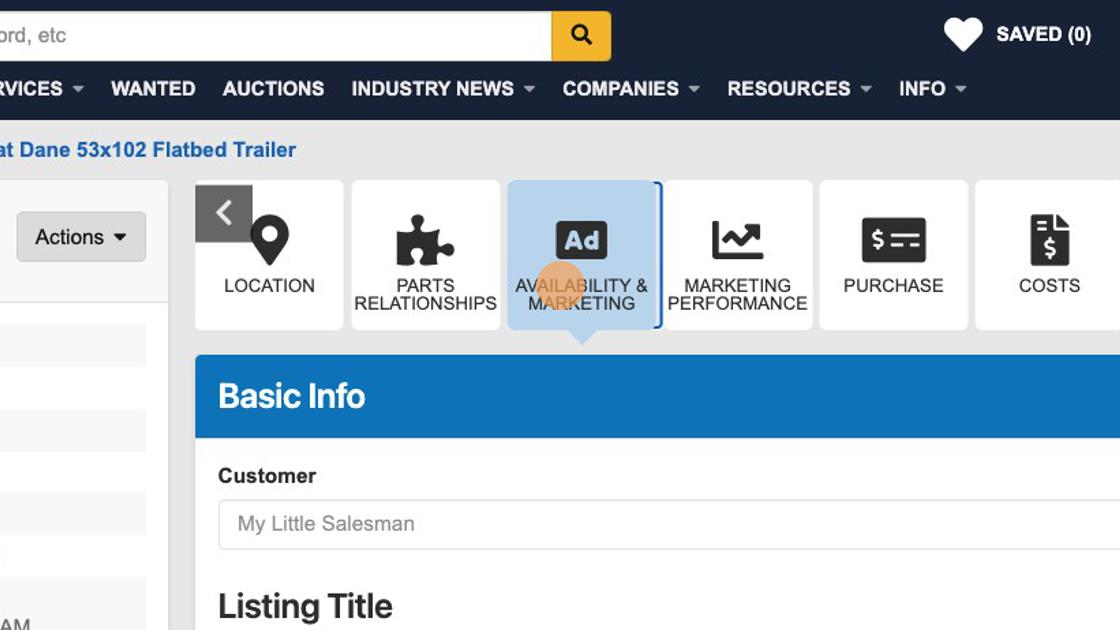
5. You want to select the "AVAILABILITY & MARKETING" button along the top. This may not be visible from you initial view. Use the horizontal arrow buttons to scroll from side to side to reveal your full array of options.
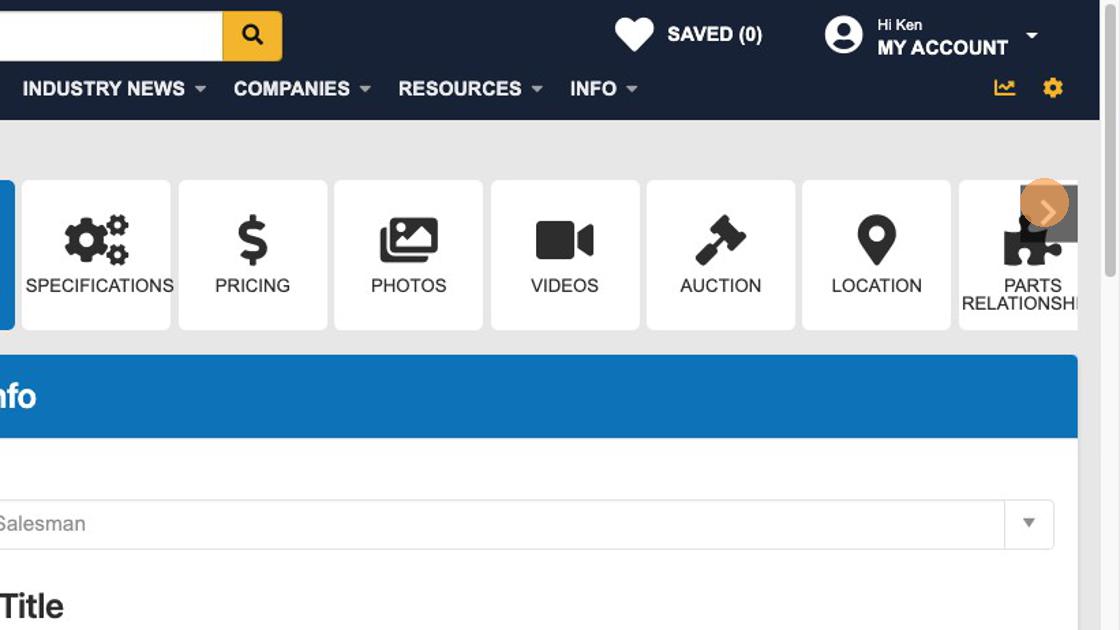
6. Select the "AVAILABILITY & MARKETING" button.
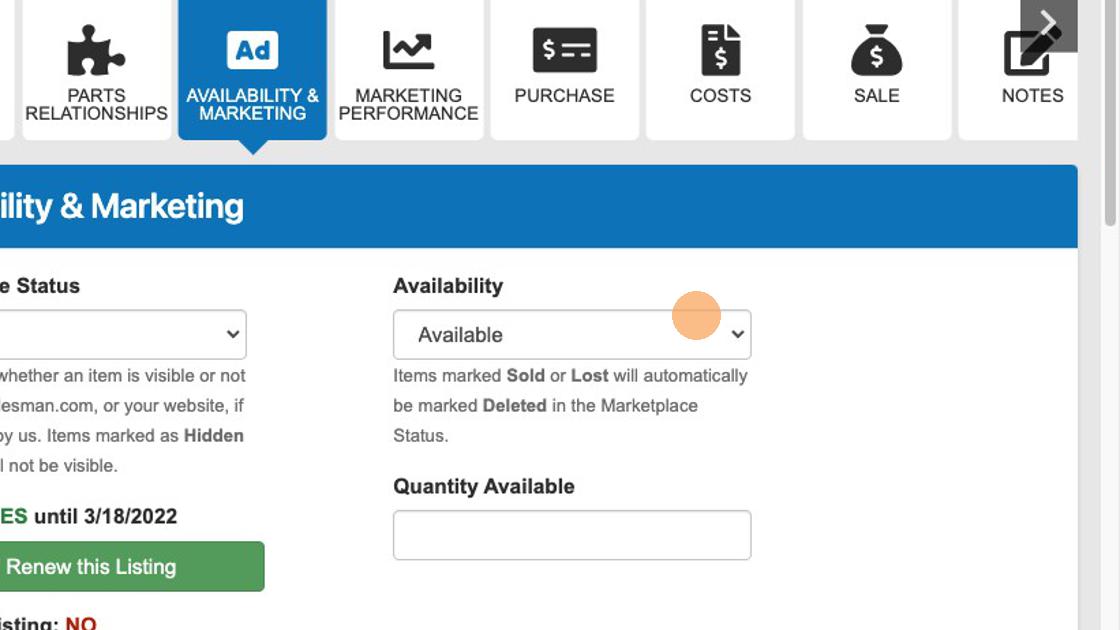
7. From the Availability & Marketing panel, select the Availability dropdown toggle to show your full options. From here, you may select which option availability status to change your item to reflect in your system as well as on the listing—if the settings are set up in such a way.
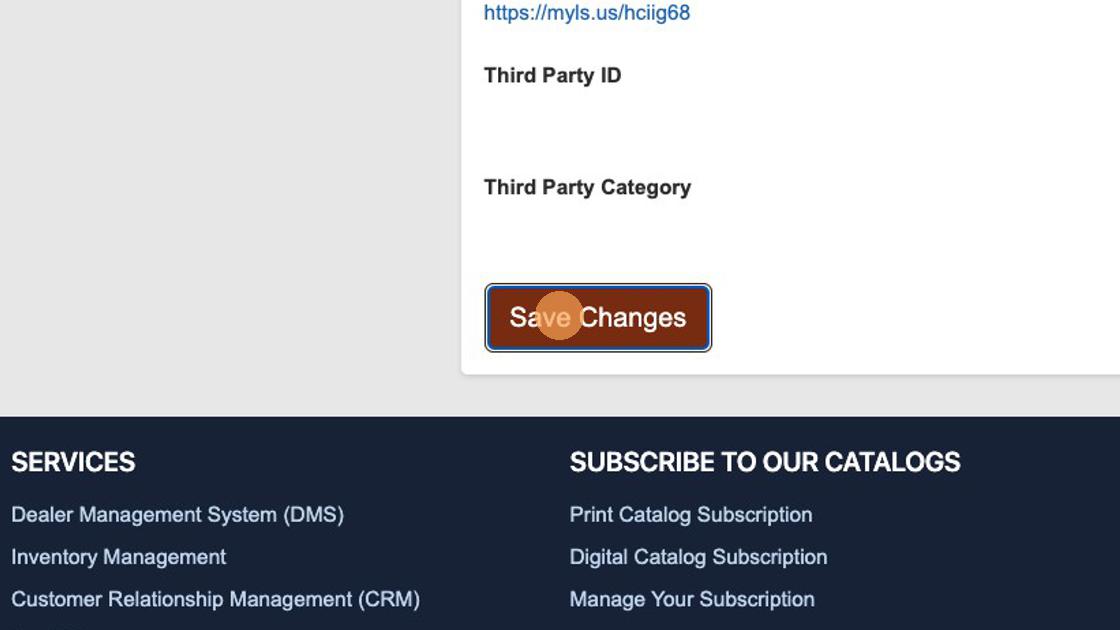
8. After you have made the Availability status change, make sure to select "Save Changes" at the bottom to save any changes you have made to the inventory listing.
9. We had changed the availability status to "Sold." If you were to view this item from the customer side (pictured below), you would see that the availability status has changed to reflect this new availability status.
10. The standard Availability status options may not reflect every status your organization has for your inventory. To add and edit your own Availability status settings, start by selecting "Inventory Management."
11. Select "Settings" from the options that appear.
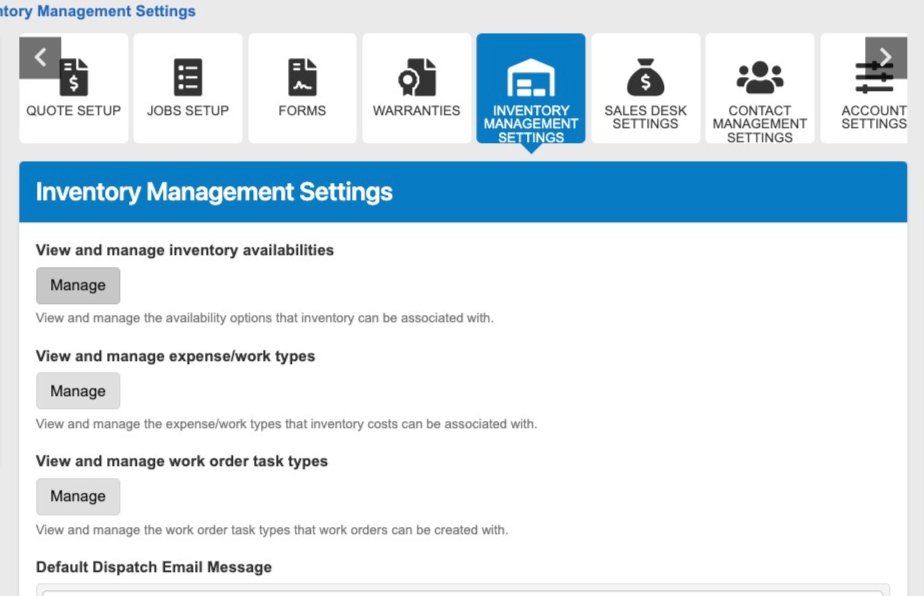
12. From the familiar Inventory Management panel, select "INVENTORY MANAGEMENT SETTINGS" followed by the "Manage" button just below "View and manage inventory availabilities."
13. From this view, you can see all of the Availability status options.
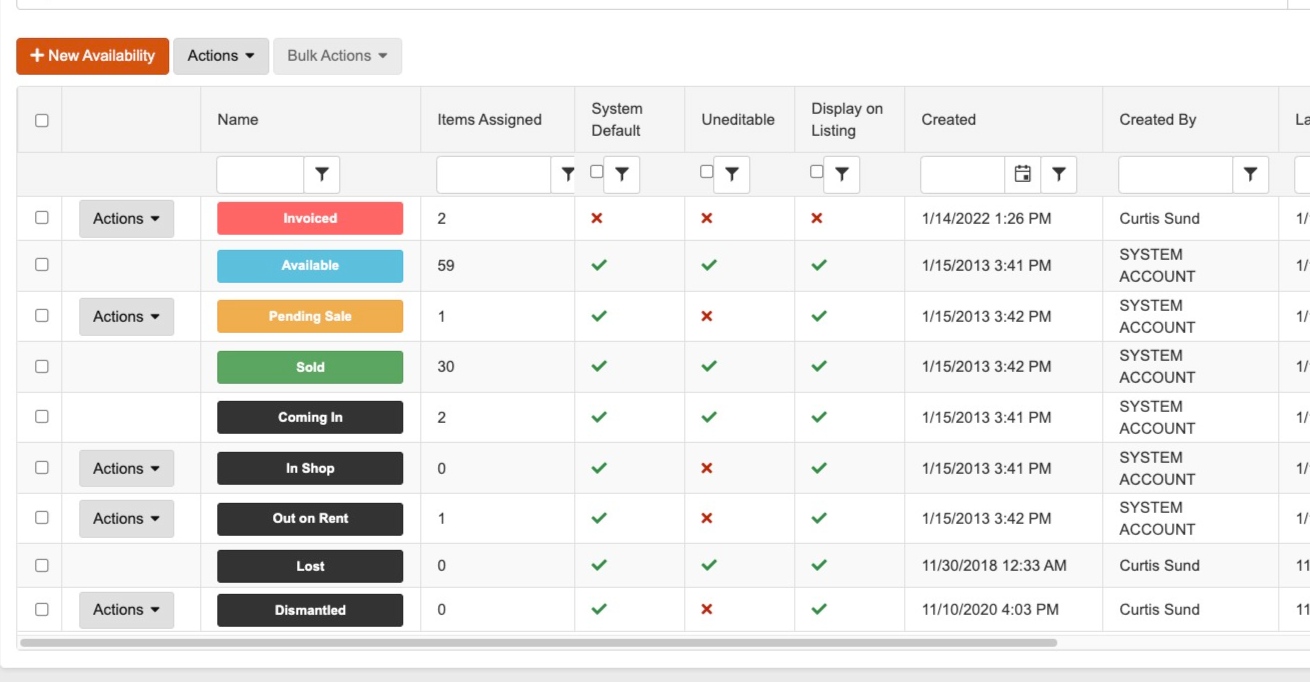
14. Each column reflects:
How many items are currently classified as such (Items Assigned)
If setting is "out-of-the-box" or created by your organization (System Default)
If you can change the setting (Uneditable)
If the setting impacts the front-end availability status of the items (Display on listing)
When it was made (Created) and who established the Availability setting (Created By)
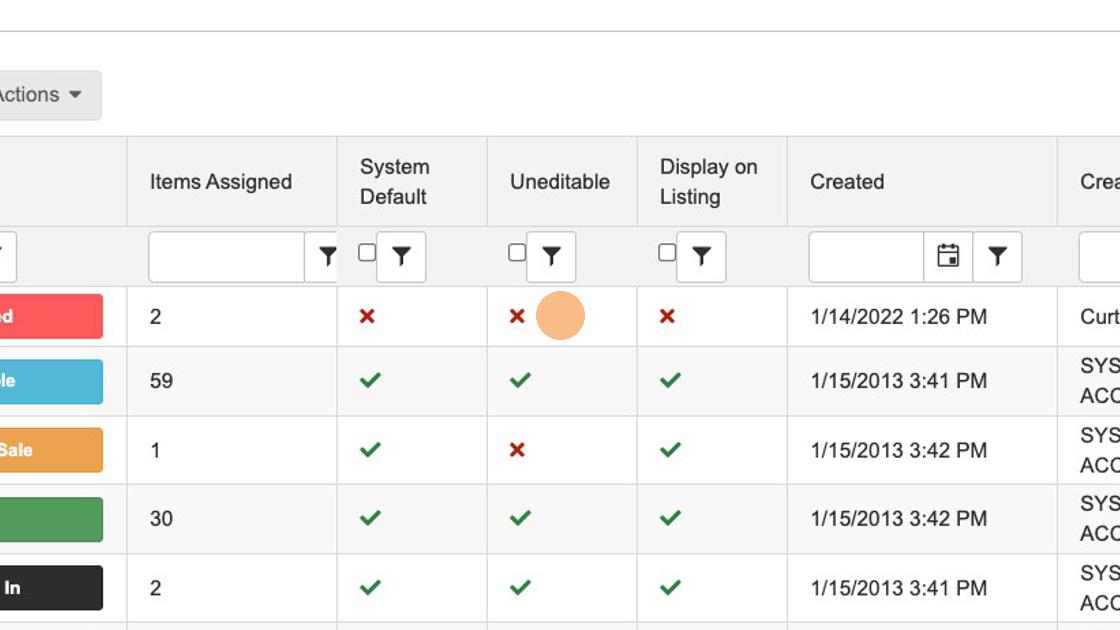
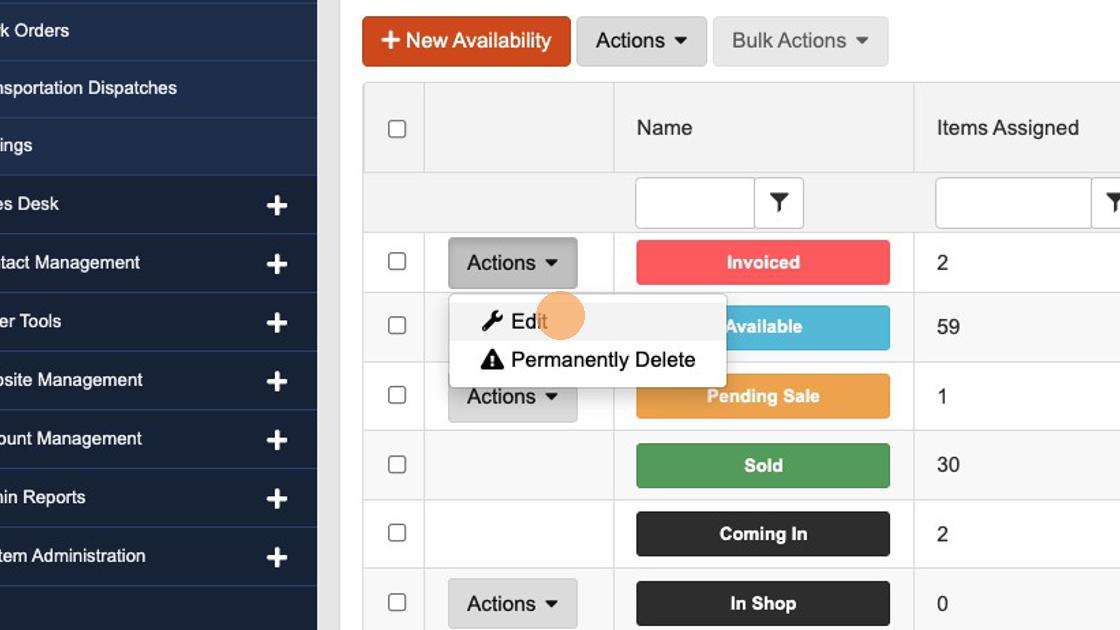
15. To make changes to an Availability status setting your organization has created, select the "Actions" downward toggle carrot icon to Edit or Permanently Delete the Availability.
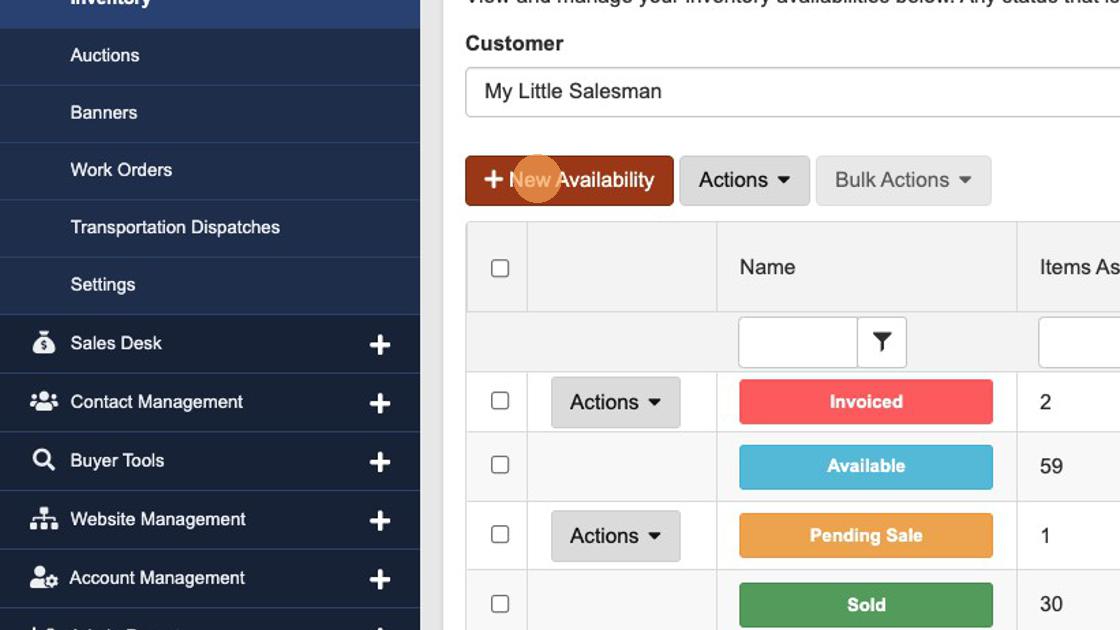
16. To create a new Availability status, select the "+ New Availability" button.
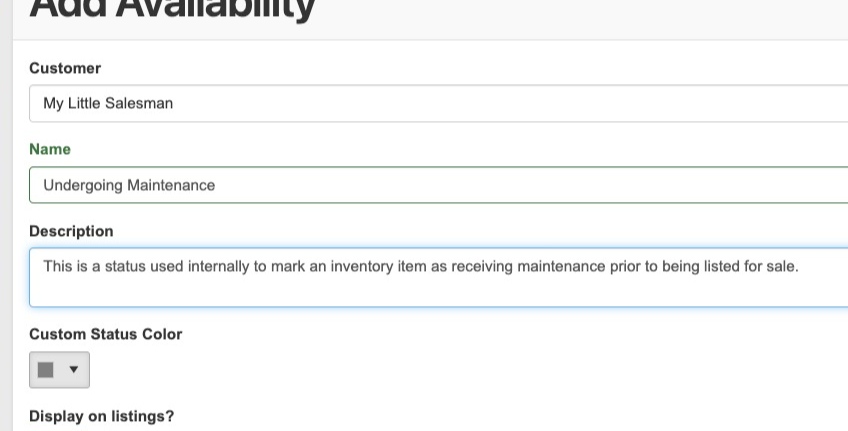
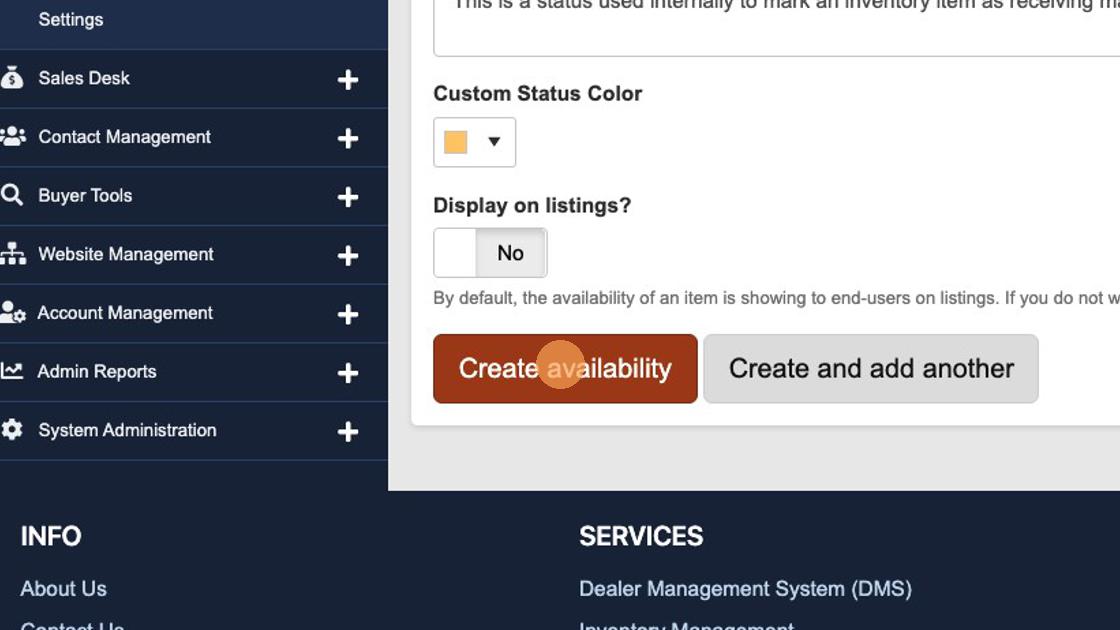
17. Name your new Availability setting. In this instance, our new status is titled "Undergoing Maintenance."
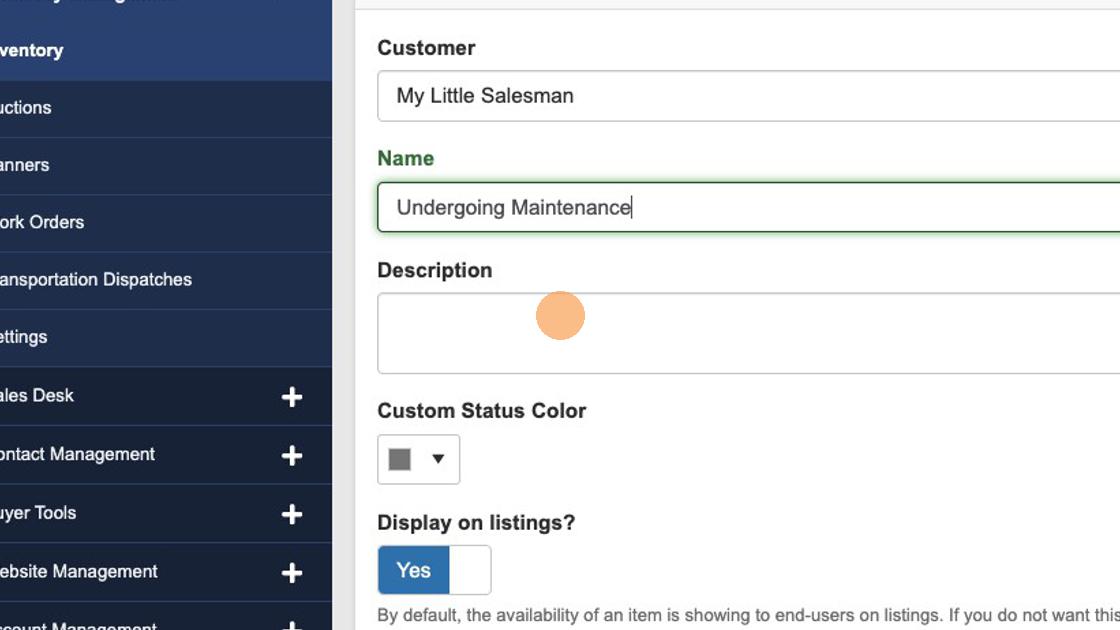
18. It may be useful to outline the conditions implied by this Availability status.
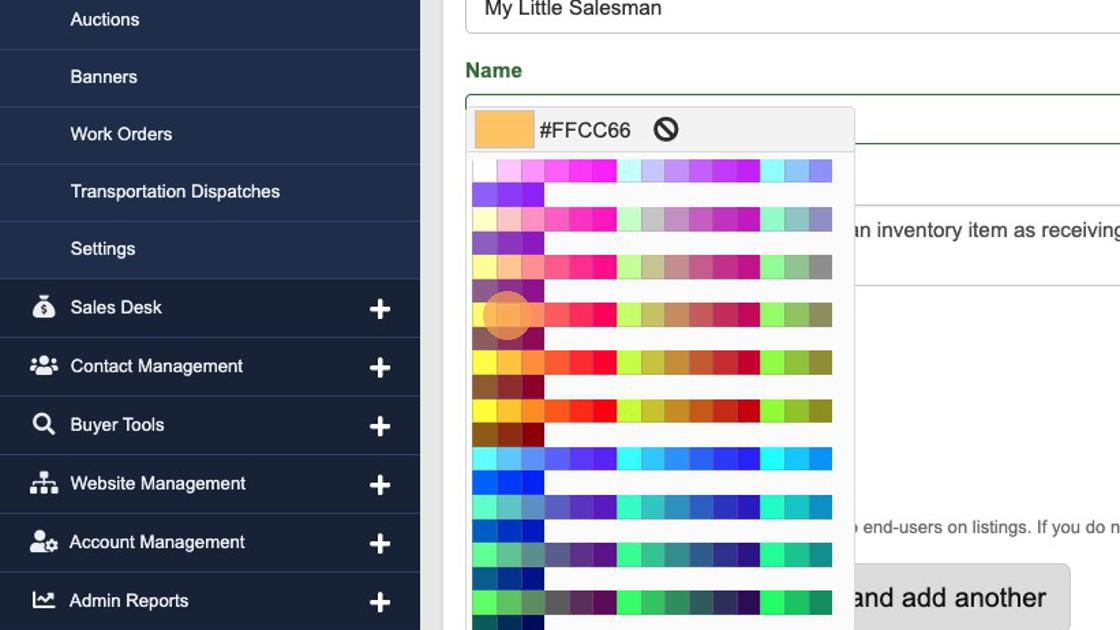
19. Select a color to be used when displaying this status in your system.
20. Select whether or not you would like this Availability to be visible on the customer-faced side of your listing or to only be visible internally.
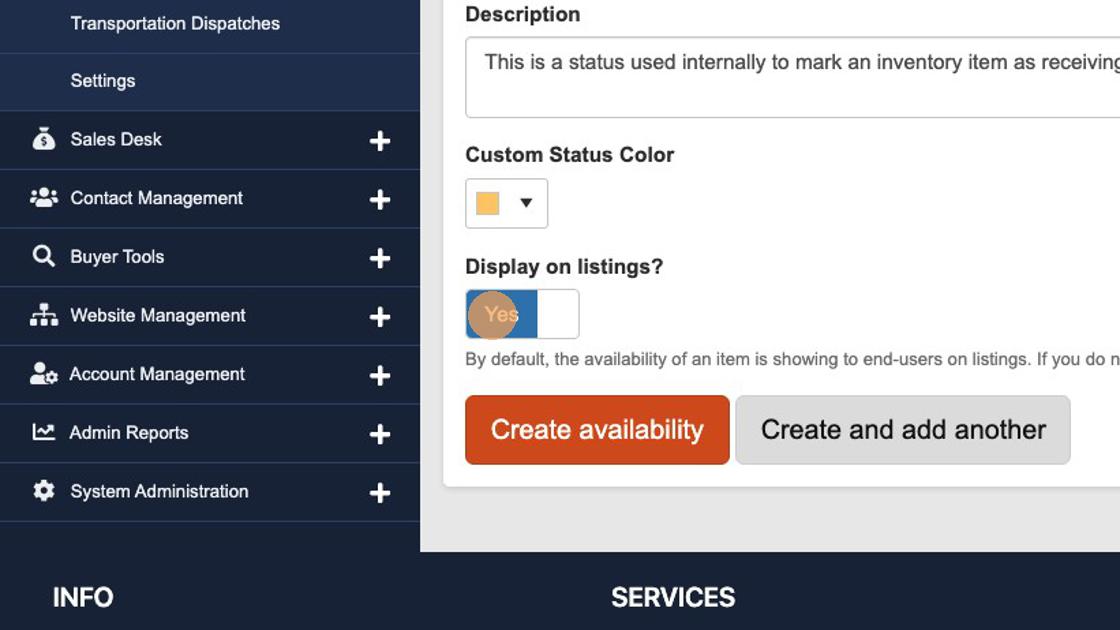
21. Whenever you have finished establishing the conditions and criteria of this new Availability status, select "Create availability" to save your updated status.
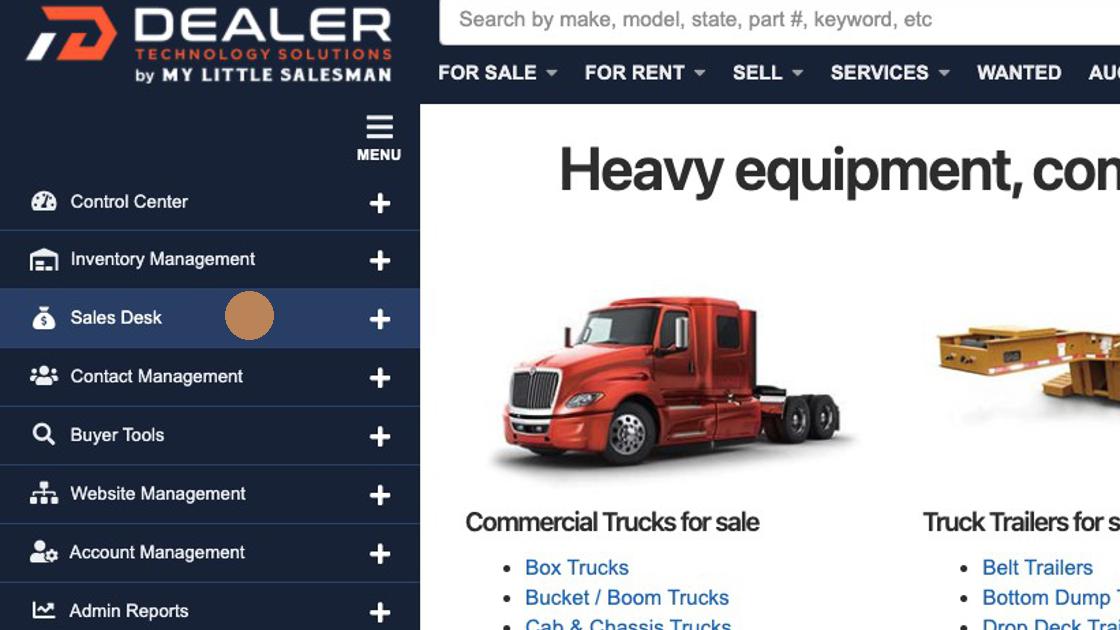
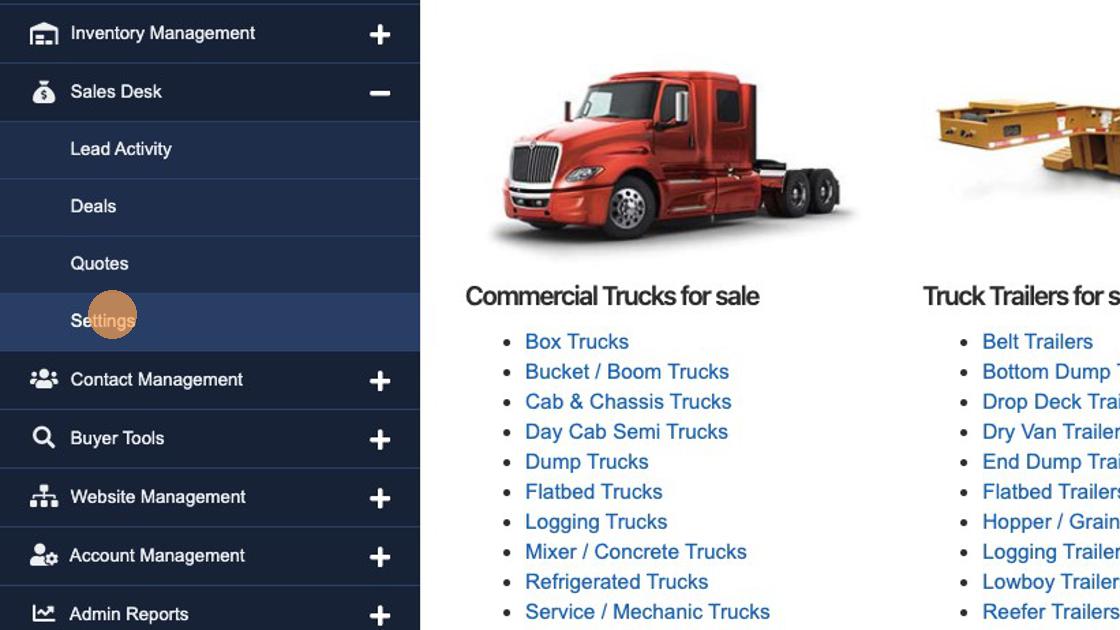
22. Let's say that you would like certain Availability settings to be the default settings for new inventory entered into your system. This is now possible! Begin by selecting the "Sales Desk" heading for your user menu.
23. Under the Sales Desk options, select "Settings."
24. From this Settings panel, you can make a wide variety of Sales Desk and inventory listing default actions for your system.
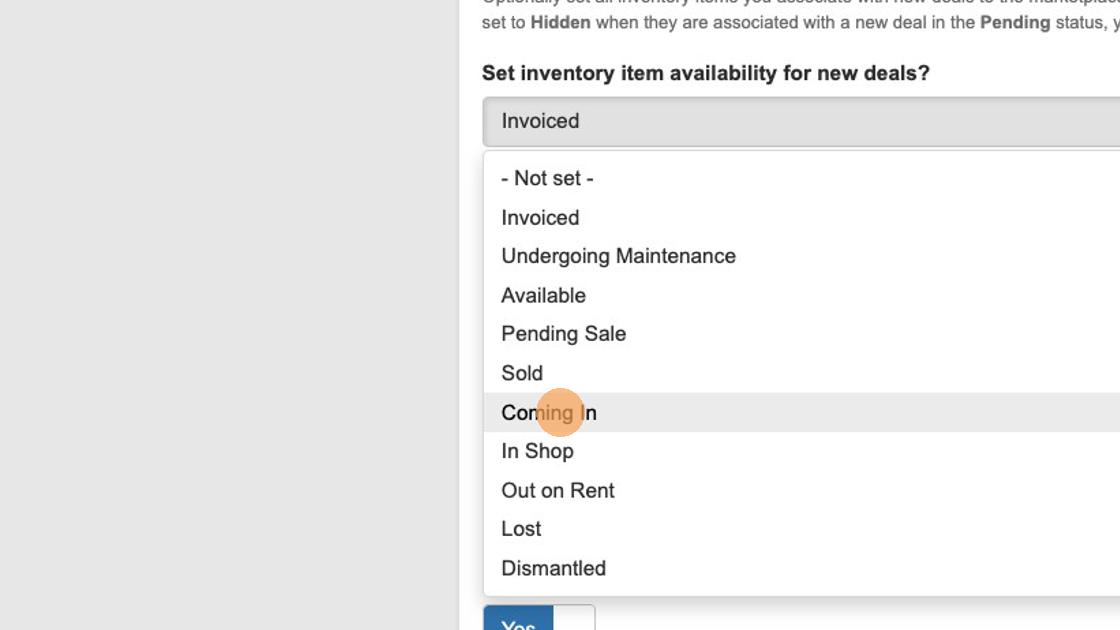
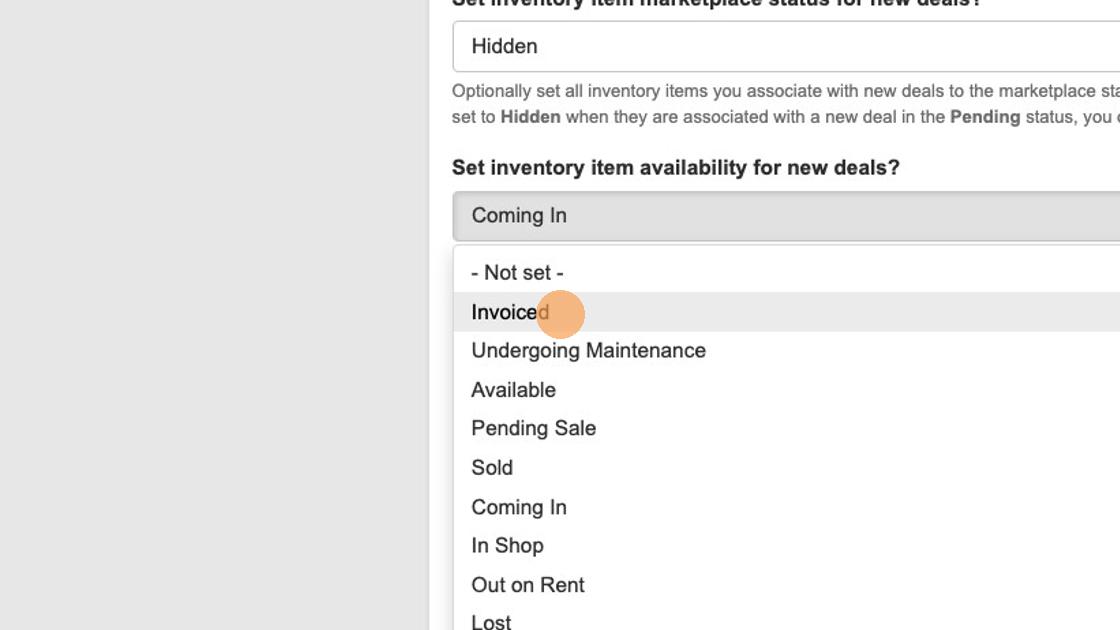
Scroll down to the section that asks, "Set inventory item availability for new deals?" and make the default Availability settings that are to your liking.
For example, some dealers prefer to not have new inventory immediately set to available until all of the details have been reviewed.
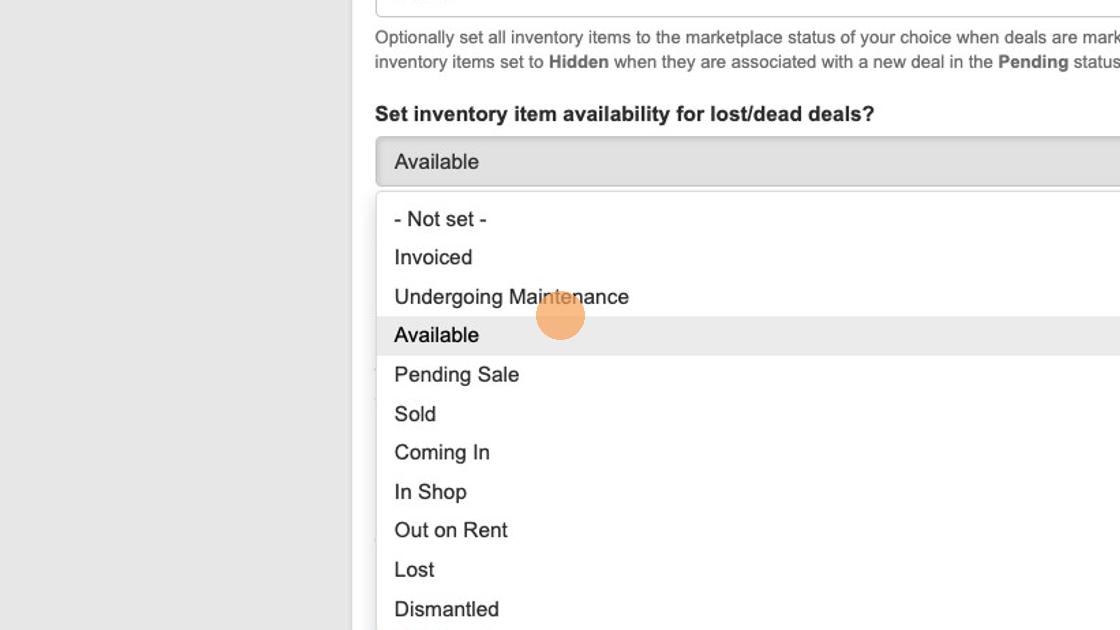
25. Select what inventory status you like for lost or dead deals—such as returning the associated inventory immediately back into active status or not.
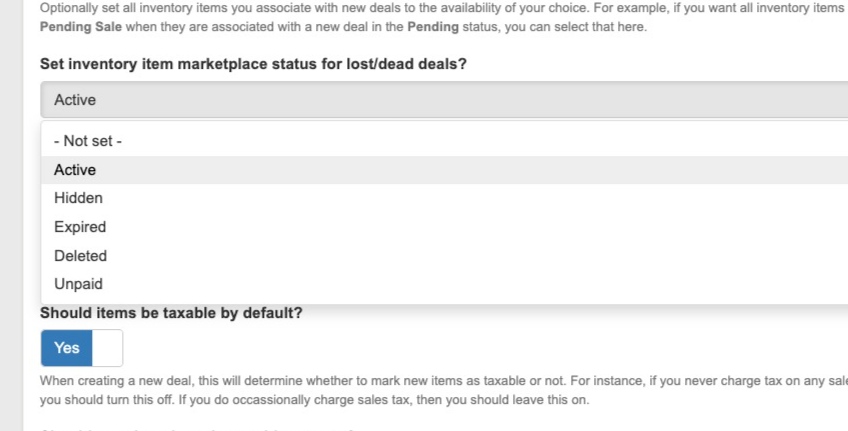
26. Set your preferred default preference availability status for new deal inventory.
27. You can also select the default status for item availability for lost or dead deals.
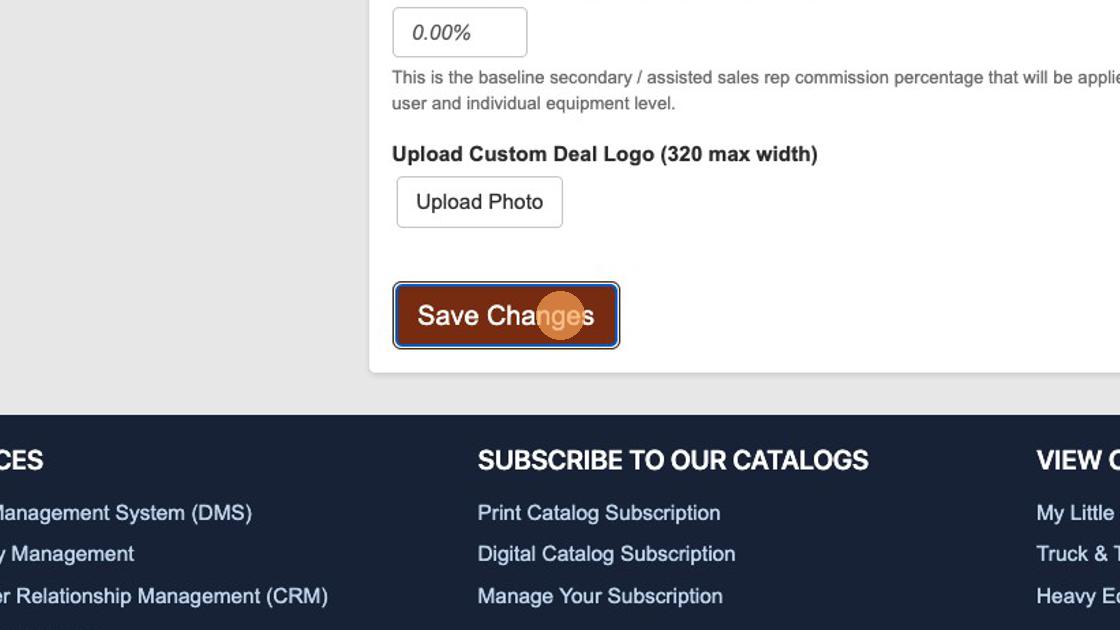
28. Once you have made the settings adjustment that you prefer, make sure to select "Save Changes" to make these changes live.
Questions and Suggestions?
Contact your Dealership Drive sales representative.