
How to Create, Save, and Edit Customized Inventory Views
A quick head's up before we get started: Please ignore any references to "My Little Salesman", "MLS", or differing brand imagery as this was simply the past name of much of the Dealership Drive functionality.
If you have an extensive inventory, it can feel like a hassle to find the items that meet specific criteria—much less wading through less relevant information about those items to receive the details you need. Now you can build and save filtered, customized inventory views—accessible with just a few clicks for the information you need when you need it. And we're going to show you how to build these right now.
1. Navigate to https://www.dealershipdrive.com/
2. Make sure you are logged into your Dealership Drive account.

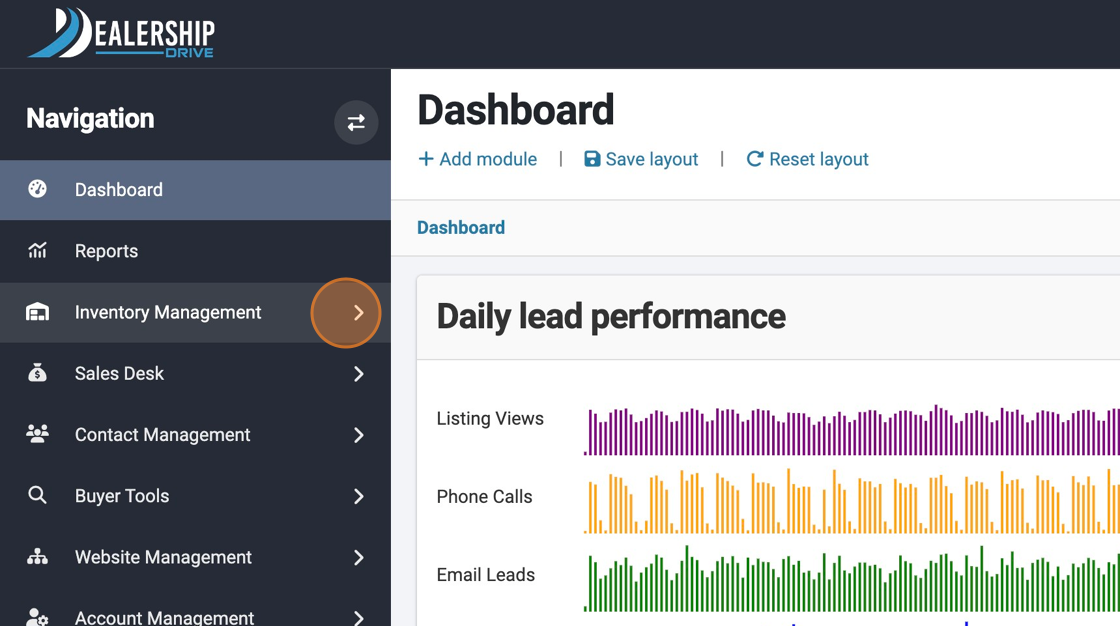
3. Click "Inventory Management"
4. Click "Inventory"

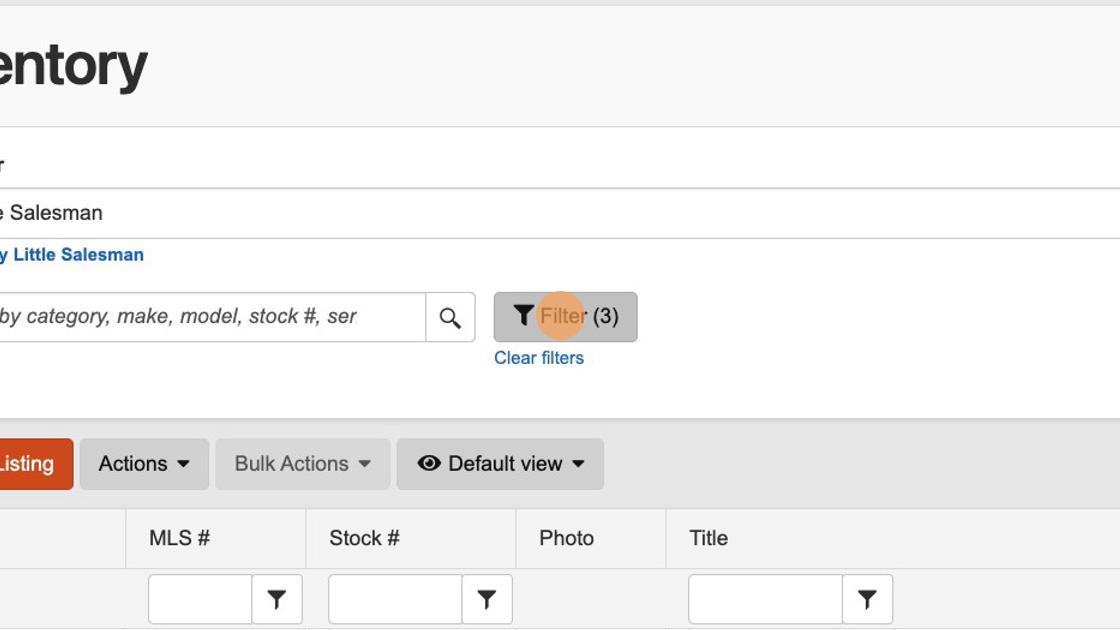
4. From the Inventory screen, your filtering options may seem somewhat limited. To show the full span of search filtering options, select the "Filter" button.
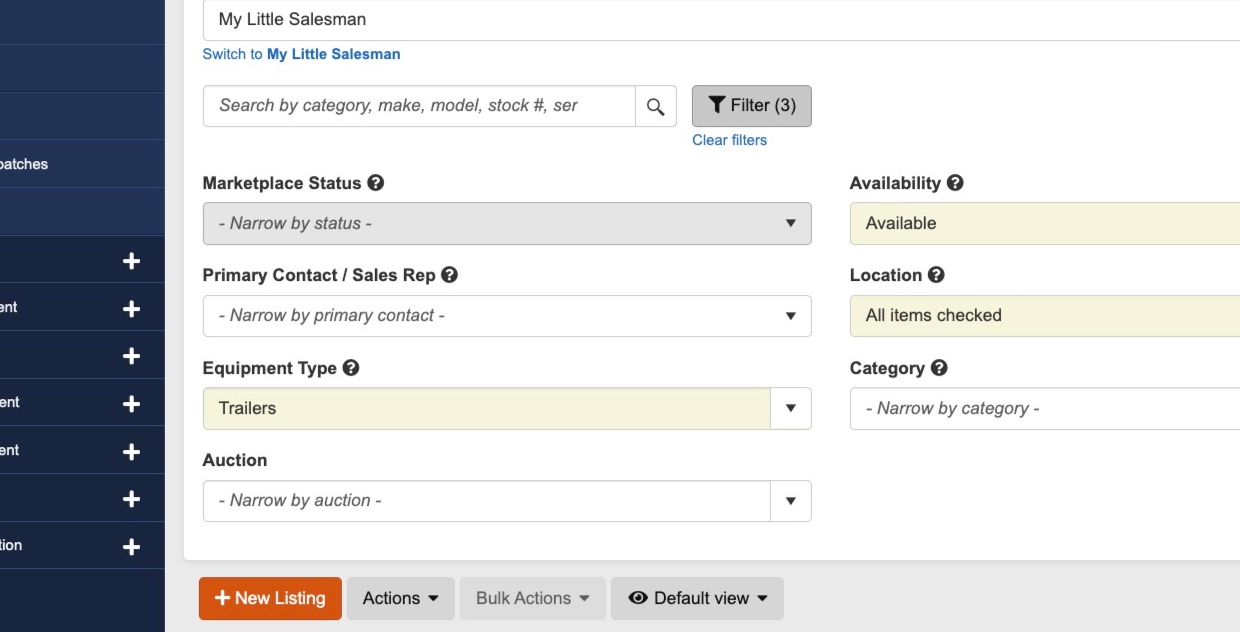
5. Upon selecting the "Filter" button, you will toggle open a panel filled with various filtering criteria. From here, you will be able to narrow your Inventory results by:
Marketplace Status
Primary Contact/Sales Rep
Equipment Type
Auction status
Availability
Location
Category
— if you so choose.
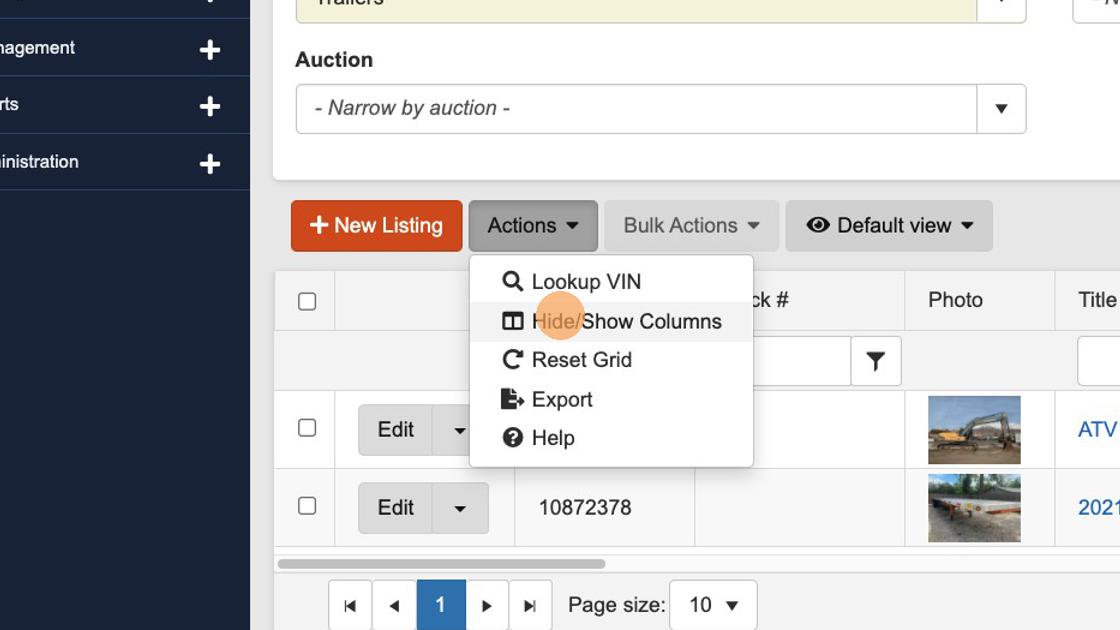
6. As the filtered inventory items appear, you may be slightly overwhelmed by the immense amount of data present in the columns. To make this view more manageable and relevant to your needs, you may choose which column data points to include in your inventory view.
To begin this process, select the "Actions" button followed by "Hide/Show Columns."
7. From the window that appears, select or deselect the data criteria sets you would like visible in the table columns corresponding to each Inventory item.
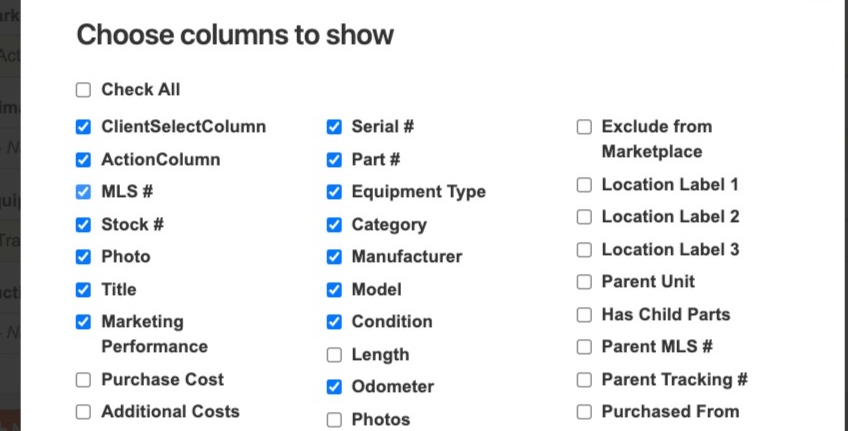
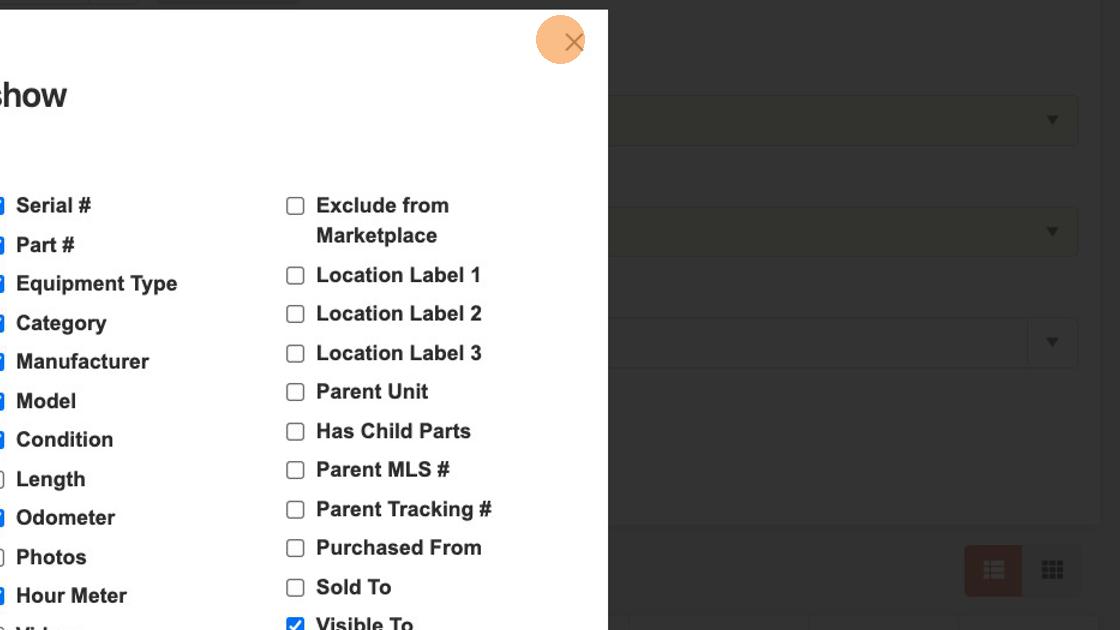
8. Once you have selected the column data you would like to see in your inventory table, select the "x" to close the column settings windows.
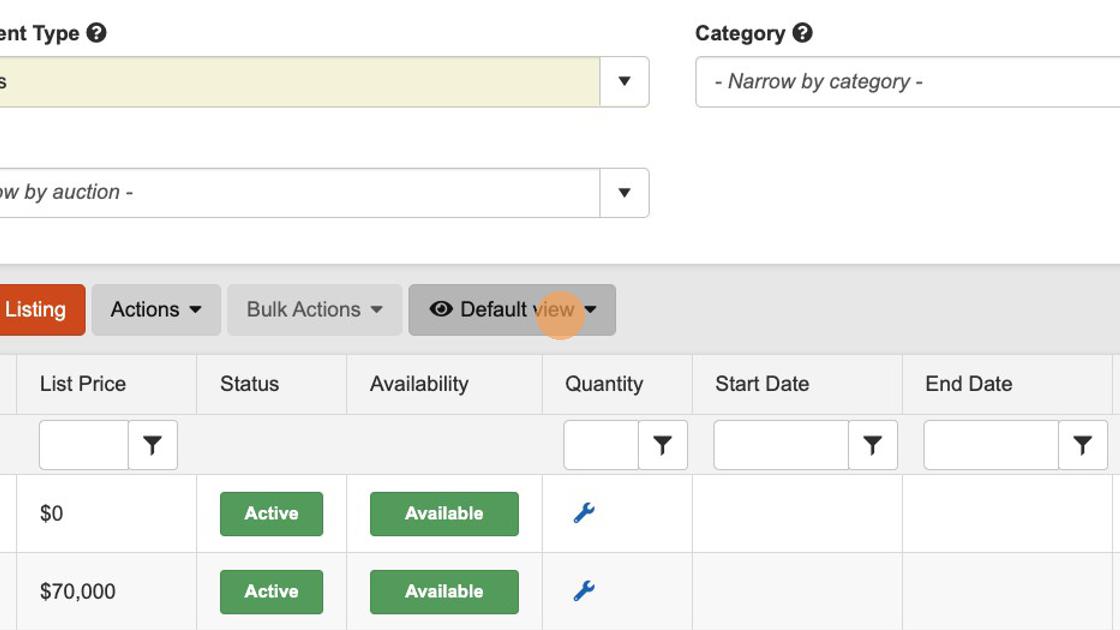
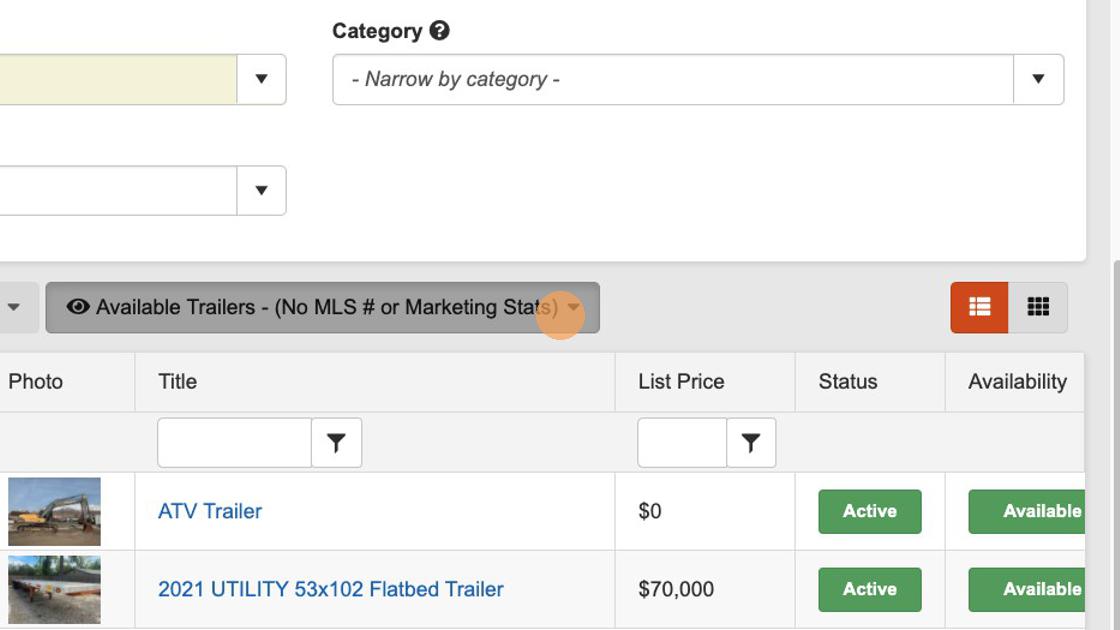
9. To save your customized Inventory view, select the "Default view" button from the top of the table.
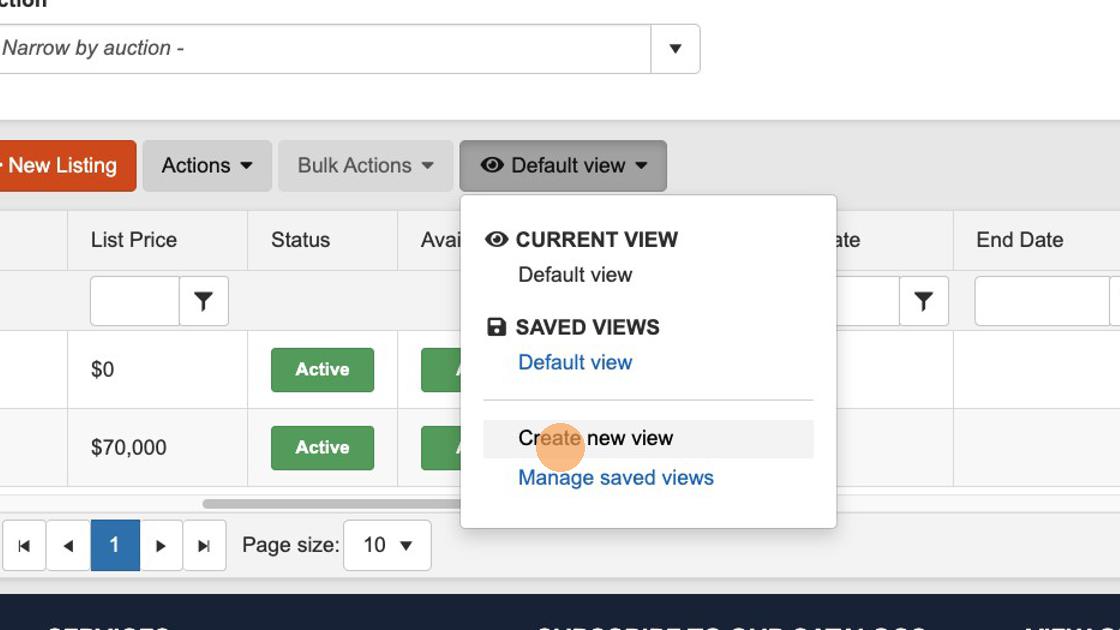
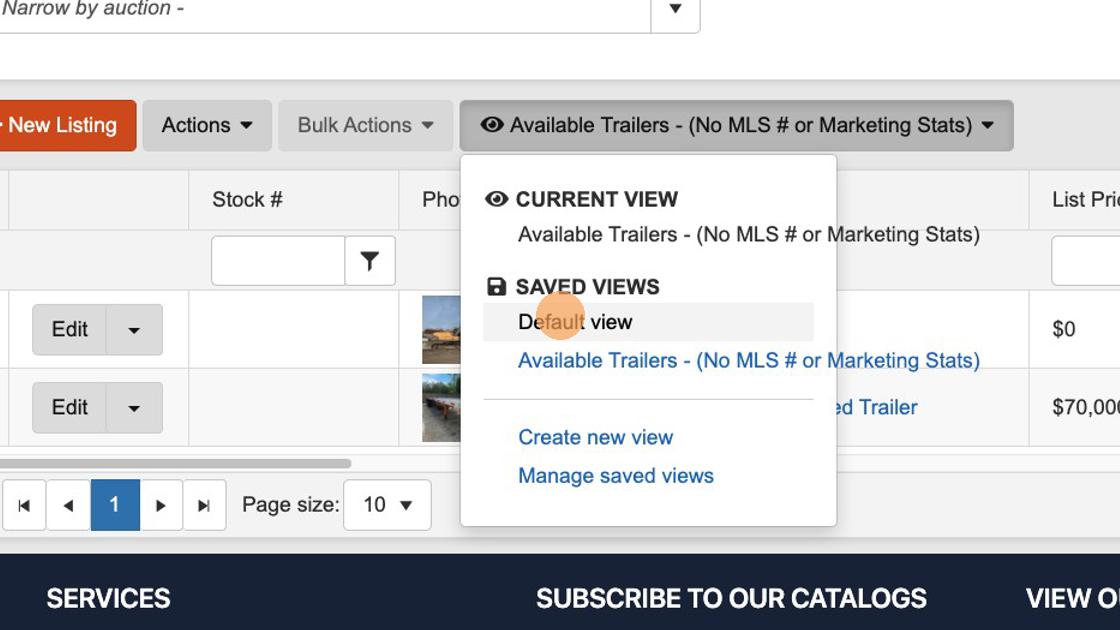
10. From the options that drop down from the toggle, select "Create new view."
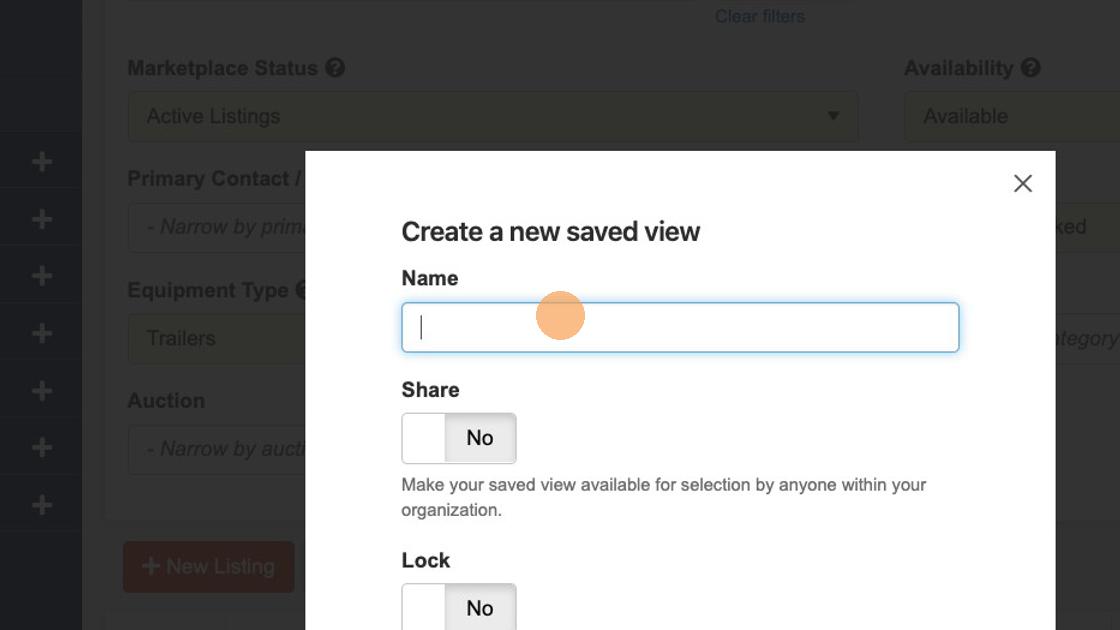
11. In the window that appears, type in the name for this customized Inventory view.
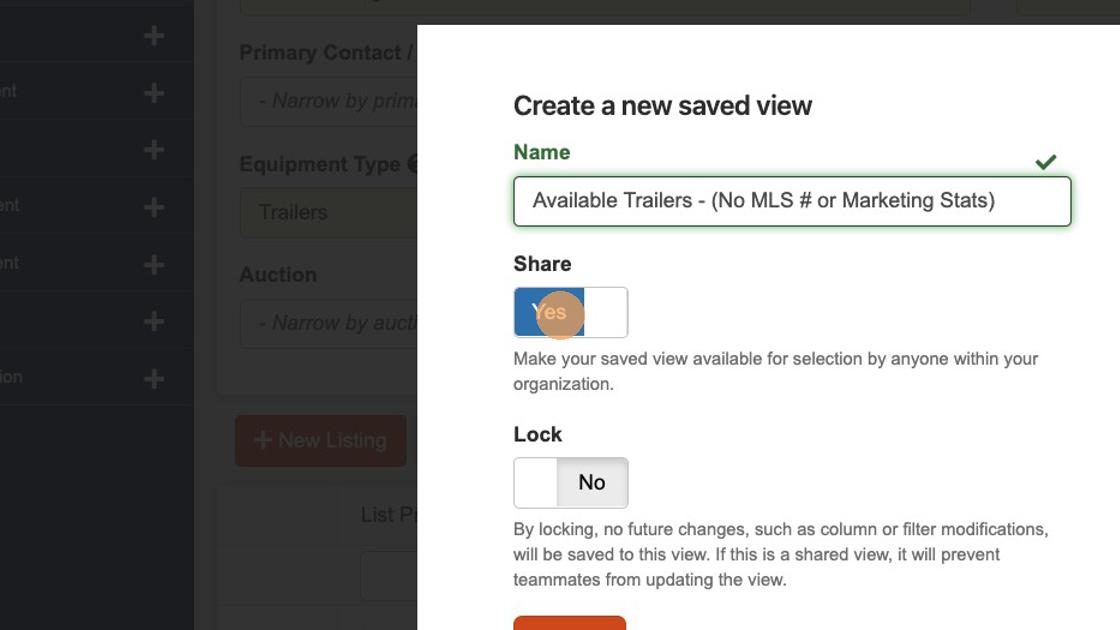
12. If you would like to be able to share this saved view within your organization, toggle the "Share" selector button from "No" to "Yes."
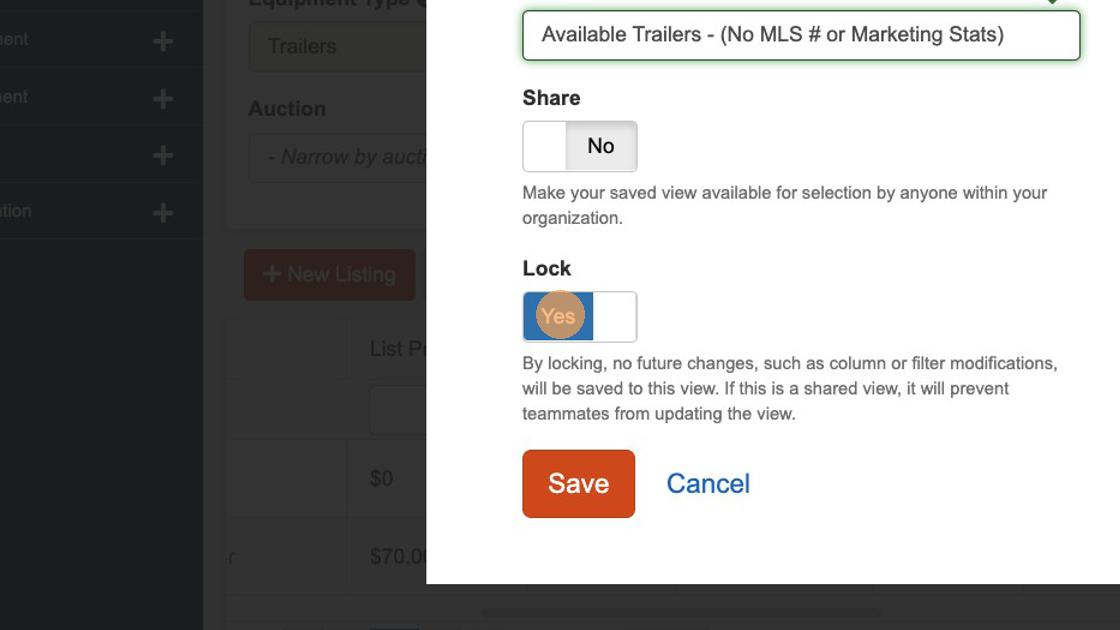
13. If you would like to lock in the filtering the column settings as they are presently customized, select the "Lock" button selector to change it from "No" to "Yes."
If you leave this setting as "No," any filter changes you make while this saved view is selected will be applied to this saved view for future uses.
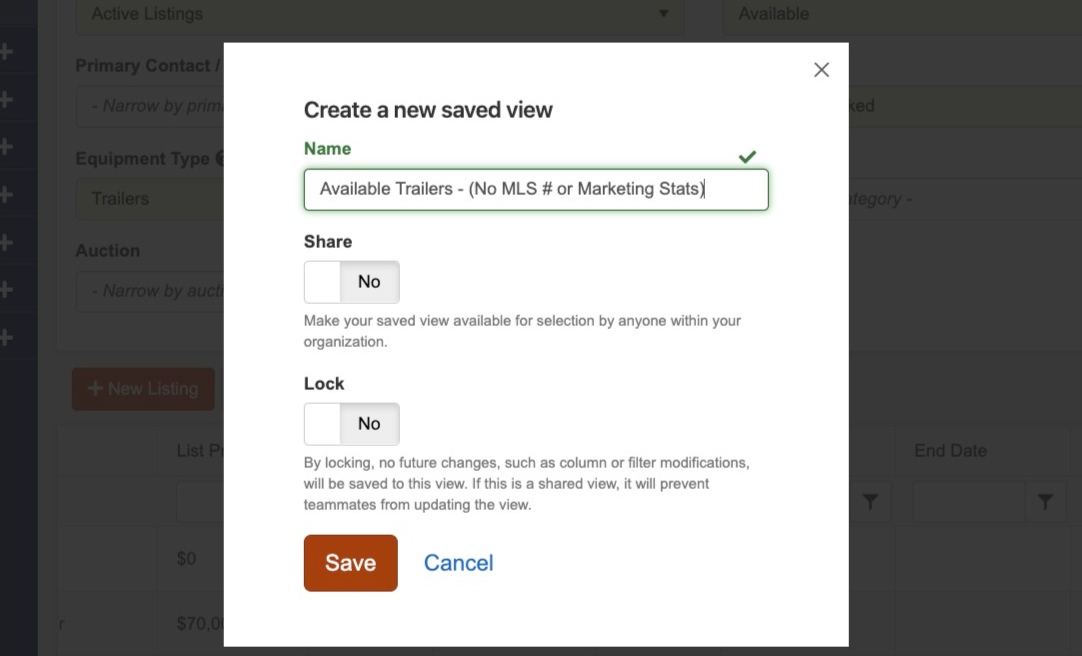
14. Once you have set up your new view with the title as well as Share and Lock status options you prefer, select "Save" to save this Saved View.
15. So, what happens when you want to move from one saved view to another or edit a saved view? Doing so is easy—starting by selecting the drop-down arrow toggle listing the presently showing saved view.
16. To return the default view, simply select "Default view."
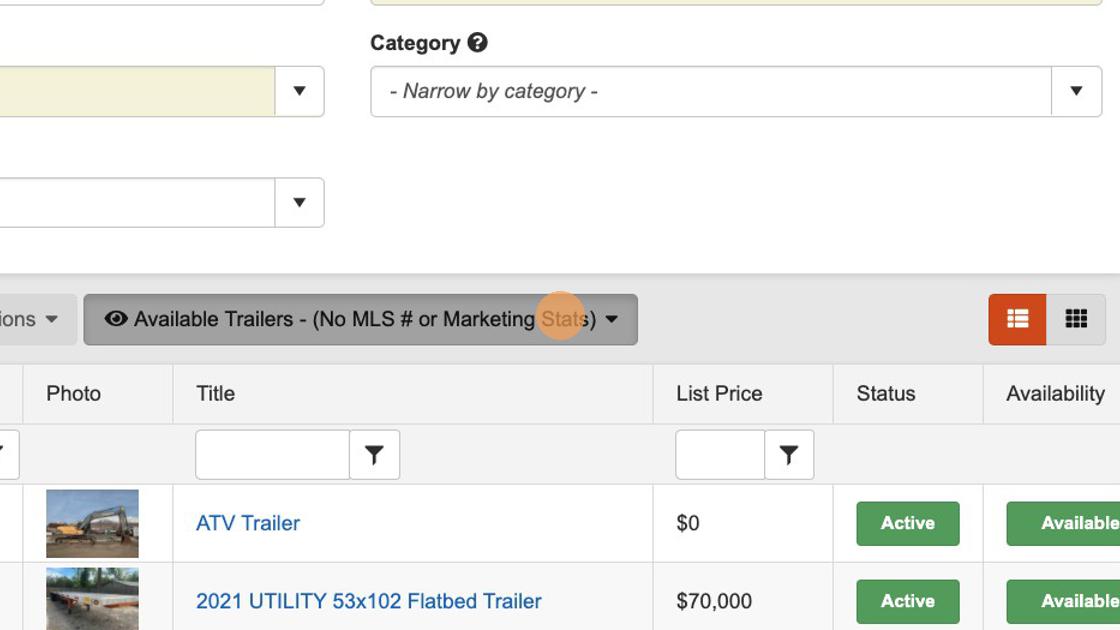
17. To edit a saved view, select the presently featured saved view toggle button.
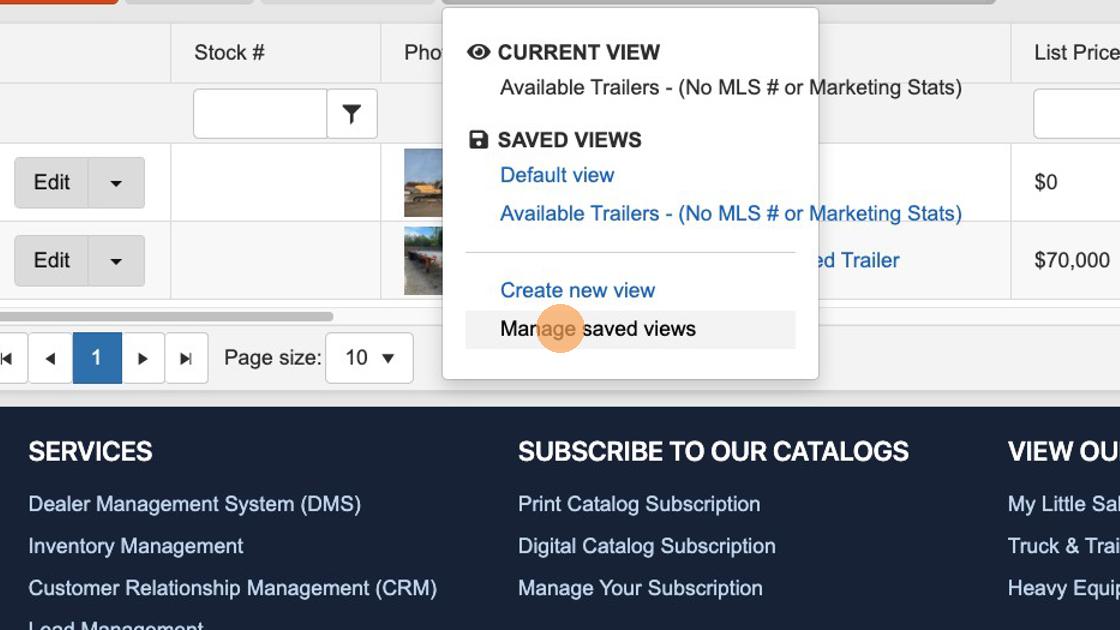
18. From the drop-down options, select "Manage saved views."
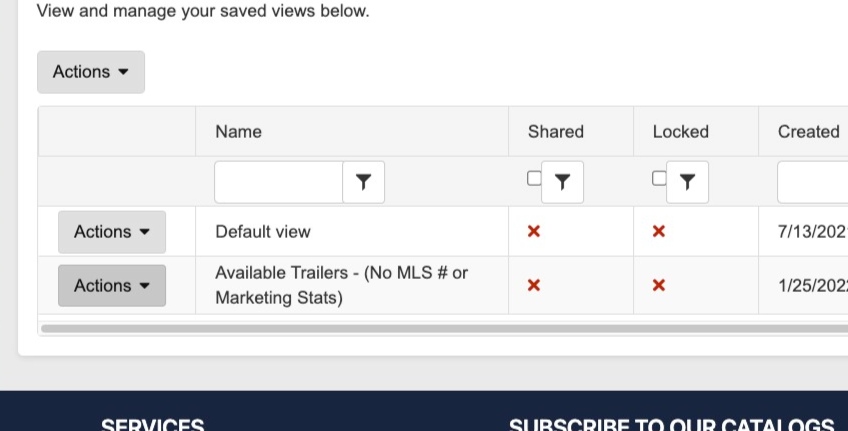
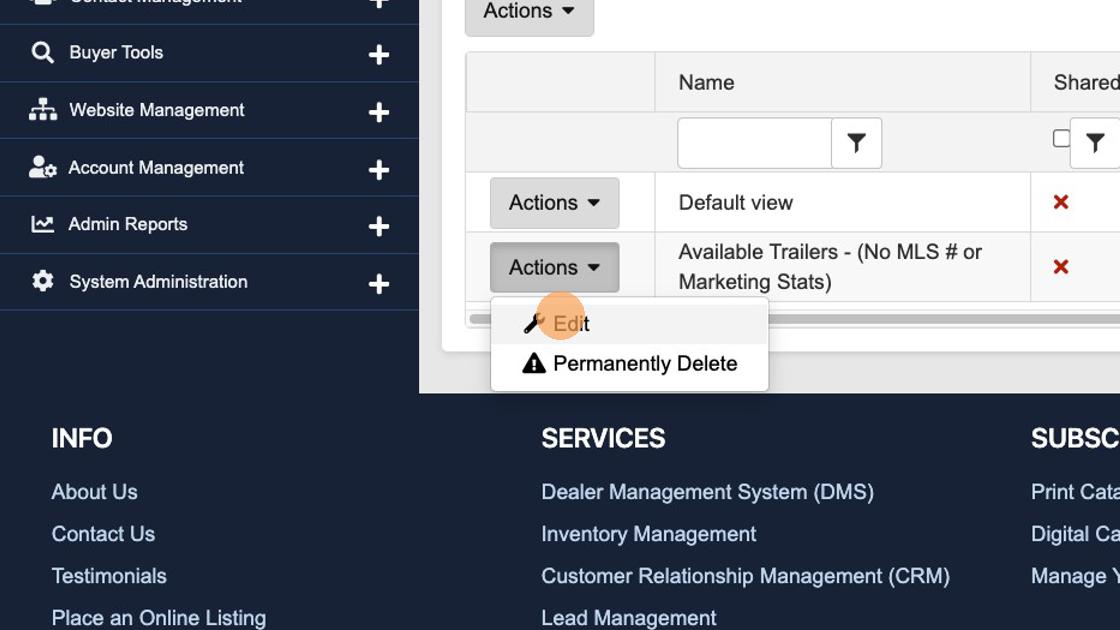
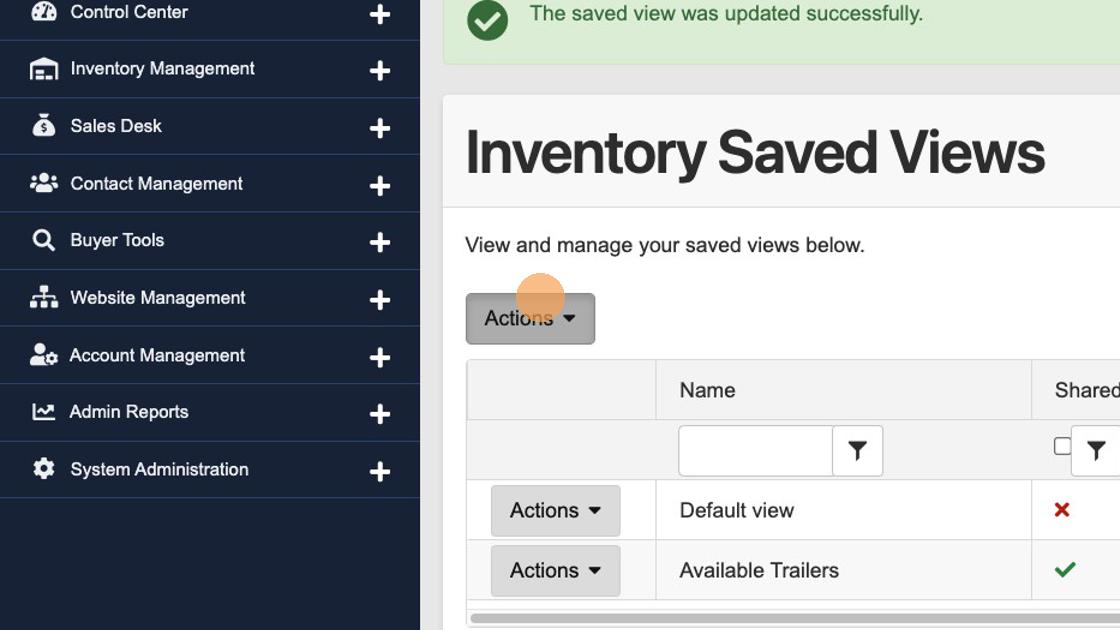
19. The screen that appears will present all saved views you have created in the past as well as their Shared or Locked statuses. To edit the name of the view or statuses, select the view's corresponding "Actions" button.
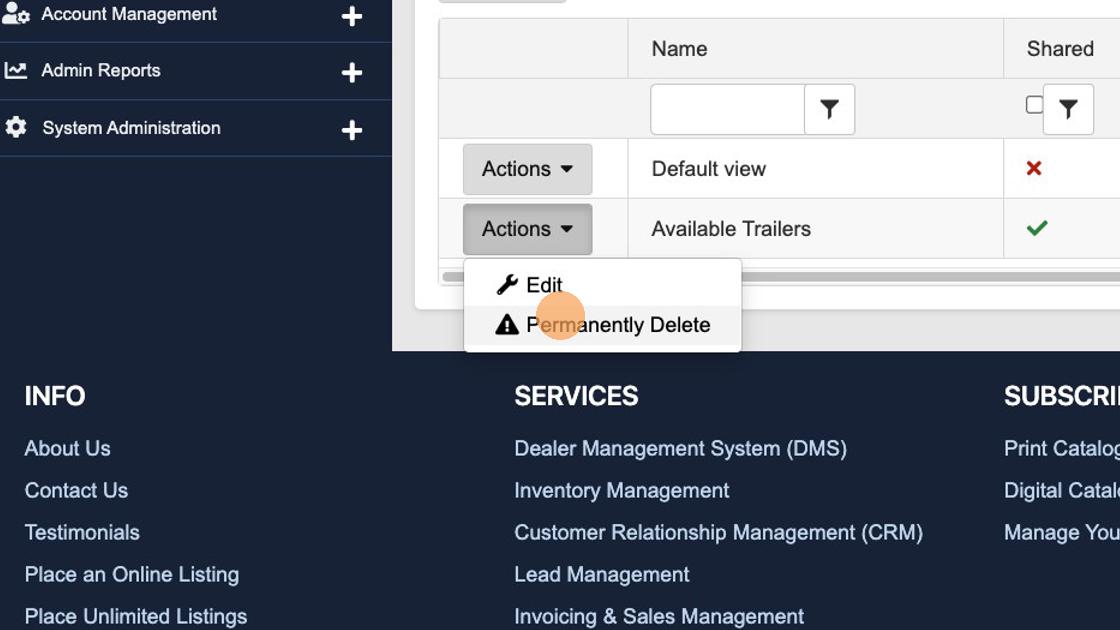
20. From the options that appear, select "Edit."
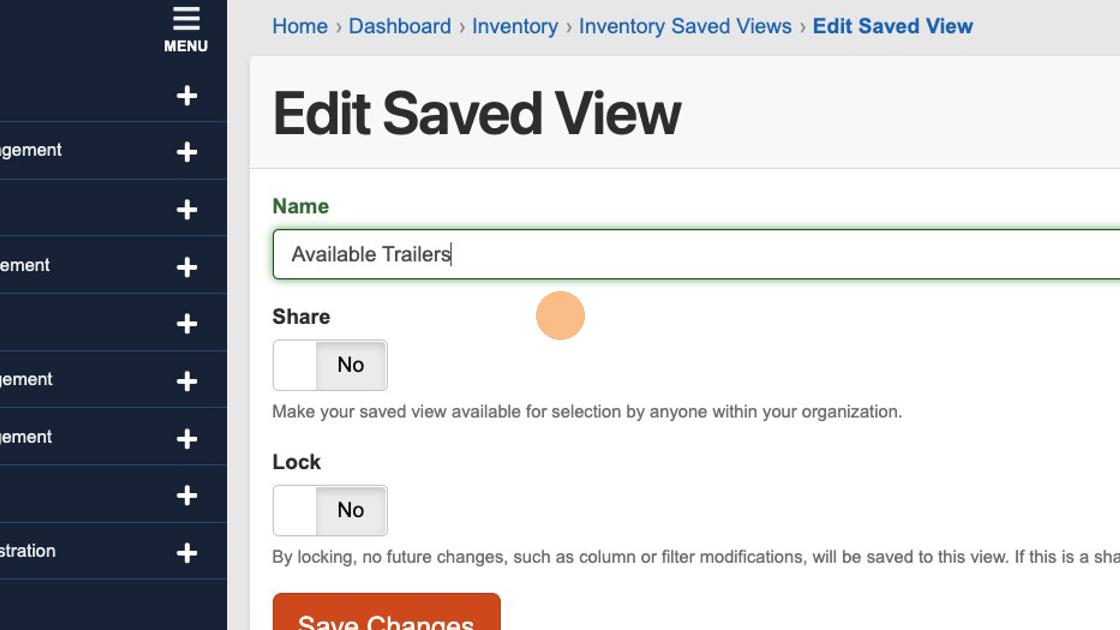
21. Make any edits you would like to the Name or Share and Lock statuses.
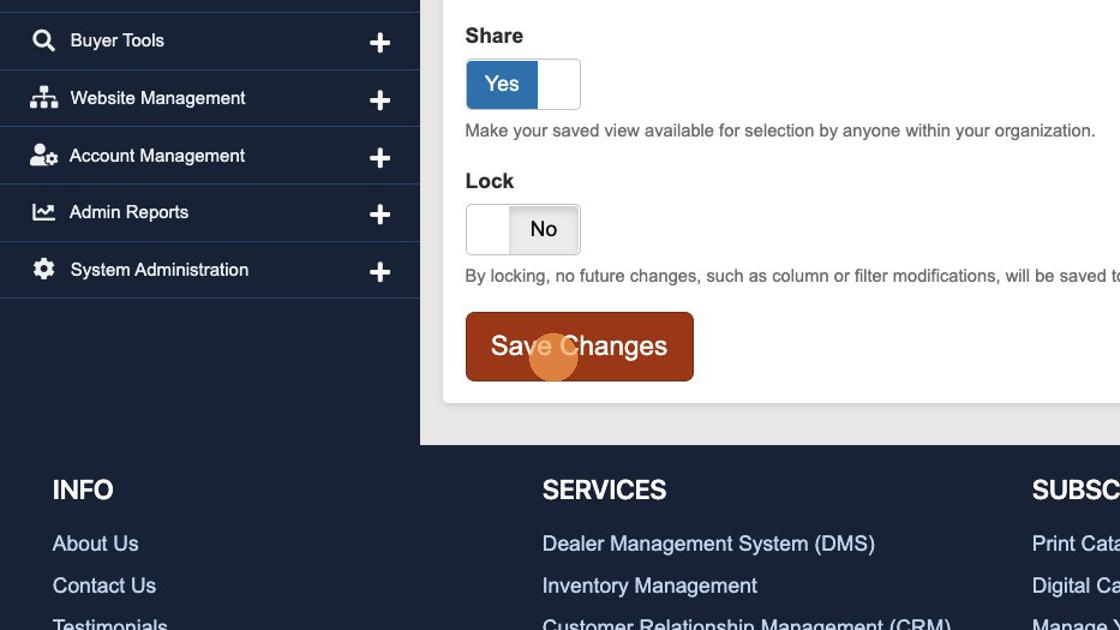
22. Once you have completed making any changes, select "Save Changes" to update the saved view.
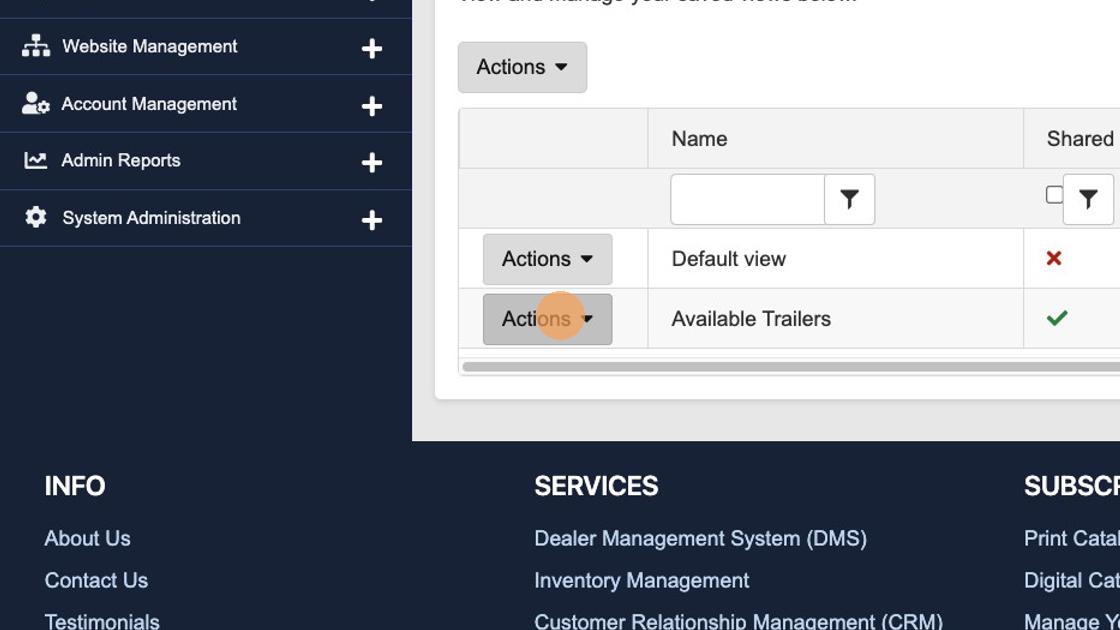
23. If you would like to export your saved views, begin by selecting the "Actions" button on the Inventory Saved Views panel.
24. Select "Export" from the options to export a spreadsheet of the Inventory Saved Views.

25. To delete any Inventory Saved Views, select the corresponding "Actions" button.
26. Select "Permanently Delete" if you would like to remove the view from your saved view options.
Questions and Suggestions?
Contact your Dealership Drive sales representative.