
How To Use Admin Filters
A quick head's up: Please ignore any references to "My Little Salesman" or differing brand imagery as this was simply the past name of much of the Dealership Drive functionality.
Once you have successfully created an account and added content within Dealership Drive, it's imperative to understand how admin filters can be used to your advantage. Depending on the task at hand, you will want to spotlight specific information and simultaneously hide other information. It's also important for you to know when filters are active within your system.
Use this guide to better understand how the filters built into your admin account can add value to your everyday workflow. For this walkthrough, we will specifically reference contact and inventory management.
Filters and Contact Management
Upon logging into your account and accessing the 'Contacts' page, you'll be looking at an interface like the one below, which includes information you’ve entered along with a variety of drop-down menus that act as filters.
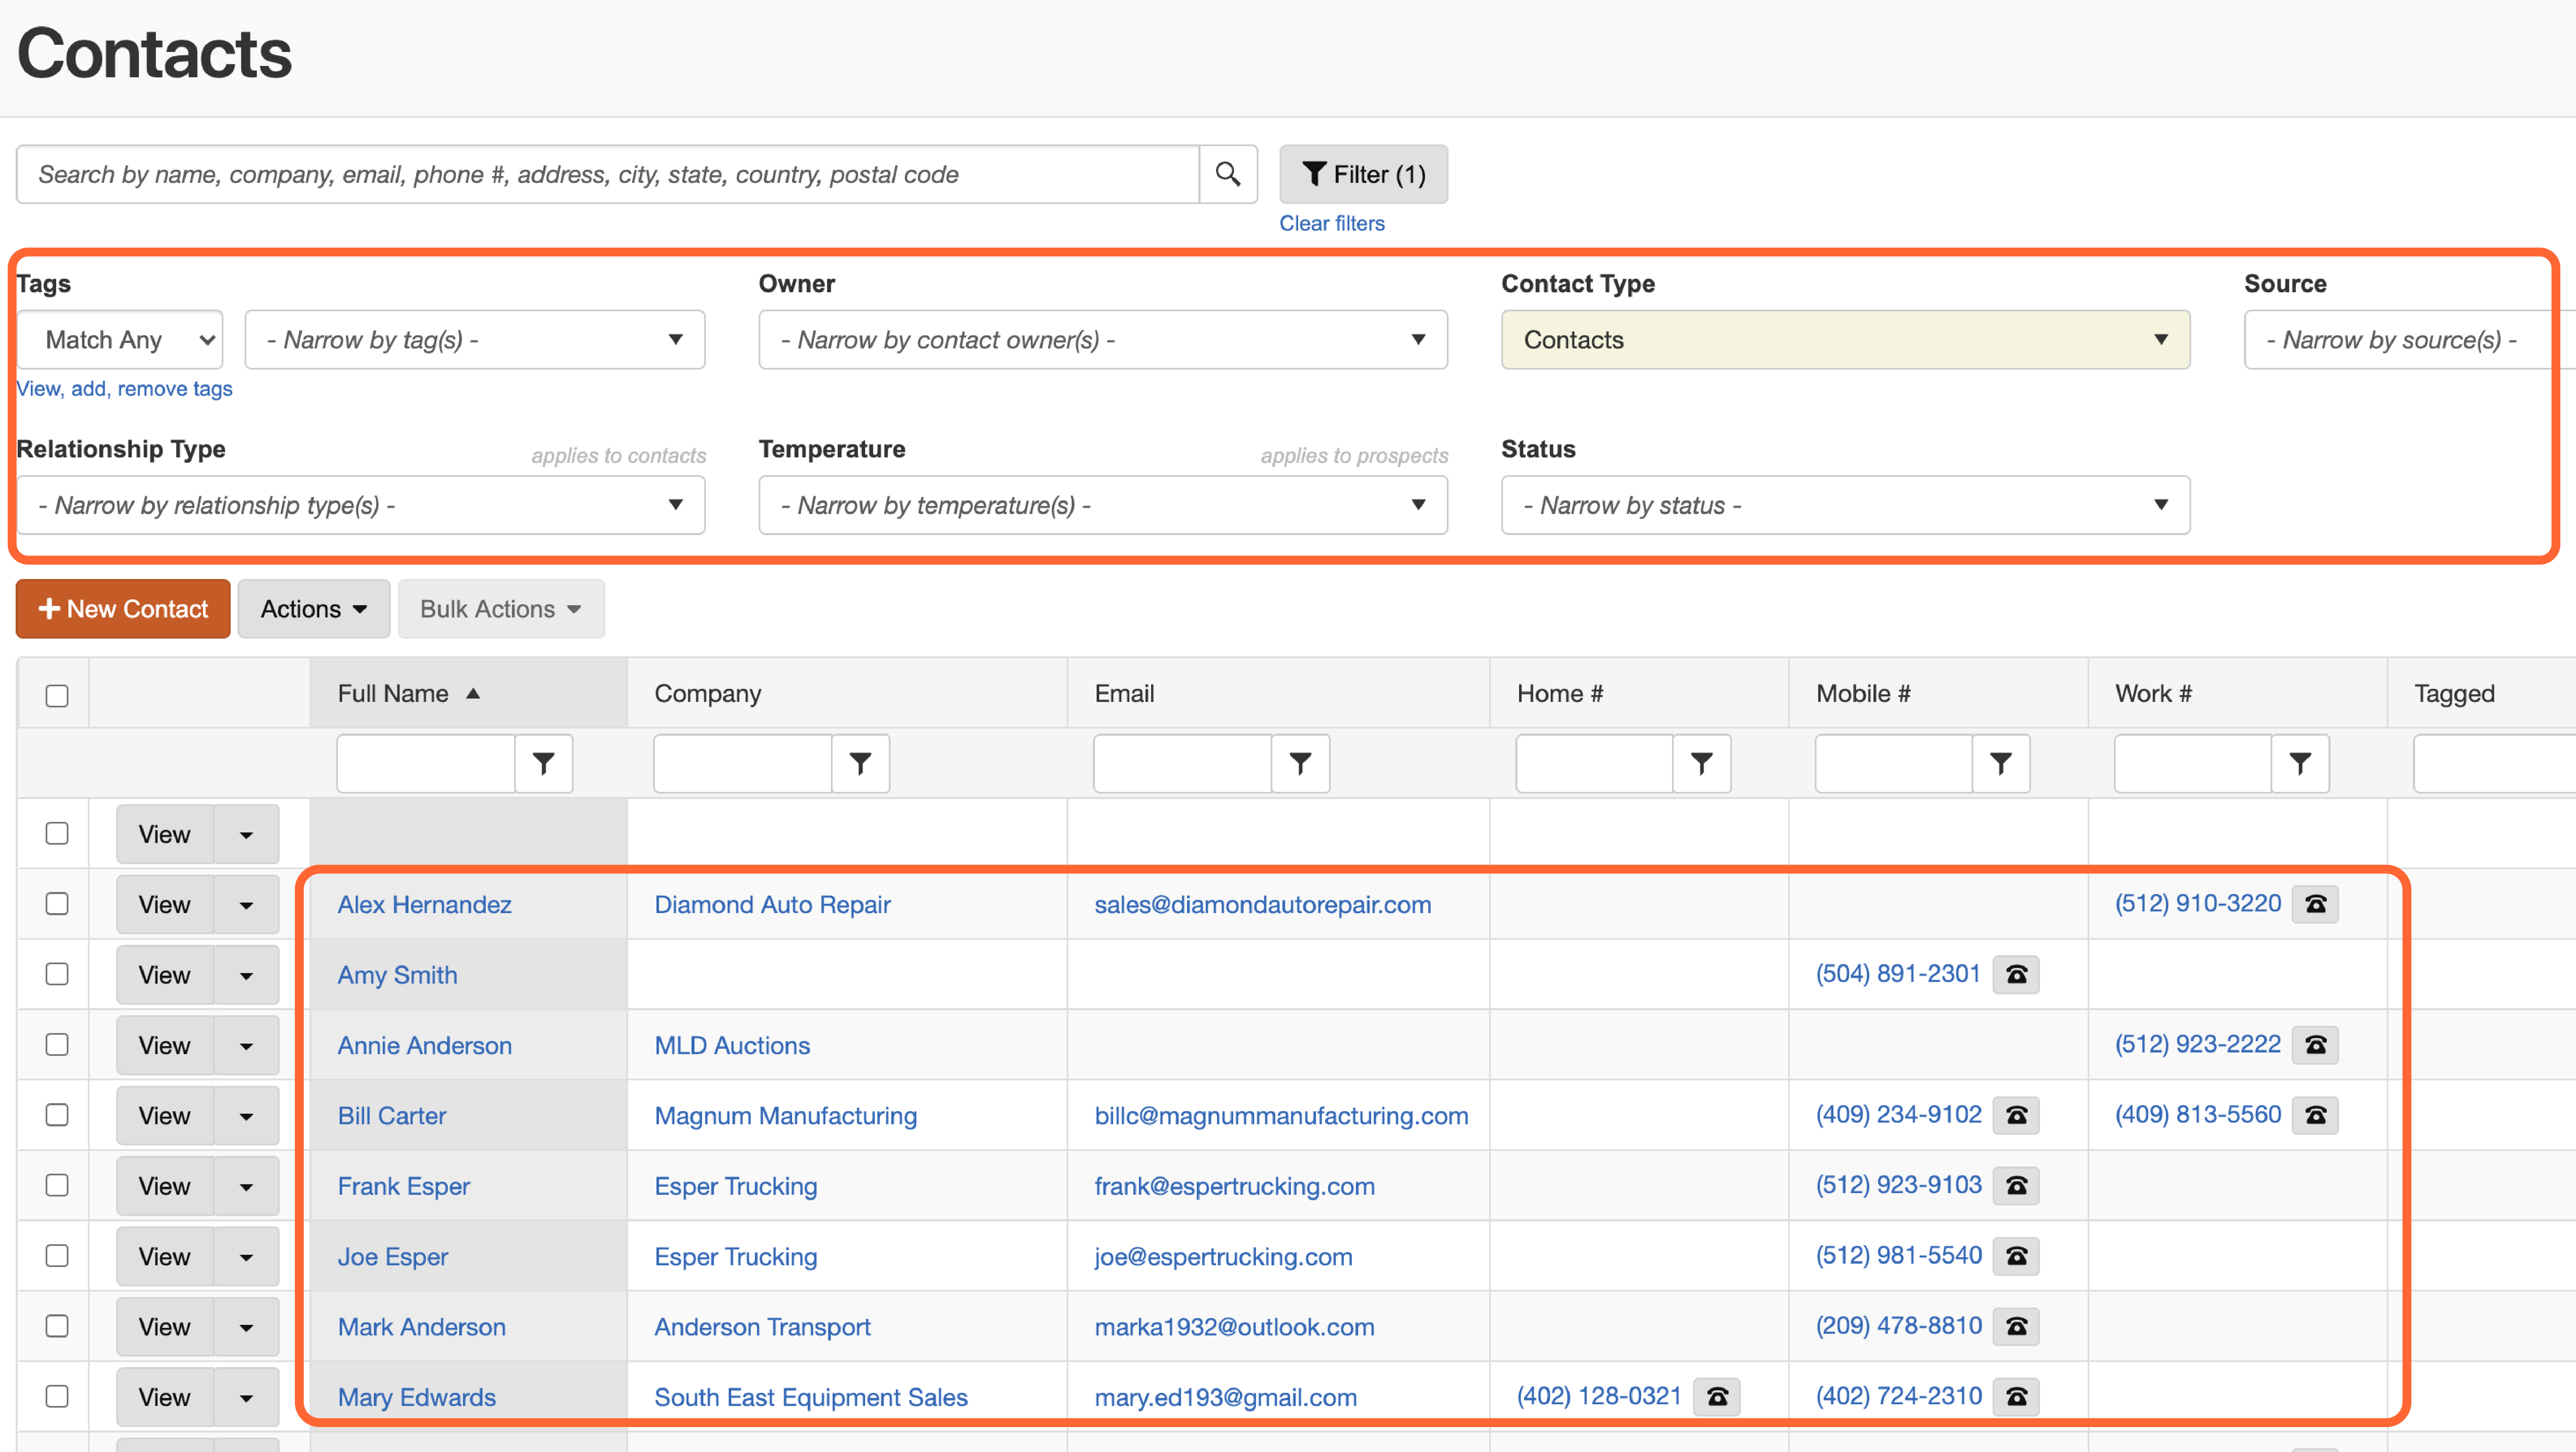
Notice that the 'Contact Type' drop-down defaults to ‘Contacts.’ That is because we’ve specifically accessed the ‘Contacts’ page. If you were to directly access the ‘Prospects’ page, that would be reflected in this field.
Active filters will always be highlighted in yellow, allowing you to quickly identify filtered data.

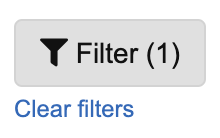
Keep in mind that the Filter button found directly next to the search bar serves a couple of purposes:
When selected, it can be used to show or hide the filters in this top section.
It also displays the current number of active drop-down filters. 'Contact Type' is the only active filter at the moment, which is indicated by the number '1' in parenthesis.

Use Filters to Find a Contact
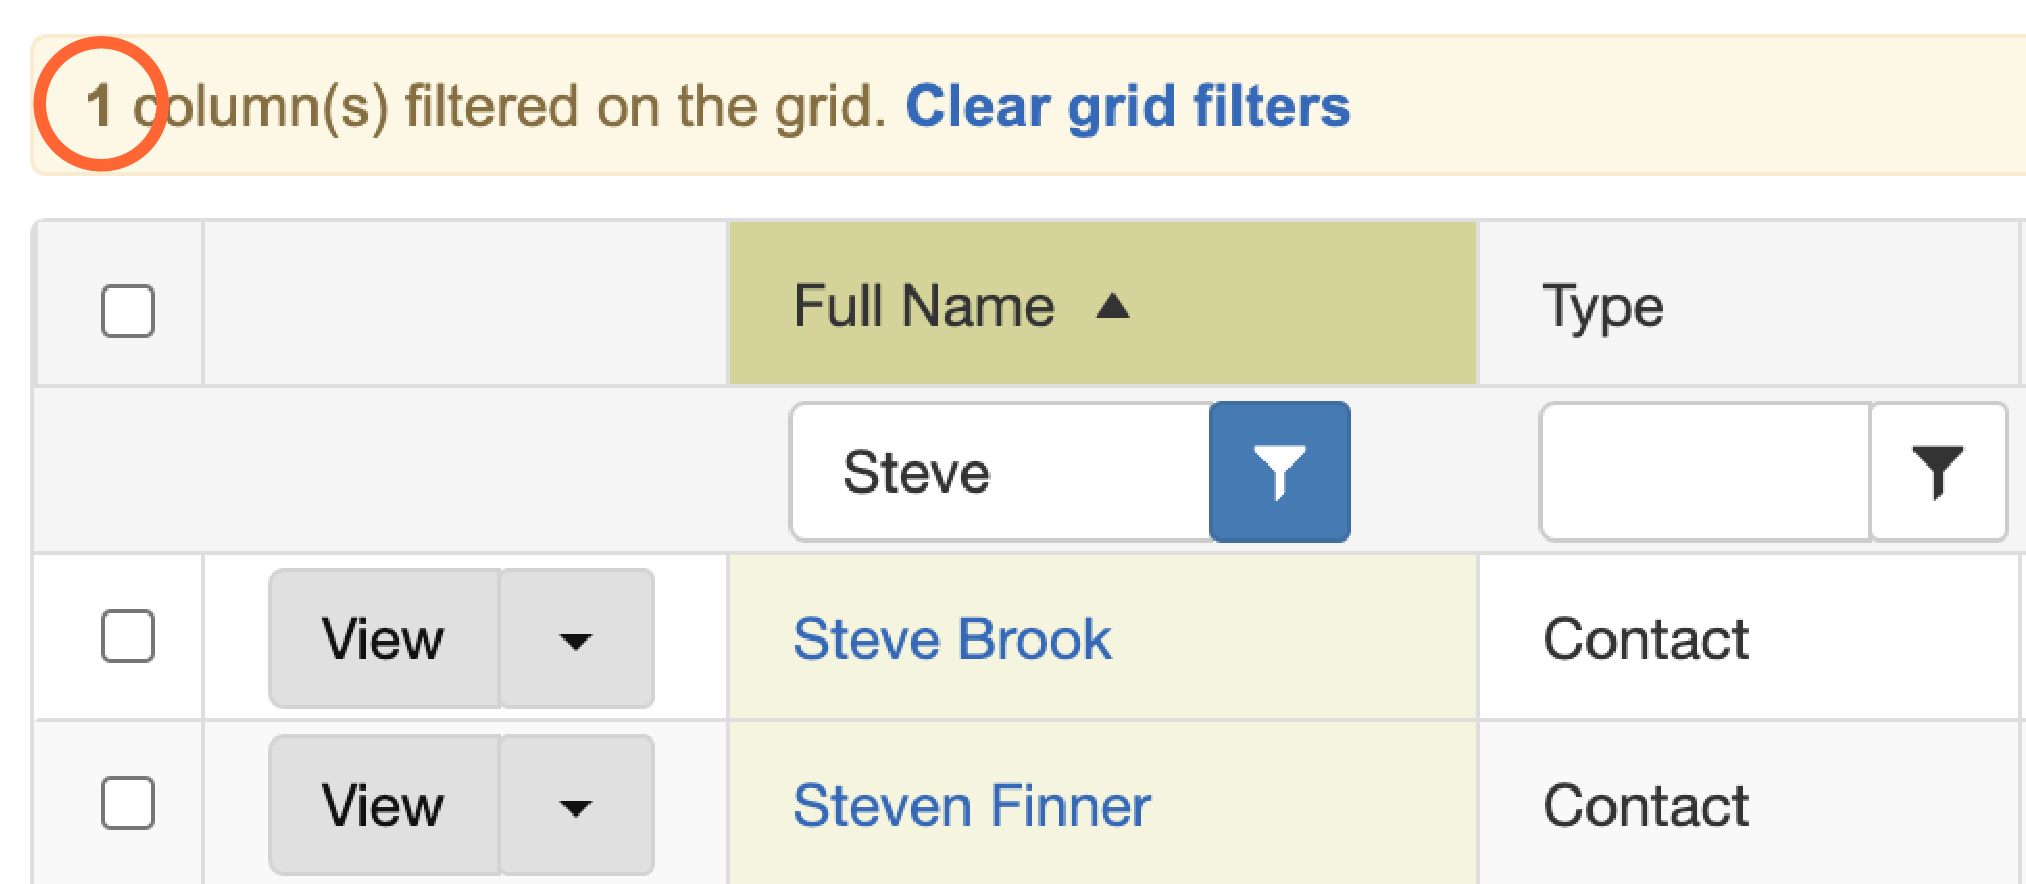
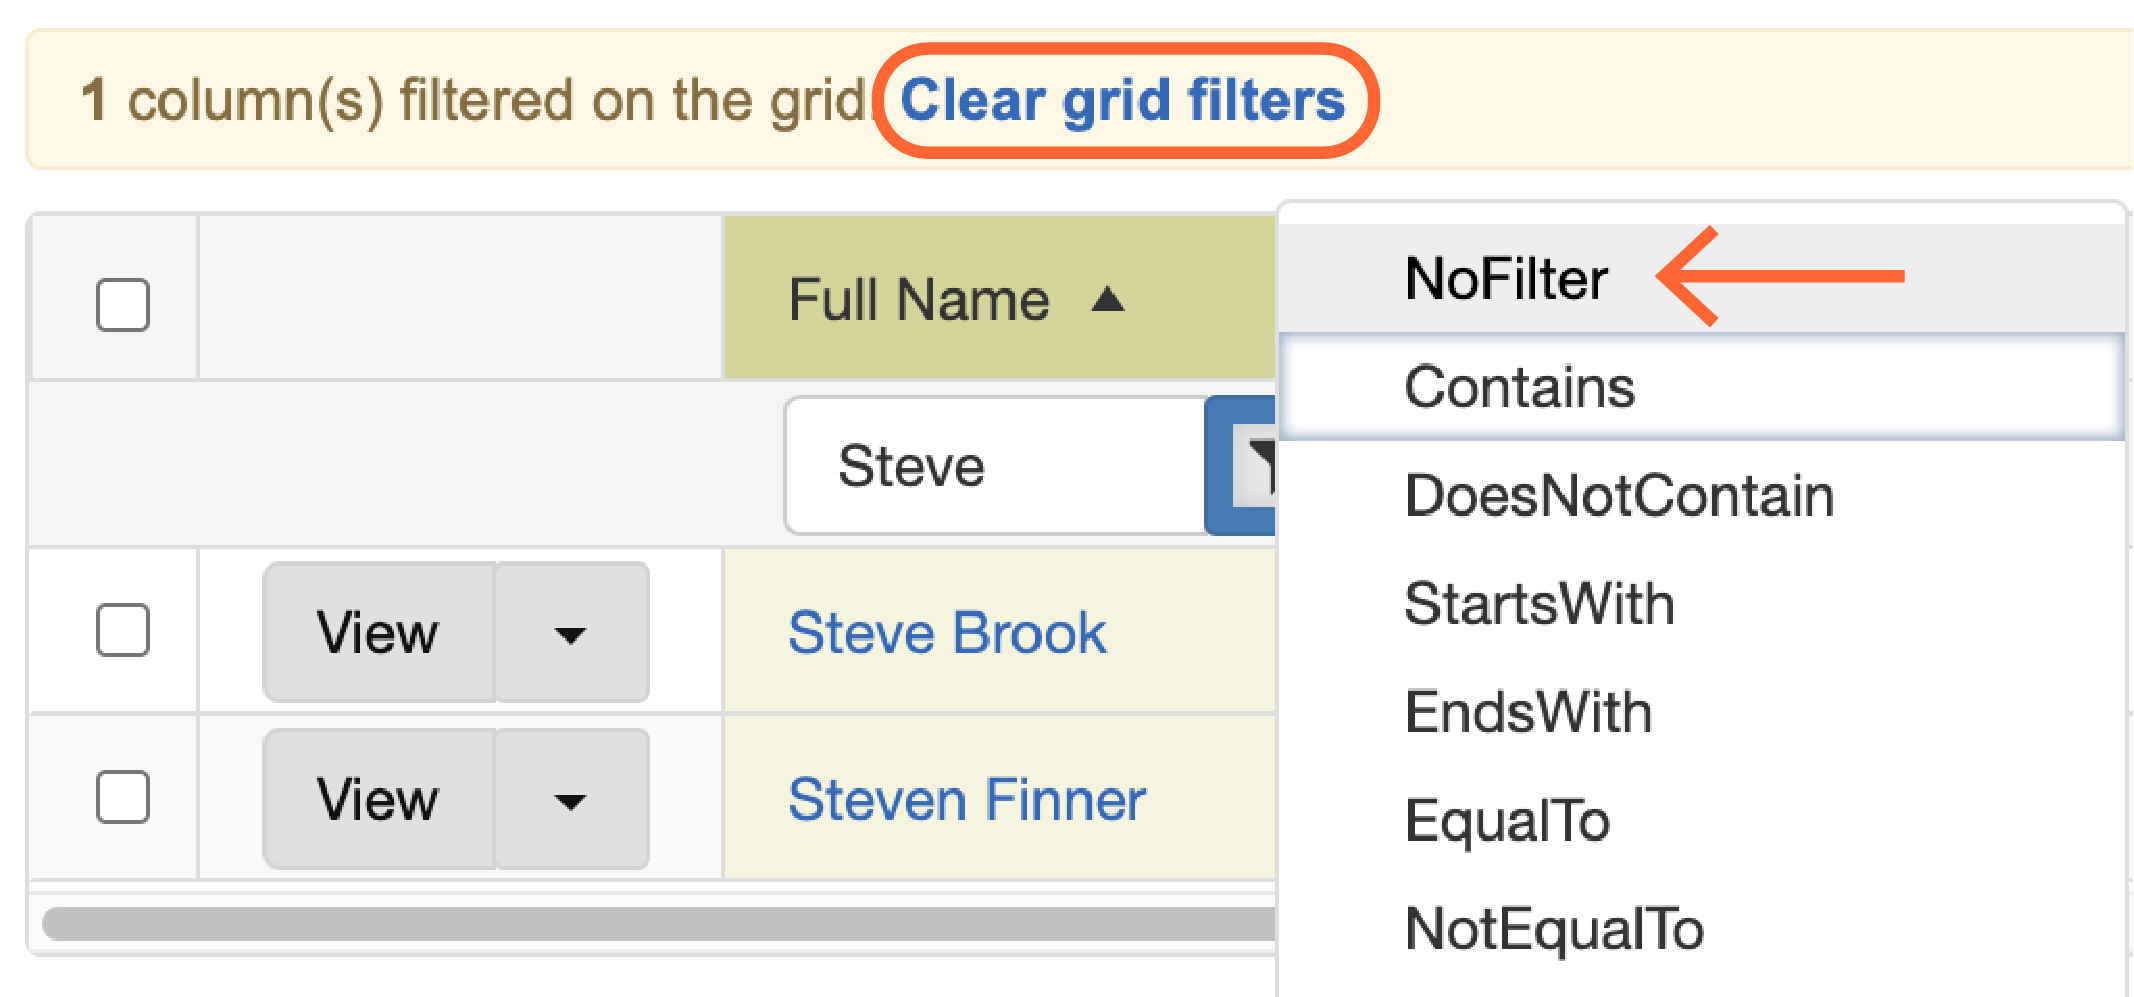
Let’s say you’re searching through hundreds of contacts for a specific person. You know that the contact goes by 'Steve.' Begin your search using the 'Full Name'column. Simply enter Steve, click the filter button, and select ‘Contains.'

This will leave only the contacts that include ‘Steve’ within their full name.
Notice two things
This column is now yellow to indicate an active filter.
The number of active grid filters can be seen at the top left area of the grid.
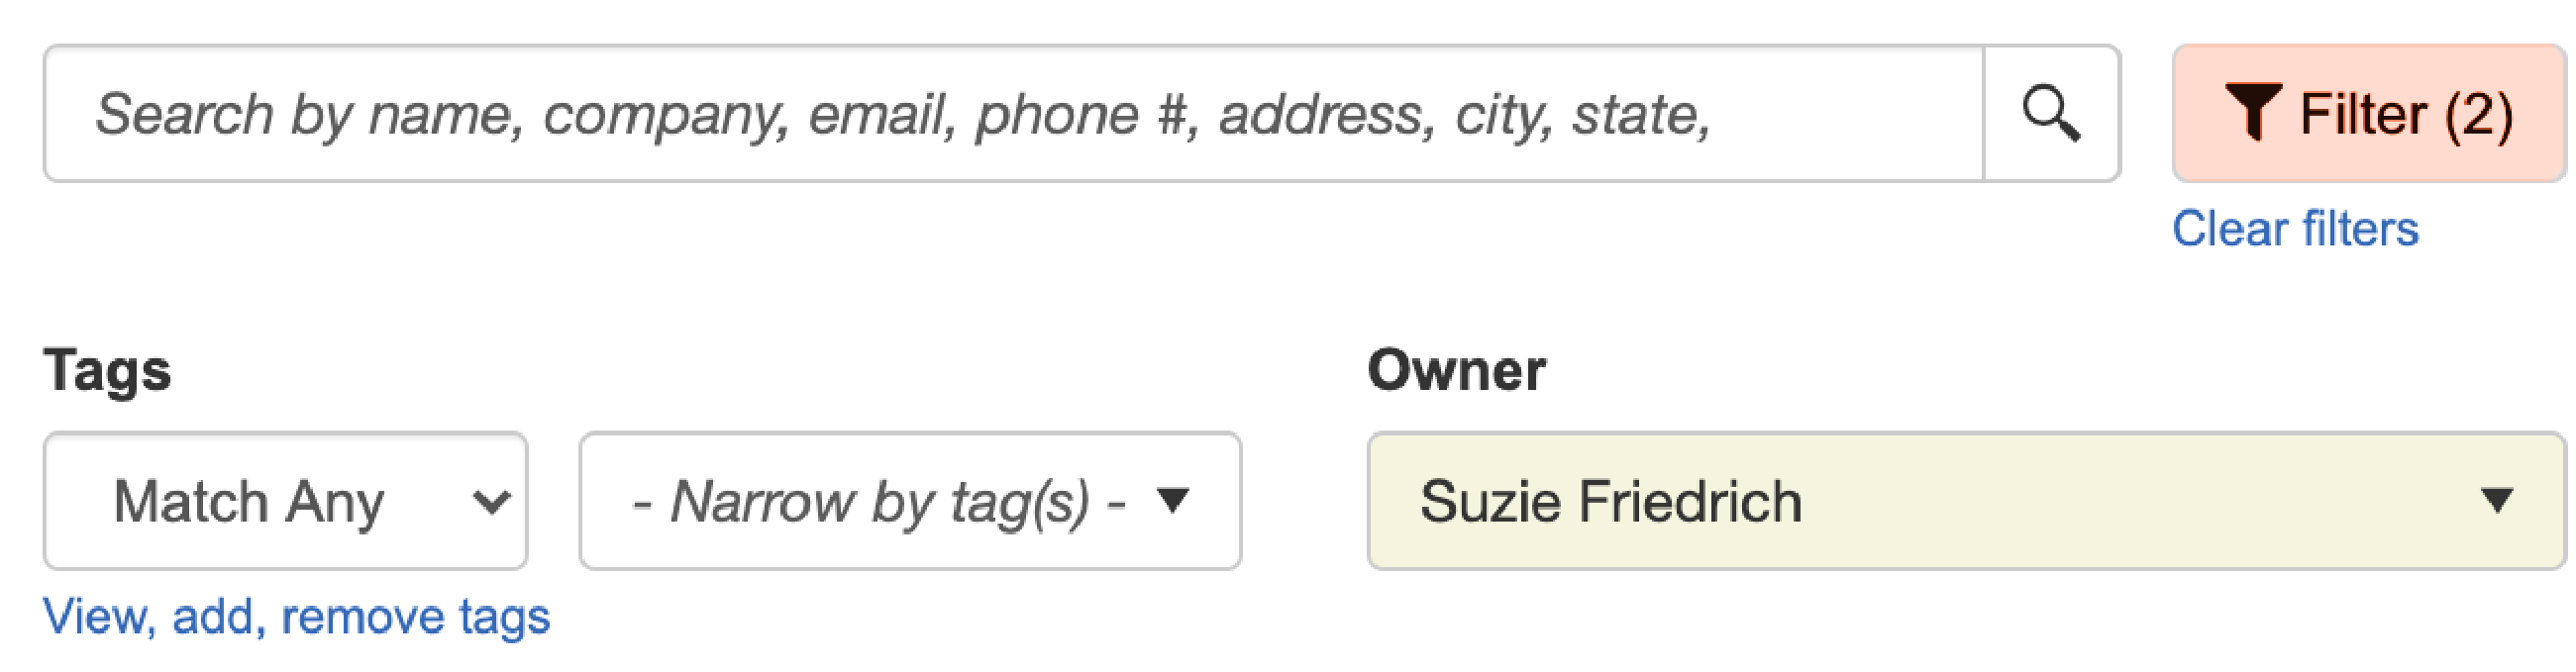
Let’s say you know who the contact owner is within your organization. Select their name in the ‘Owner’ drop-down menu and click off the menu.
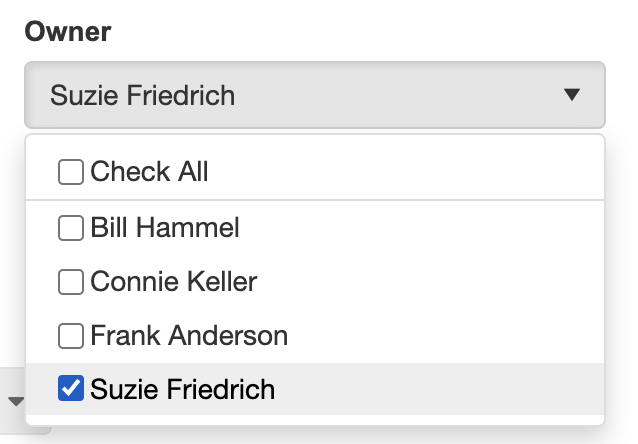
You are now left with the only contact that fits this criteria. Just like that, the field turns yellow and the Filter button adjusts to display the number 2.
Reset and Clear Filters
Filters will be saved and enabled even after you’ve browsed to different pages throughout the admin section or logged out of My Little Salesman. If you’d like to reset or clear any filters, it must be done manually.
If you’d like to clear a single filter, uncheck all fields within that menu. To remove all filters, select ‘Clear Filters’ beneath the Filter button.
For clearing a single grid filter, click the corresponding filter button and select ‘No Filter.’ Select ‘Clear Grid Filters’ to remove multiple grid filters at once.
Filters and Inventory Management
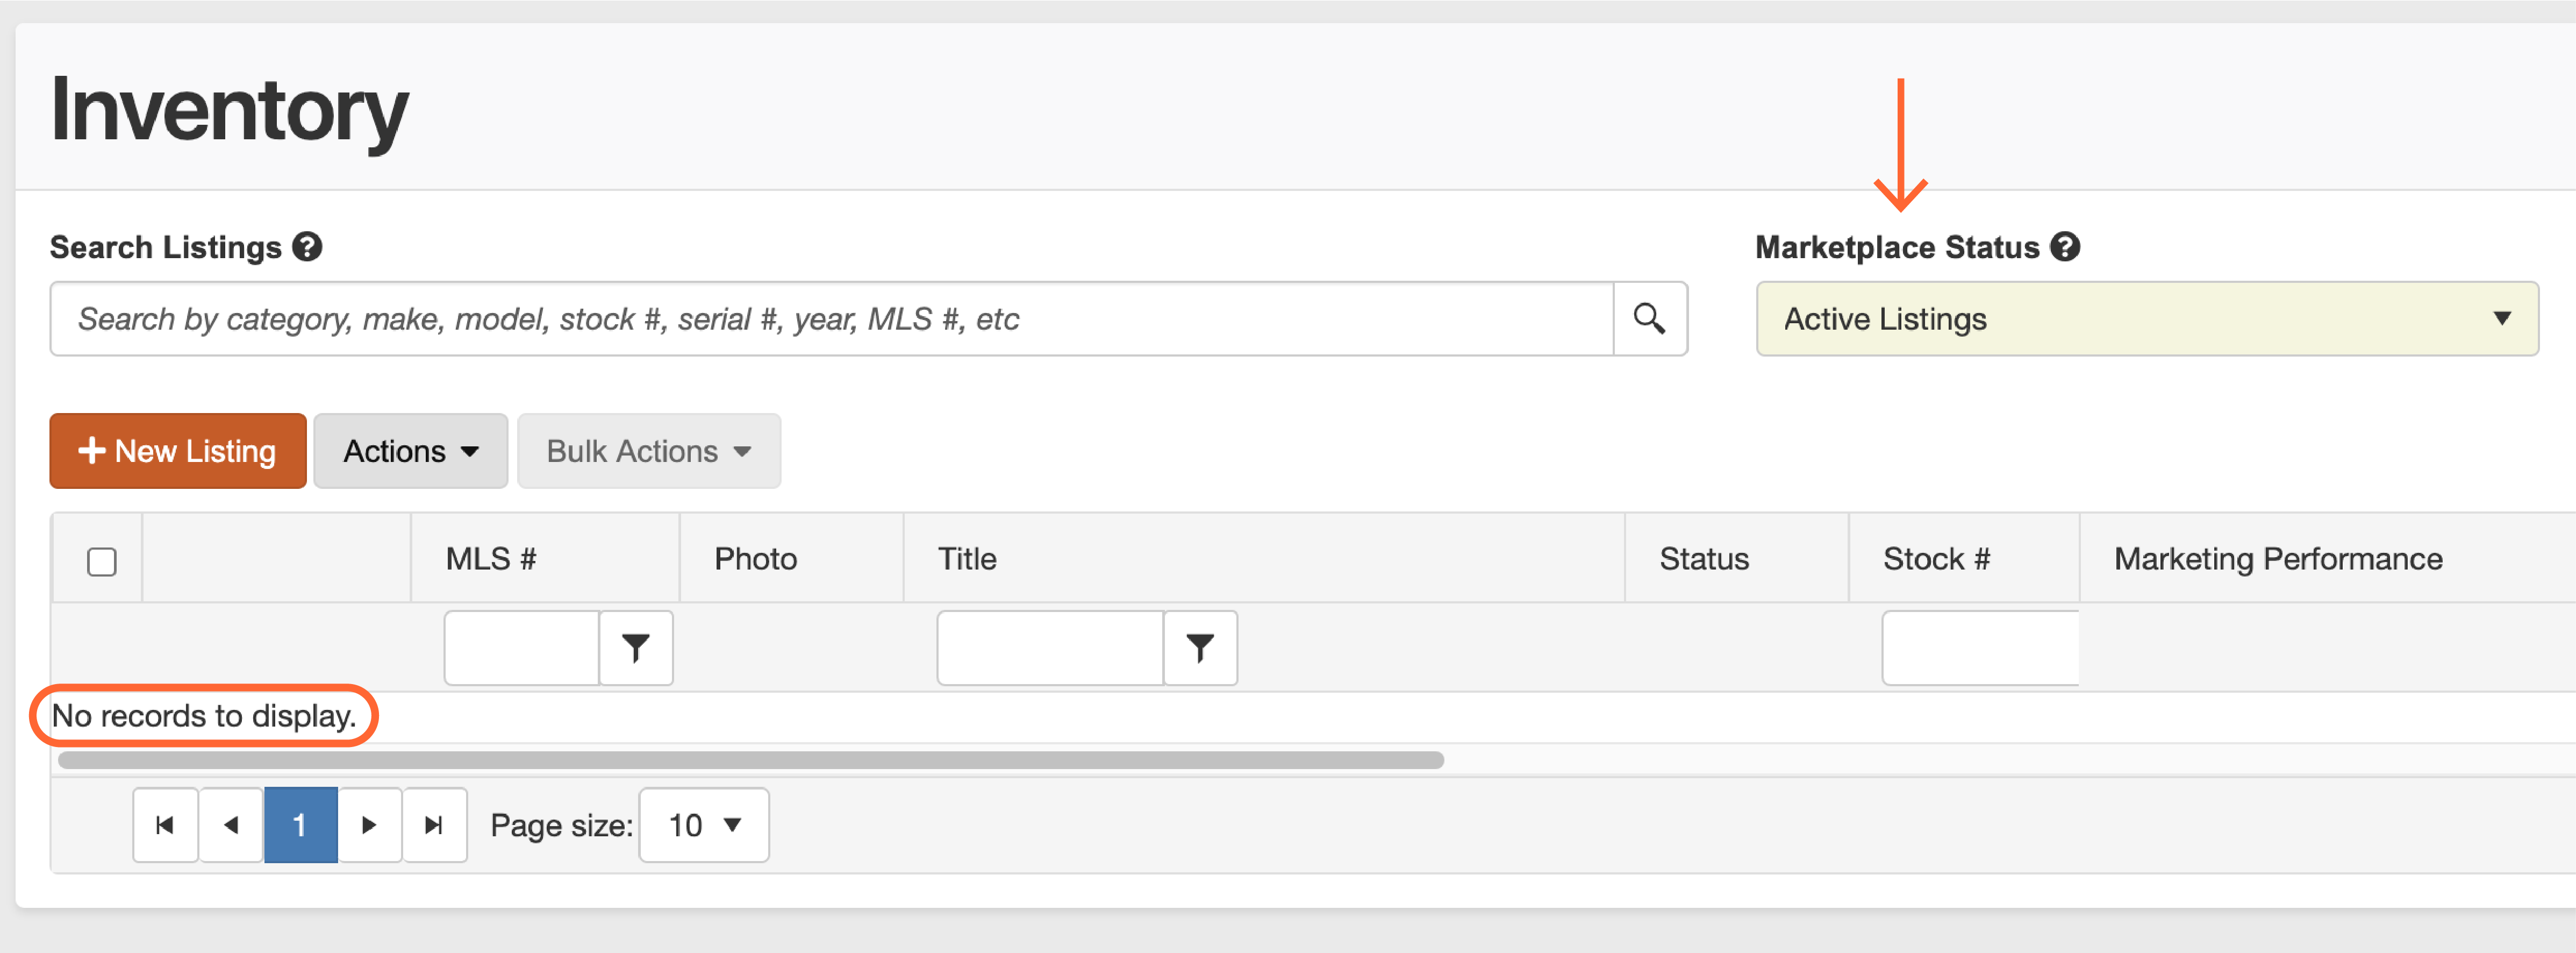
The functionality of these filters can also be used to streamline your inventory management. Upon accessing the Inventory page, it is possible that your page will not display any inventory.
But keep in mind that the key to navigating your inventory is the drop-down menu titled ‘Marketplace Status.’
Select 'Check All' within the 'Marketplace Status' drop-down menu to view all inventory within your system.
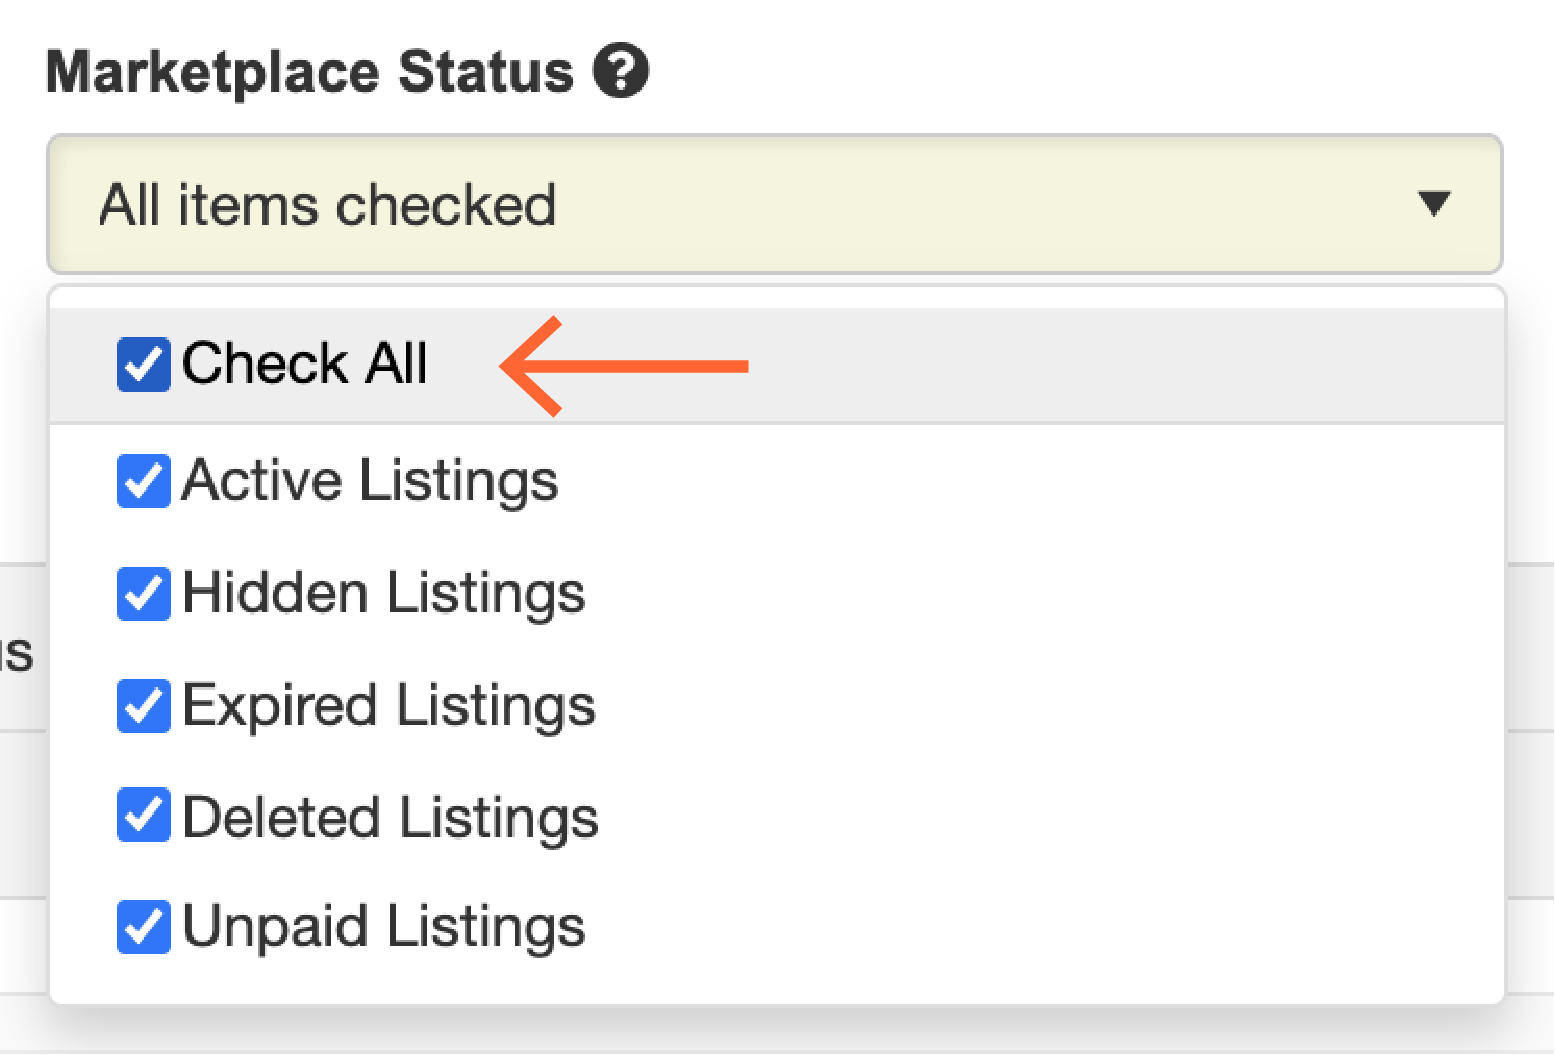
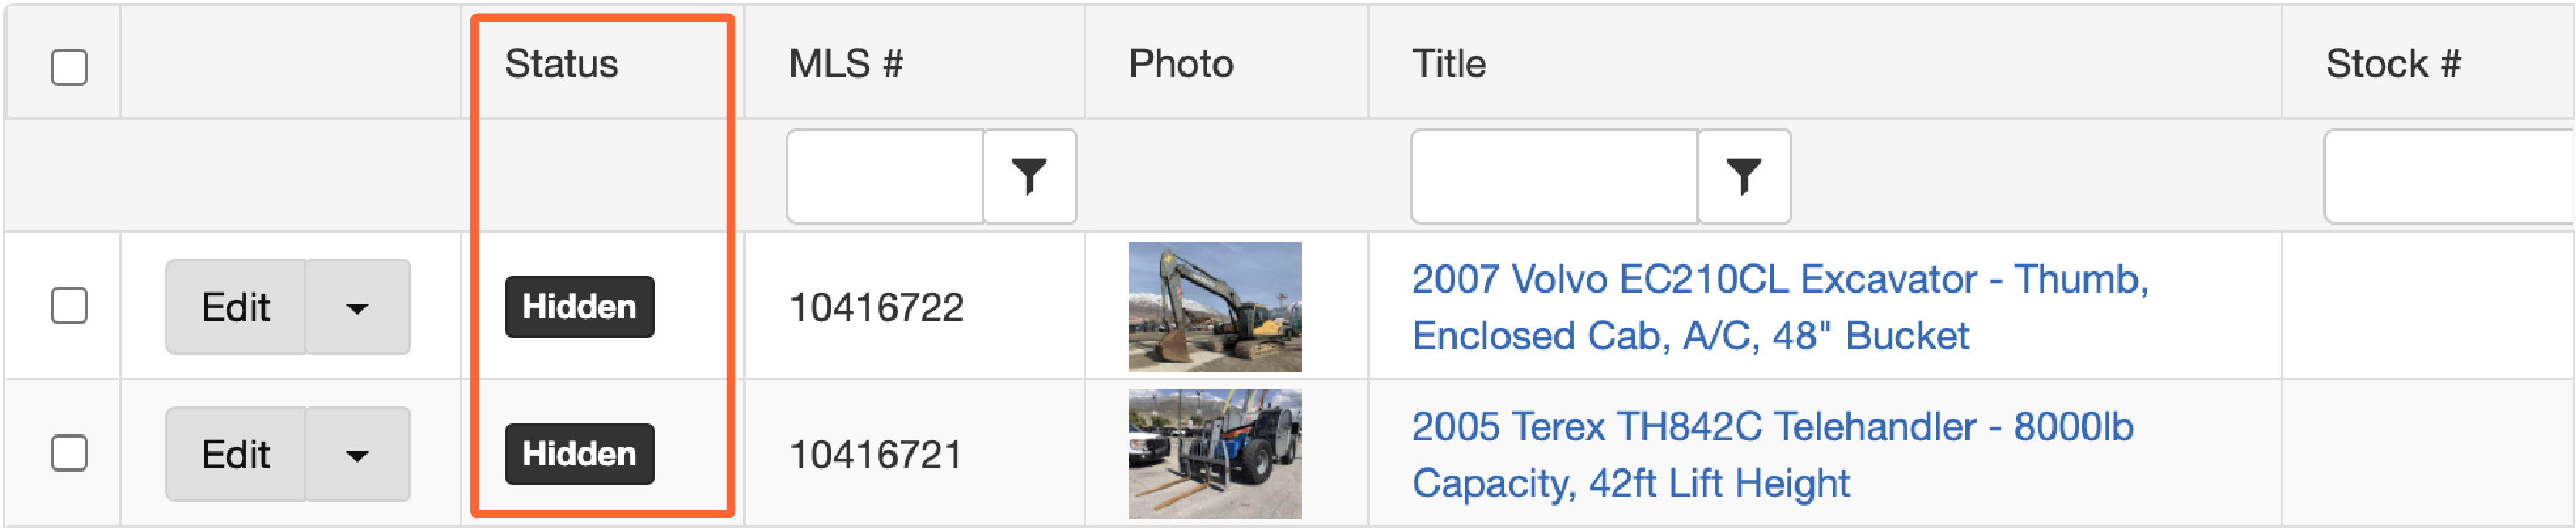
Be mindful that the 'Status' column is directly linked to the 'Marketplace Status' filter. These listings are marked as 'Hidden,' which would explain why no inventory was shown when the Marketplace Status was set to 'Active Listings.'

Feel free to click and drag the 'Status' column to an area that is more visible if that information is particularly important to you.
Take advantage of these filters to best fit the needs of your business!
Questions and Suggestions?
Contact your Dealership Drive sales representative.