
How to Create an Invoice for the Remaining Balance Due
This tutorial comes in response to a client question:
“I am working with a customer’s finance company and they have asked about the balance not showing the payment applied. Basically, the customer placed a down payment of (dollar amount here) and they (the financing company) would like to see the remaining balance to reflect that.”
It seems that the customer’s financing company would like to see what they still need to finance—the amount remaining after the original down payment has been made.
In a past tutorial, we showed you how to document a down payment or deposit for a transaction in your Deals panel. In this tutorial, we'll show you how to create an invoice that reflects the remaining balance due for any transaction.
1. Navigate to https://www.dealershipdrive.com/ and make sure you're logged into your account.

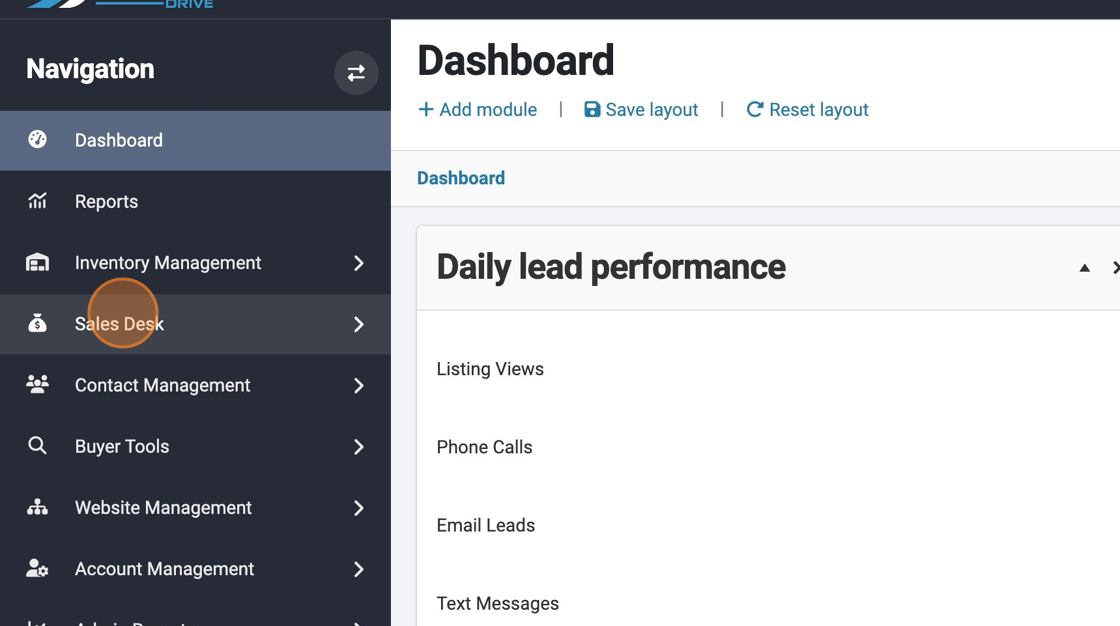
2. Select "Sales Desk"
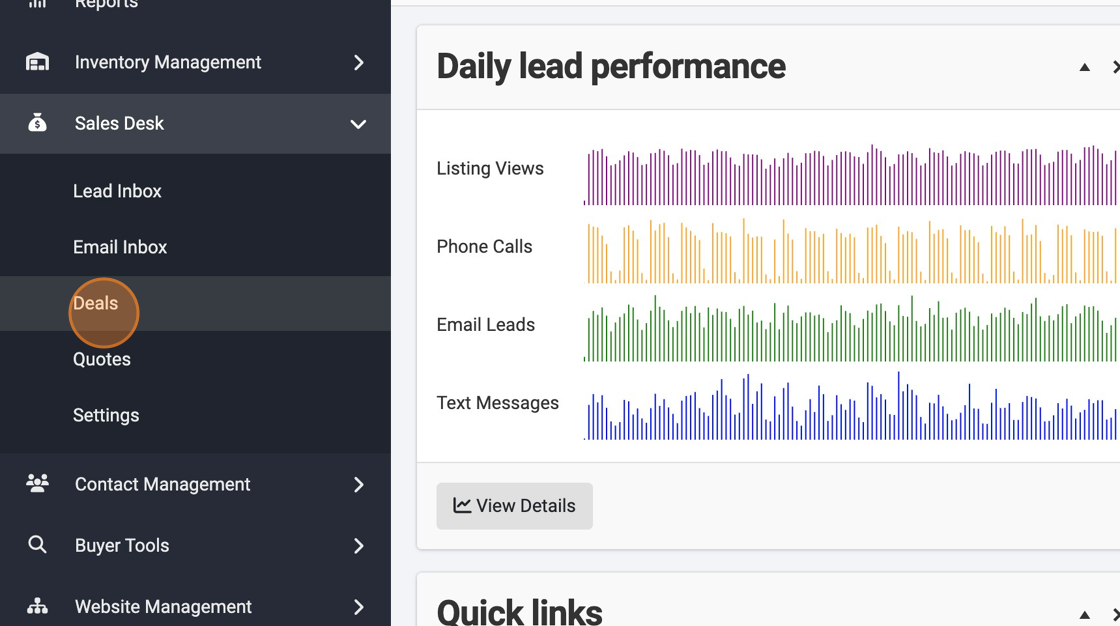
3. Select "Deals" from the drop-down options.
4. Within your Deals panel, select the "Actions" button corresponding to the Deal in which you would like to account for the remaining balance.
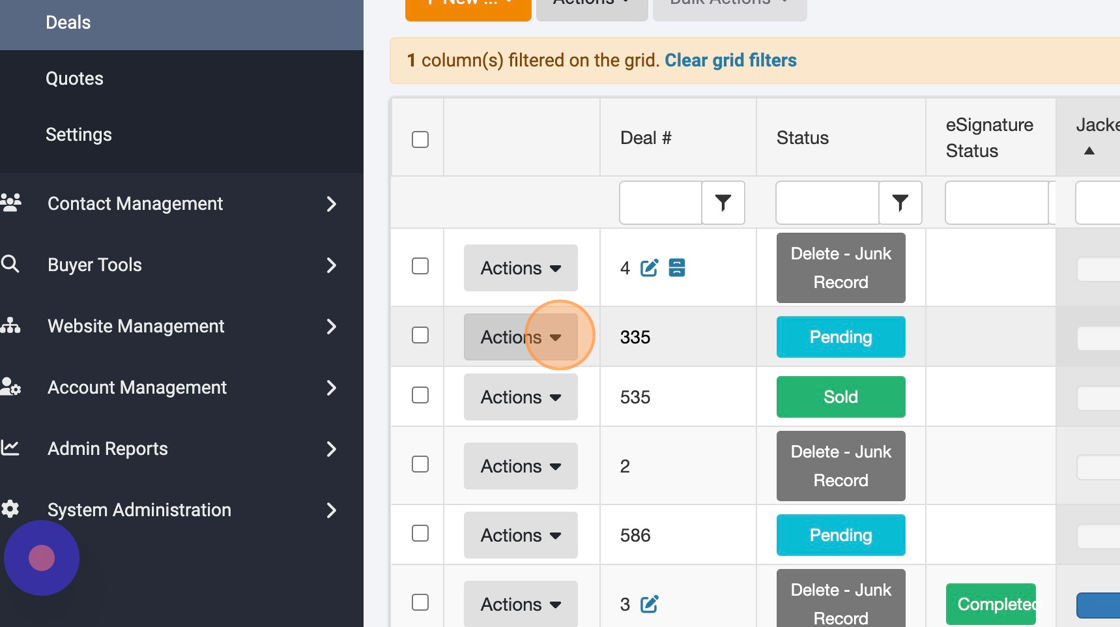
5. Select "Edit" from the drop-down options.

6. Select the "INVOICES, QUOTES, & PAYMENTS" button along the top. If you don't immediately see it, use the horizontal arrows to scroll through the upper tile-like icons.
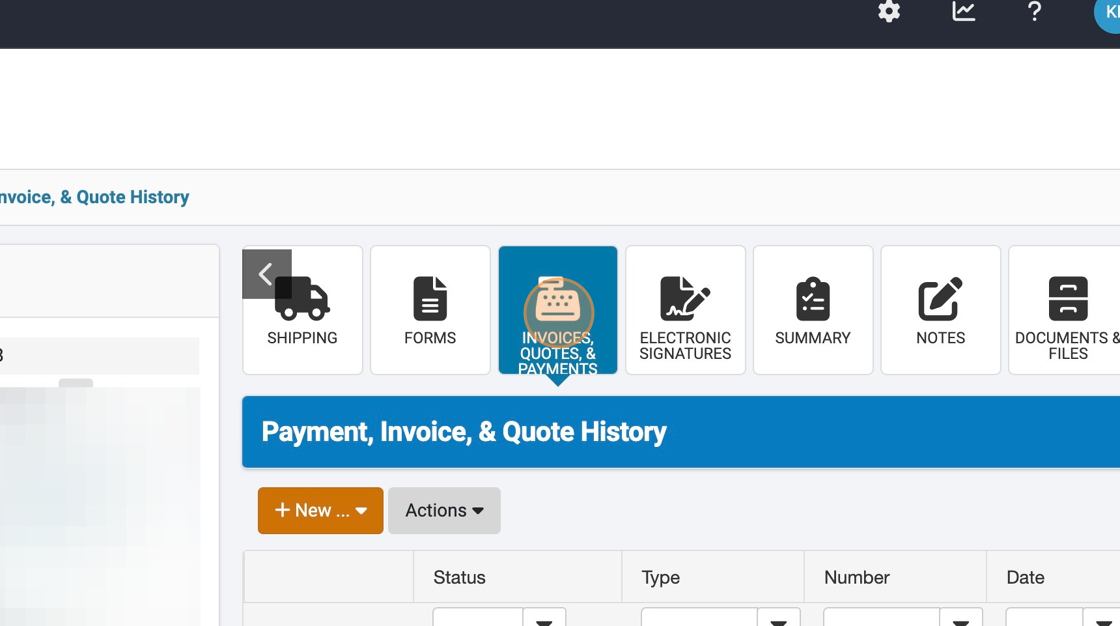
7. To create a new invoice that will account for the remaining balance after the balance has been paid, begin by selecting the "+ New..." button followed by "+New Invoice" from the dropdown options.

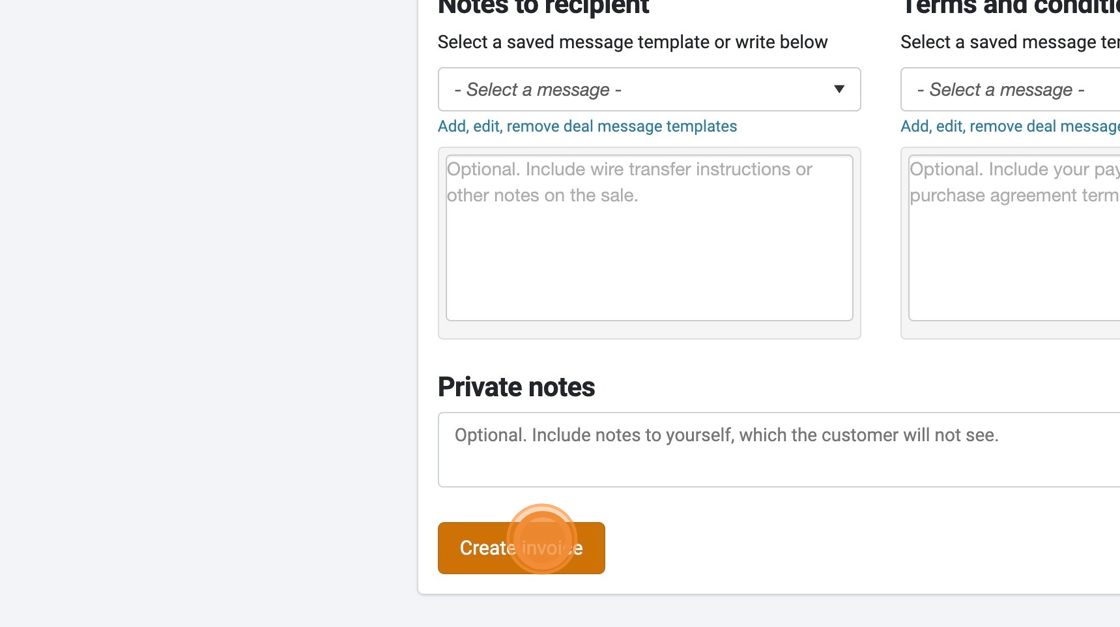
8. Fill out all necessary details of the new invoice and scroll toward the bottom. Make sure that the proper deposit amount is displayed just above the remaining balance. If it is not, you should enter the deposit amount. To create an invoice for the remaining balance due, simply scroll to the bottom and select "Save changes" to create the invoice. The remaining amount will be reflected in the invoice you create.
9. To view and send the newly-created invoice, select either the "Payment, Invoice, & Quote History" breadcrumb hyperlink or the "Payment, Invoice, & Quote History" tab.

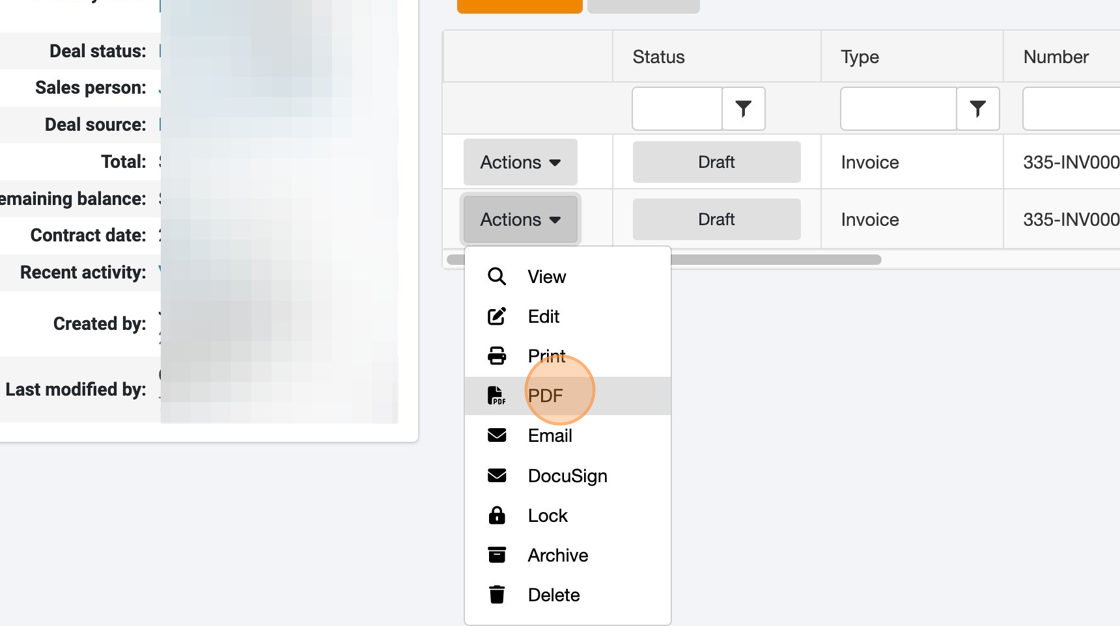
10. To download a PDF, select the corresponding "Actions" button followed by PDF from drop-down options.
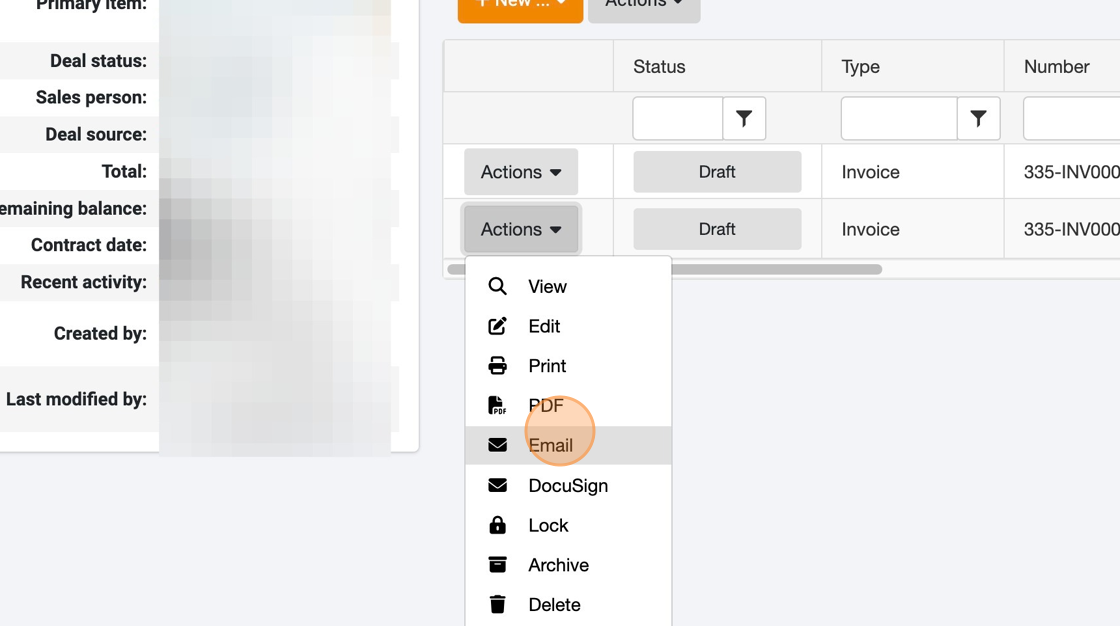
11. If you would like to email the invoice, select the "Actions" button in the right corner of the panel-view invoice and select "Email" from the dropdown.
12. Confirm the email recipient details.
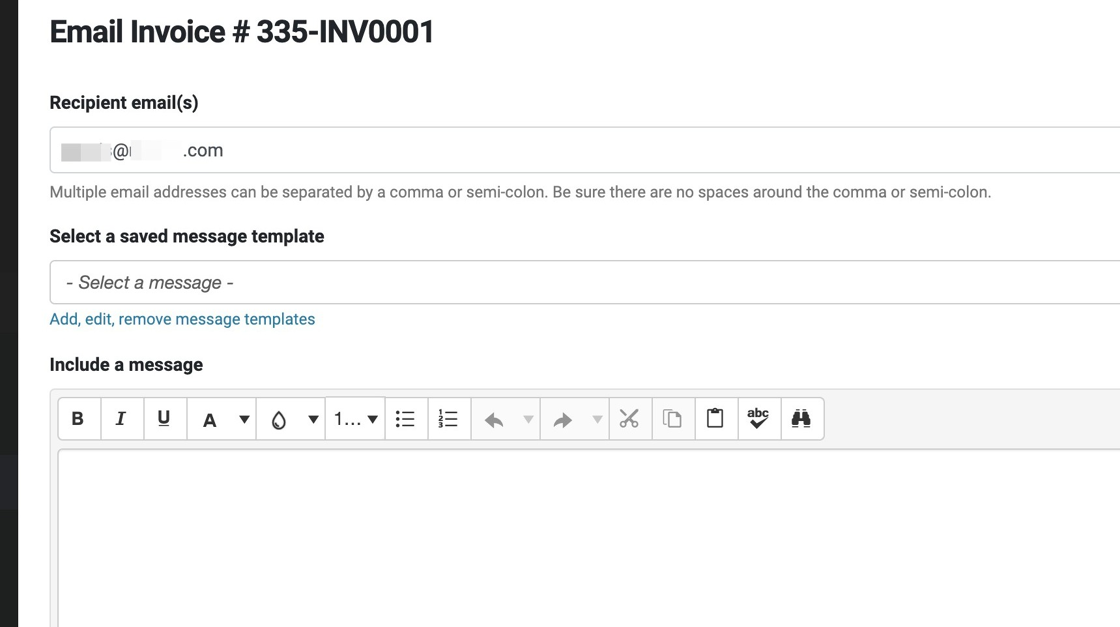
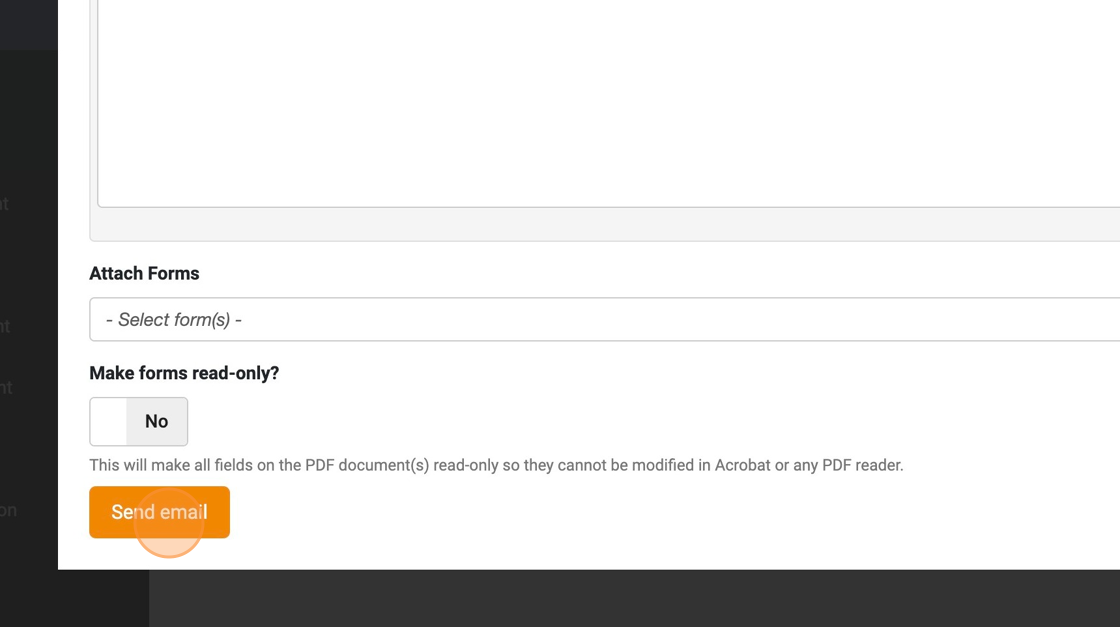
13. When it's ready to send, simply select "Send email."
Questions and Suggestions?
Contact your Dealership Drive sales representative.